Creating a new project using Visual Studio
-
Create and add a new project named
BackEndand name the solutionConferencePlannerusing File / New / ASP. NET Core Web Application. Select the Web API template, No Auth, no Docker support.Open a Visual Studio

Creating a new solution in Visual Studio
Adding a project to the solution

Web API Project settings

Note: If not using Visual Studio, create the project using
dotnet new webapiat the cmd line, details as follows:- Create folder ConferencePlanner and call
dotnet new slnat the cmd line to create a solution - Create sub-folder BackEnd and create a project using
dotnet new webapiat the cmd line inside the folder BackEnd - Add the project to the solution using
dotnet sln add BackEnd/BackEnd.csproj
- Create folder ConferencePlanner and call
- Add a new
Modelsfolder to the root of the application. - Add a new
Speakerclass using the following code:
using System;
using System.Collections.Generic;
using System.ComponentModel.DataAnnotations;
using System.Linq;
using System.Threading.Tasks;
namespace BackEnd.Models
{
public class Speaker
{
public int Id { get; set; }
[Required]
[StringLength(200)]
public string Name { get; set; }
[StringLength(4000)]
public string Bio { get; set; }
[StringLength(1000)]
public virtual string WebSite { get; set; }
}
}
```
##### Project Structure

1. Add a reference to the NuGet package `Microsoft.EntityFrameworkCore.SqlServer` version `3.0.0` .

> This can be done from the command line using `dotnet add package Microsoft.EntityFrameworkCore.SqlServer --version 3.0.0`
1. Add a reference to the NuGet package `Microsoft.EntityFrameworkCore.Sqlite` version `3.0.0` .

> This can be done from the command line using `dotnet add package Microsoft.EntityFrameworkCore.Sqlite --version 3.0.0`
1. Next we'll create a new Entity Framework DbContext. Create a new `ApplicationDbContext` class in the `Models` folder using the following code:
``` csharp
using Microsoft.EntityFrameworkCore;
namespace BackEnd.Models
{
public class ApplicationDbContext : DbContext
{
public ApplicationDbContext(DbContextOptions<ApplicationDbContext> options)
: base(options)
{
}
public DbSet<Speaker> Speakers { get; set; }
}
}
```

1. Add a connection string to the appsettings.json file for this database:
``` json
{
"ConnectionStrings": {
"DefaultConnection": "Server=(localdb)\\mssqllocaldb;Database=aspnet-BackEnd-931E56BD-86CB-4A96-BD99-2C6A6ABB0829;Trusted_Connection=True;MultipleActiveResultSets=true"
},
"Logging": {
"LogLevel": {
"Default": "Warning",
"Microsoft": "Warning",
"Microsoft.Hosting.Lifetime": "Information"
}
},
"AllowedHosts": "*"
}
```

## Register the DB Context Service
1. Add the following code to the top of the `ConfigureServices()` method in `Startup.cs` :
``` csharp
services.AddDbContext<ApplicationDbContext>(options =>
{
if (RuntimeInformation.IsOSPlatform(OSPlatform.Windows))
{
options.UseSqlServer(Configuration.GetConnectionString("DefaultConnection"));
}
else
{
options.UseSqlite("Data Source=conferences.db");
}
});
```

> This code registers the `ApplicationDbContext` service so it can be injected into controllers. Additionally, it configures operating system specific database technologies and connection strings
## Configuring EF Migrations
1. Add a reference to the NuGet package `Microsoft.EntityFrameworkCore.Tools` version `3.0.0` .

> **If you're not using Visual Studio** install the package from the command line with `dotnet add package Microsoft.EntityFrameworkCore.Tools --version 3.0.0`
### Visual Studio: Package Manager Console
1. In Visual Studio, select the Tools -> NuGet Package Manager -> Package Manager Console

1. Run the following commands in the Package Manager Console
``` console
Add-Migration Initial
Update-Database

Command line
- Install the EntityFramework global tool
dotnet-efusing the following command:
dotnet tool install -g dotnet-ef --version 3.0.0
-
Open a command prompt and navigate to the project directory.(The directory containing the
Startup.csfile). -
Run the following commands in the command prompt:
dotnet build
dotnet ef migrations add Initial
dotnet ef database update
```
Commands Explained
| Command |Description |
| ------------- |-------------|
| `dotnet ef migrations add Initial` / `Add-Migration Initial` | generates code to create the initial database schema based on the model specified in 'ApplicationDbContext.cs'. `Initial` is the name of the migration.|
| `dotnet ef database update` / `Update-Database` | creates the database |
>For more information on these commands and scaffolding in general, see [this tutorial](https://docs.microsoft.com/en-us/aspnet/core/tutorials/first-mvc-app/adding-model#add-initial-migration-and-update-the-database).
>If your database ever gets in a bad state and you'd like to reset things, you can use `dotnet ef database drop` followed by `dotnet ef database update` to remove your database and run all migrations again.
## A quick look at the Weather Forecast Controller
First, open the `Controllers` folder and take a quick look at the `WeatherForecastController` . You'll see a simple function that corresponds to the HTTP GET verb. You'll see the output of this controller in a bit, but first we'll build our own API controller for the `Speakers` model class.
## Scaffolding an API Controller
### Using Visual Studio
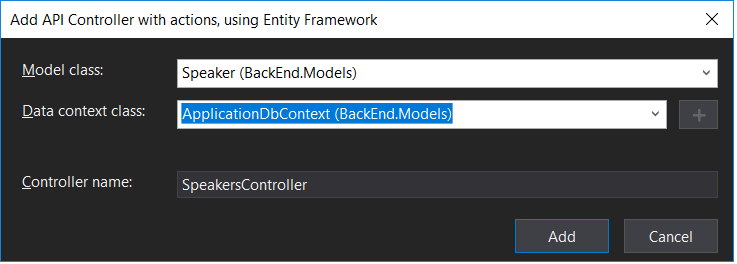
1. Right-click the `Controllers` folder and select Add/Controller. Select "API Controller with actions, using Entity Framework".

1. In the dialog, select the `Speaker` model for the Model Class, `ApplicationDbContext` for the "Data Context Class" and click the `Add` button.
### Using the cmd line
1. Install the "Microsoft.VisualStudio.Web.CodeGeneration.Design" package
``` console
dotnet add package Microsoft.VisualStudio.Web.CodeGeneration.Design --version 3.0.0
```
1. Install the `aspnet-codegenerator` global tool by running the following command:
``` console
dotnet tool install -g dotnet-aspnet-codegenerator --version 3.0.0
```
> Note: You will need to close and reopen the console window to be able to use this tool.
2. Run the following in the project folder at the cmd line:
``` console
dotnet aspnet-codegenerator controller -api -name SpeakersController -m Speaker -dc BackEnd.Models.ApplicationDbContext -outDir Controllers
```
## Testing the API using the Swashbuckle
In this section, we'll be adding documentation to our API using the Swashbuckle NuGet package.
[Swashbuckle. AspNetCore](https://github.com/domaindrivendev/swashbuckle.aspnetcore) is an open source project for generating Swagger documents for Web APIs that are built with ASP. NET Core.
[Swagger](https://swagger.io) is a machine readable representation of a RESTful API that enables support for interactive documentation, client SDK generation and discoverability.
Additional information on using Swashbuckle in ASP. NET Core is available in this tutorial: [ASP. NET Web API Help Pages using Swagger](https://docs.microsoft.com/en-us/aspnet/core/tutorials/web-api-help-pages-using-swagger)
1. Add a reference to the NuGet package `Swashbuckle.AspNetCore` version `5.0.0-rc4` .
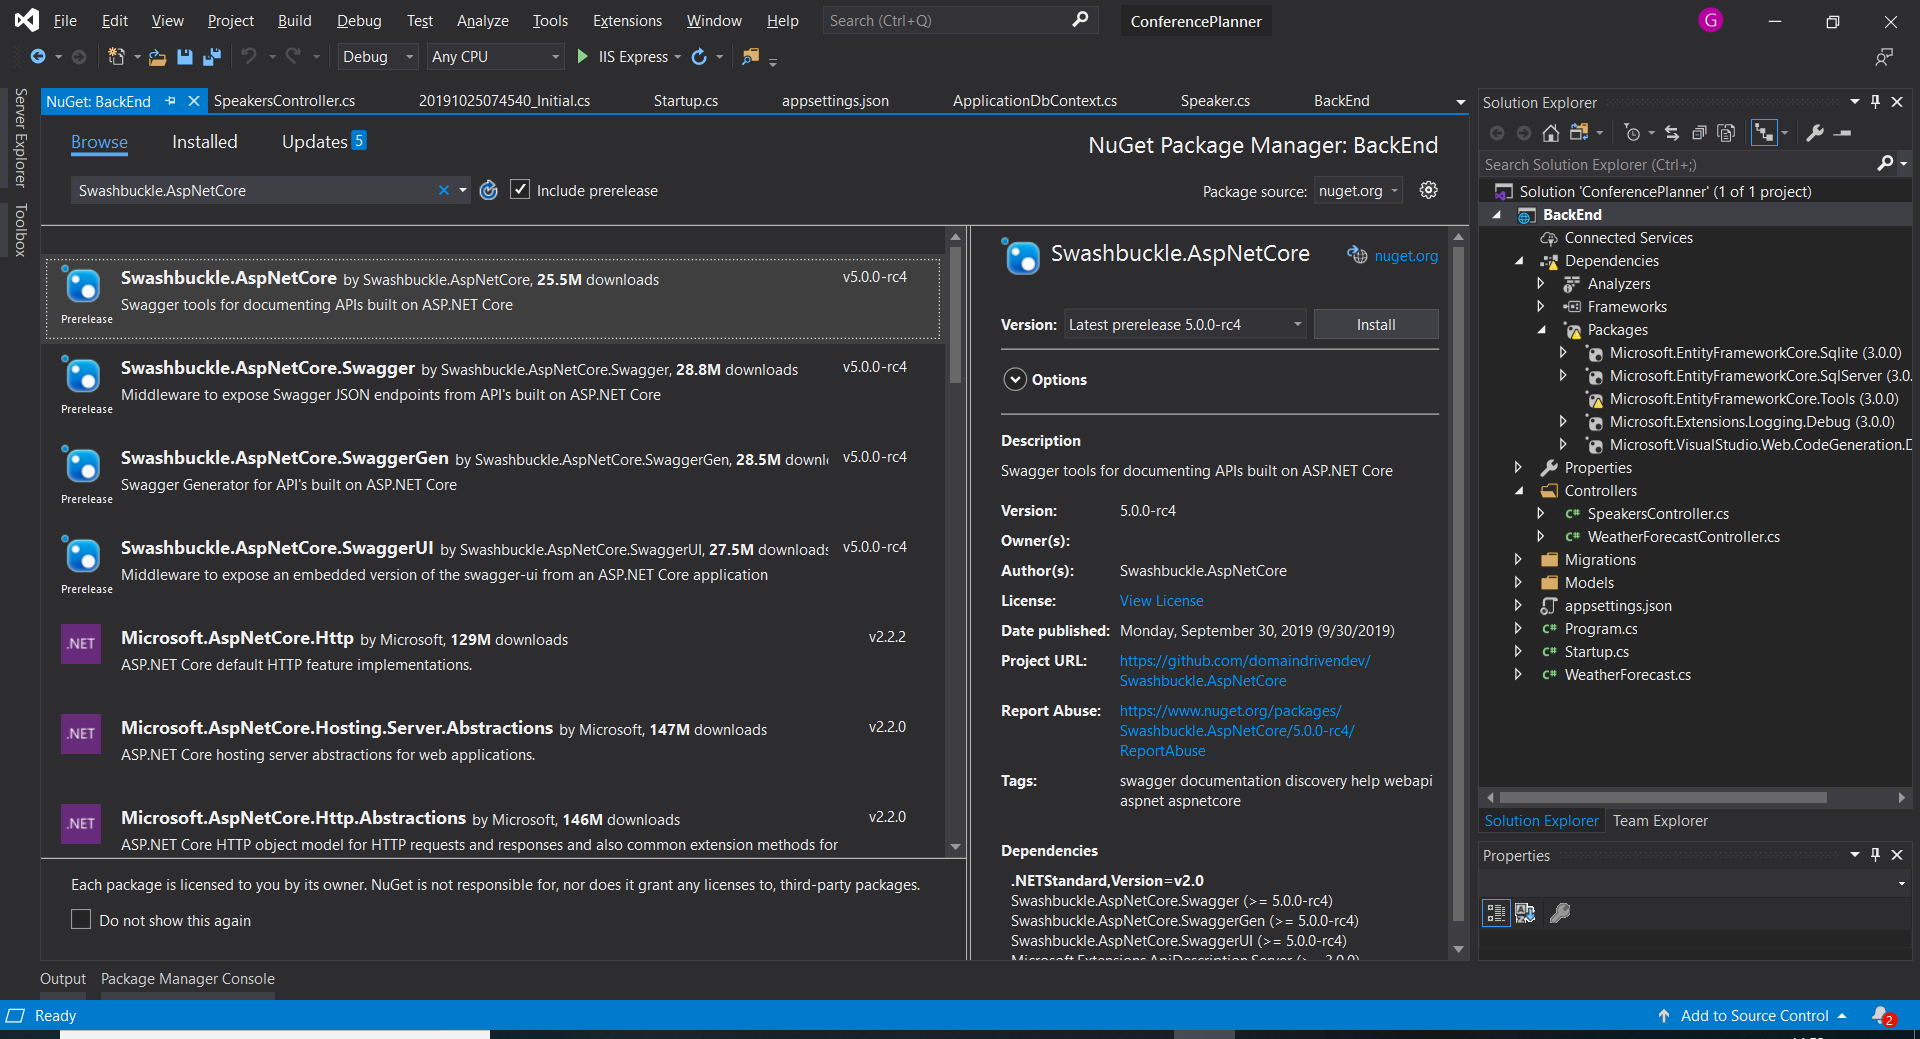
> This can be done from the command line using `dotnet add package Swashbuckle.AspNetCore --version 5.0.0-rc4`
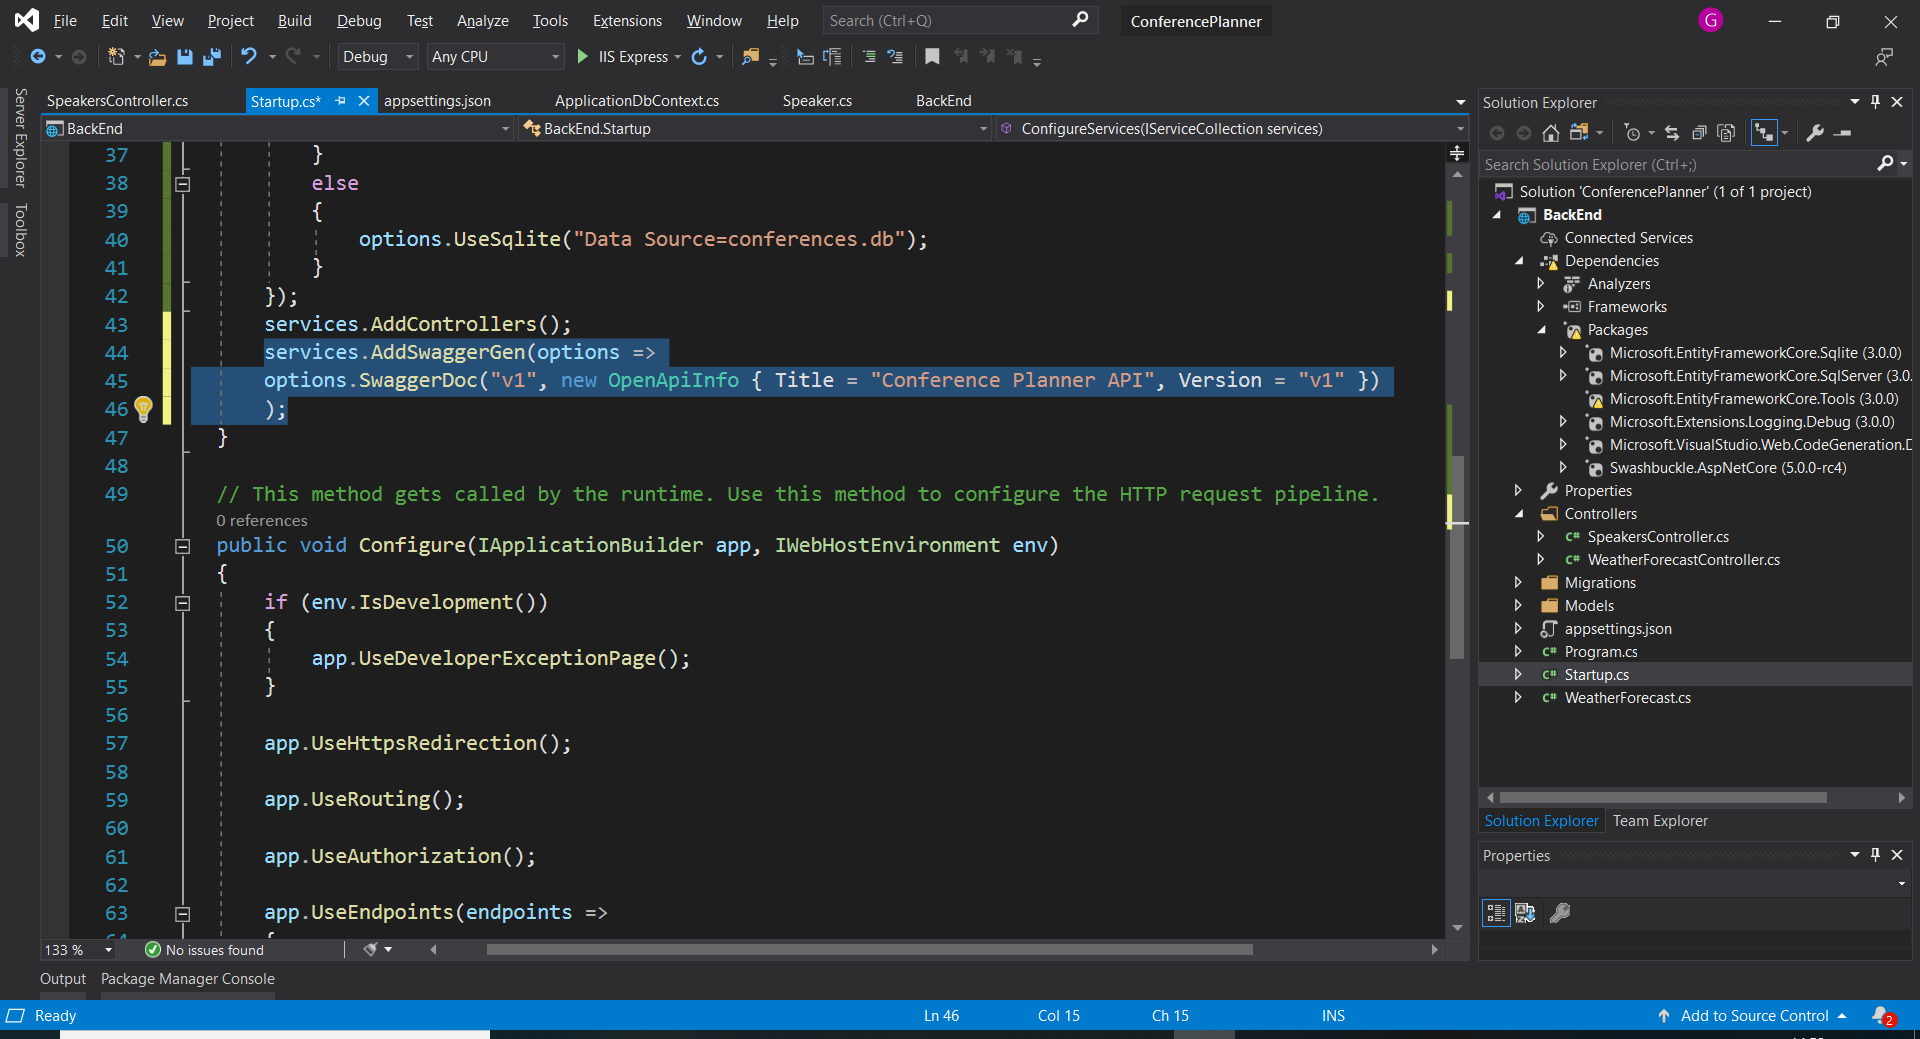
1. Add the Swashbuckle services in your `ConfigureServices` method:
``` csharp
services.AddControllers();
services.AddSwaggerGen(options =>
options.SwaggerDoc("v1", new OpenApiInfo { Title = "Conference Planner API", Version = "v1" })
);
```
1. Configure Swashbuckle by adding the following lines just before `UseRouting` in the `Configure` method in `Startup.cs` :
``` csharp
app.UseSwagger();
app.UseSwaggerUI(options =>
options.SwaggerEndpoint("/swagger/v1/swagger.json", "Conference Planner API v1")
);
```
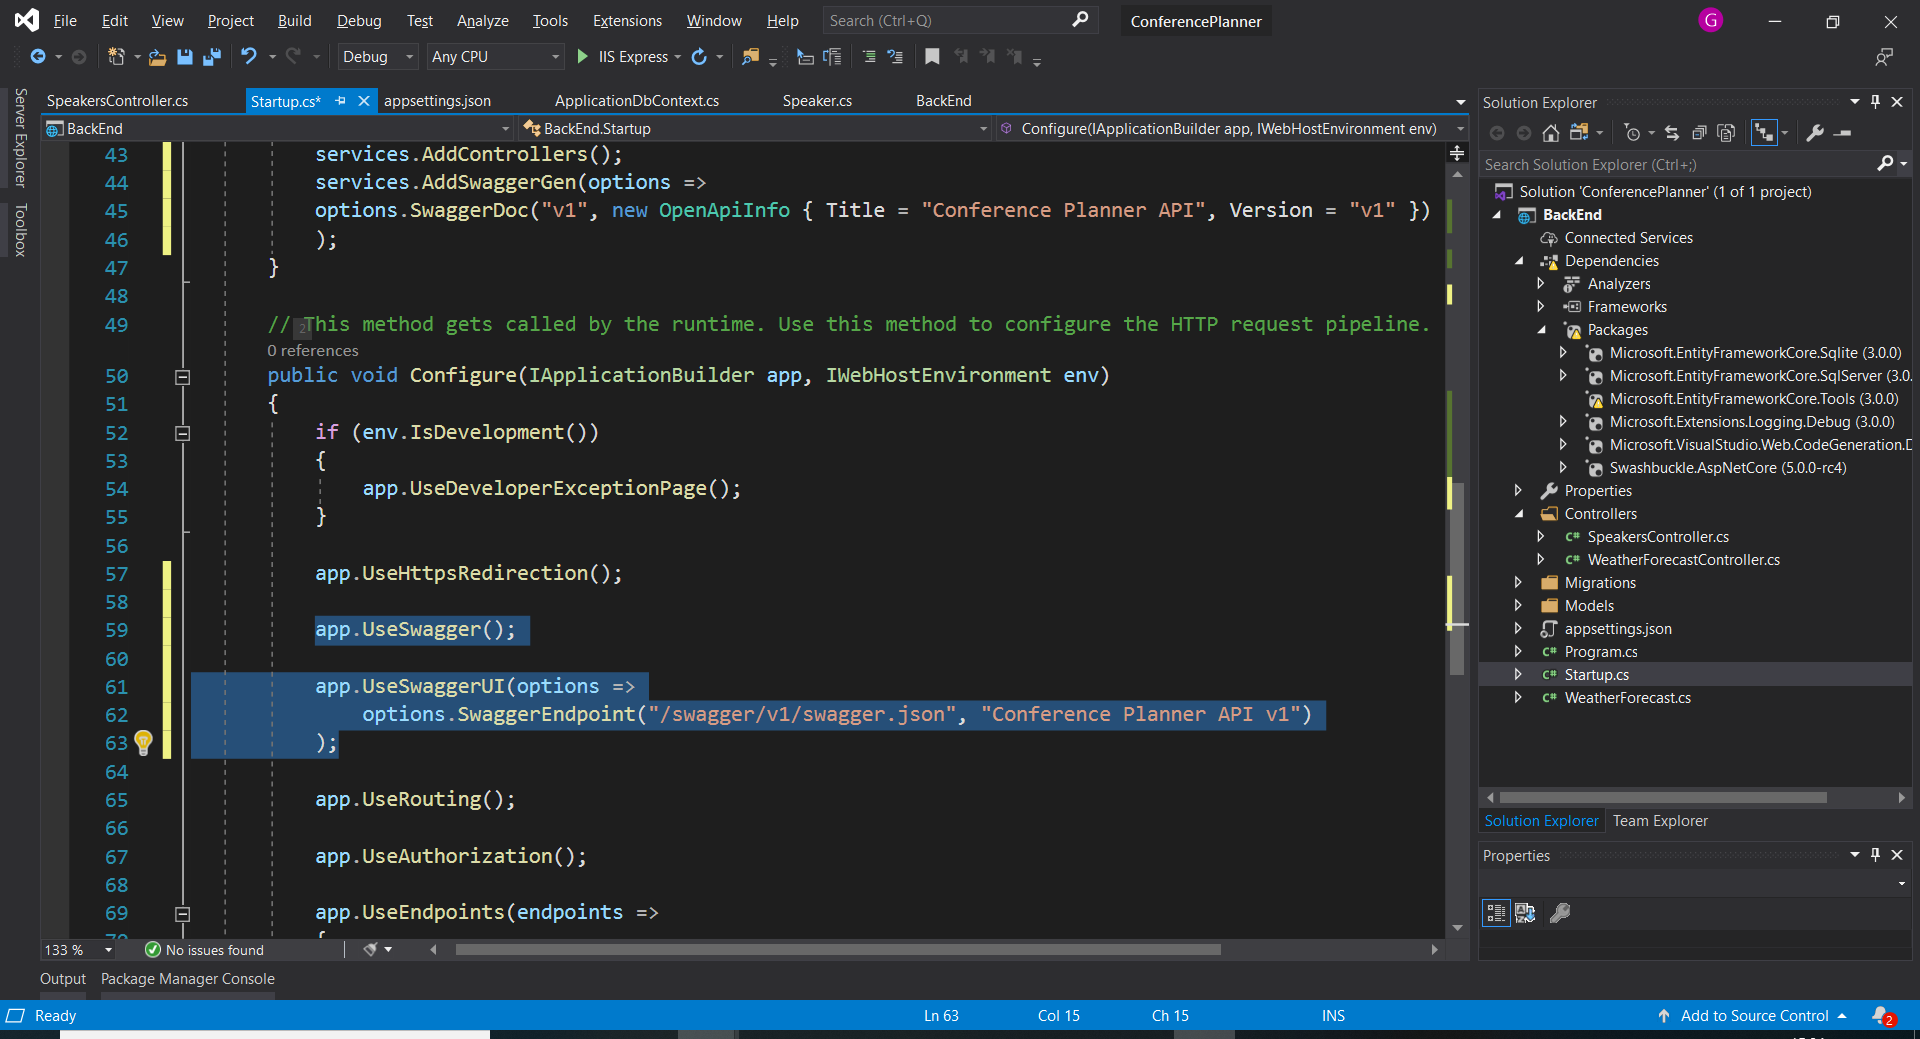
> ***Note:* Due to how the middleware and pipeline are structured, you'll want to place this before the `app.UseEndpoints()` statement.**
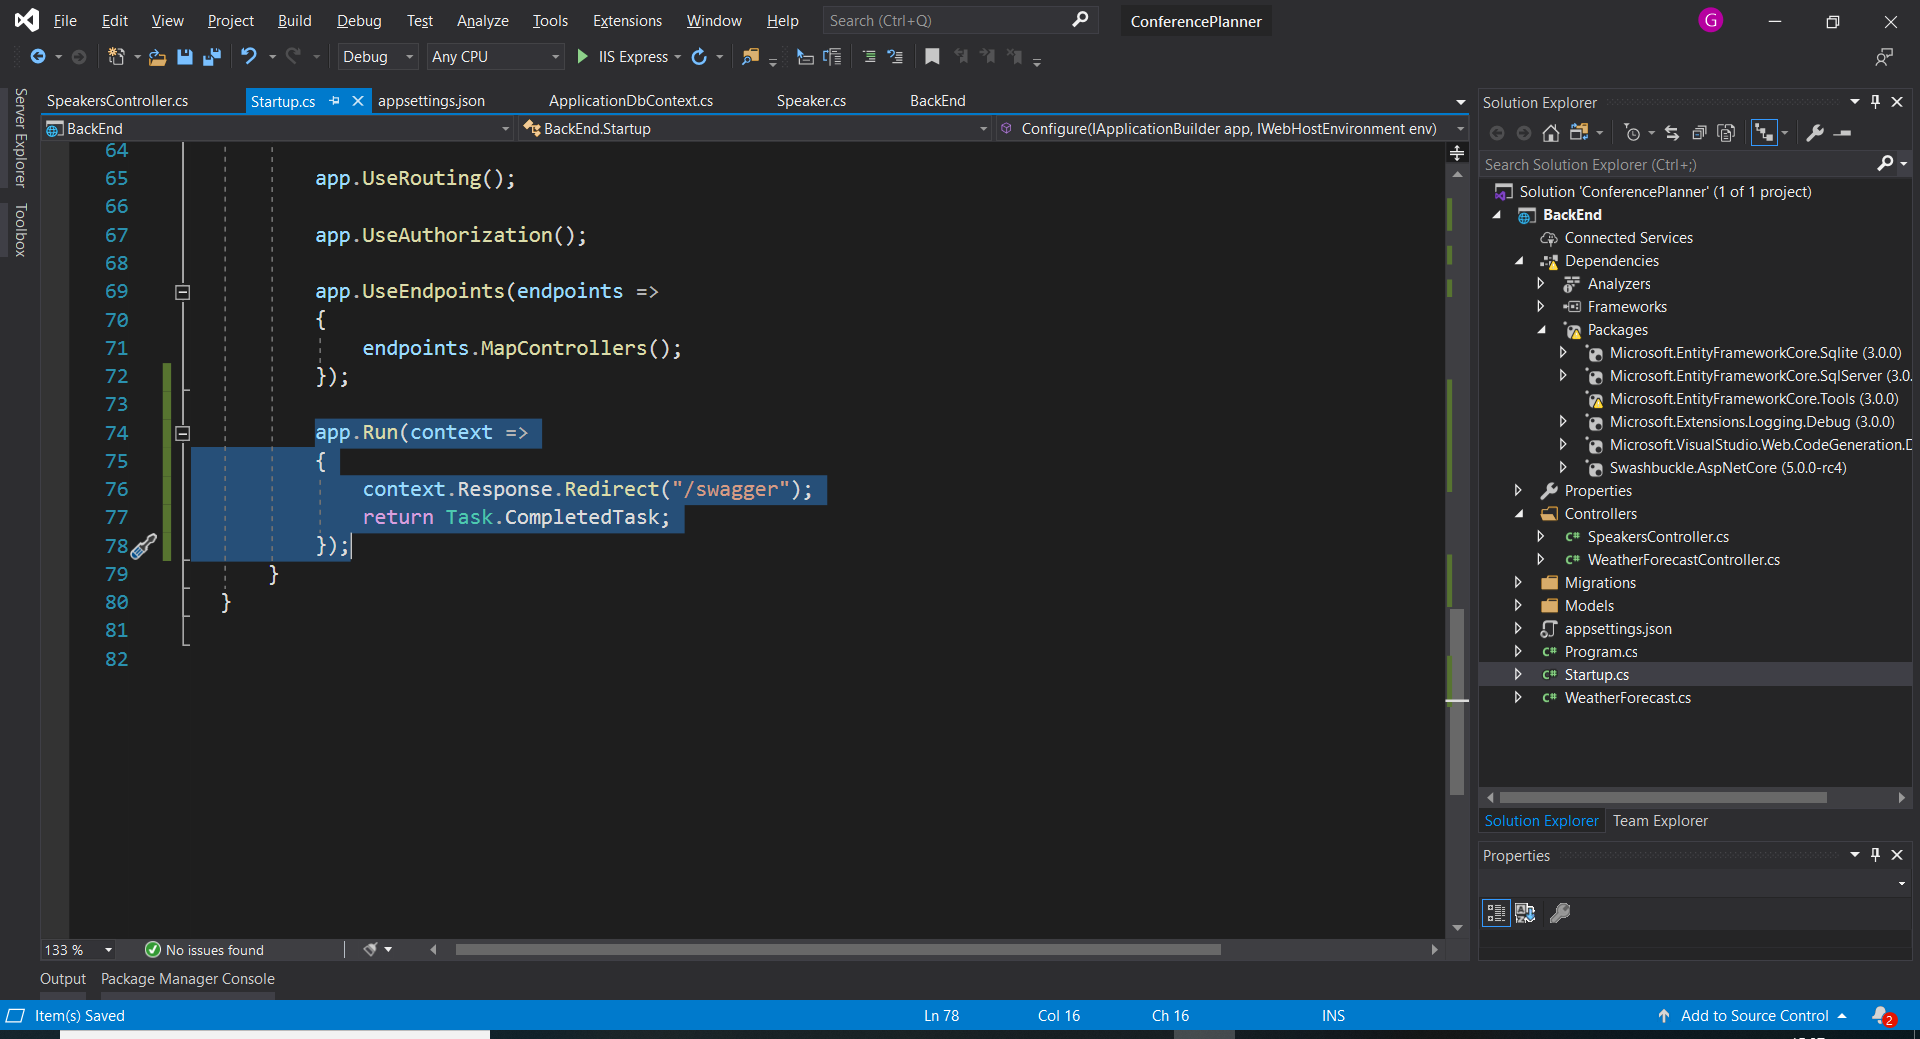
1. Add a redirect to the end of the pipeline that redirects to the swagger end point.
``` csharp
app.Run(context =>
{
context.Response.Redirect("/swagger");
return Task.CompletedTask;
});
- Run the application (F5 in Visual Studio or
dotnet runfrom console). -
Browse to the Swagger UI at
http://localhost:<random_port>/swagger.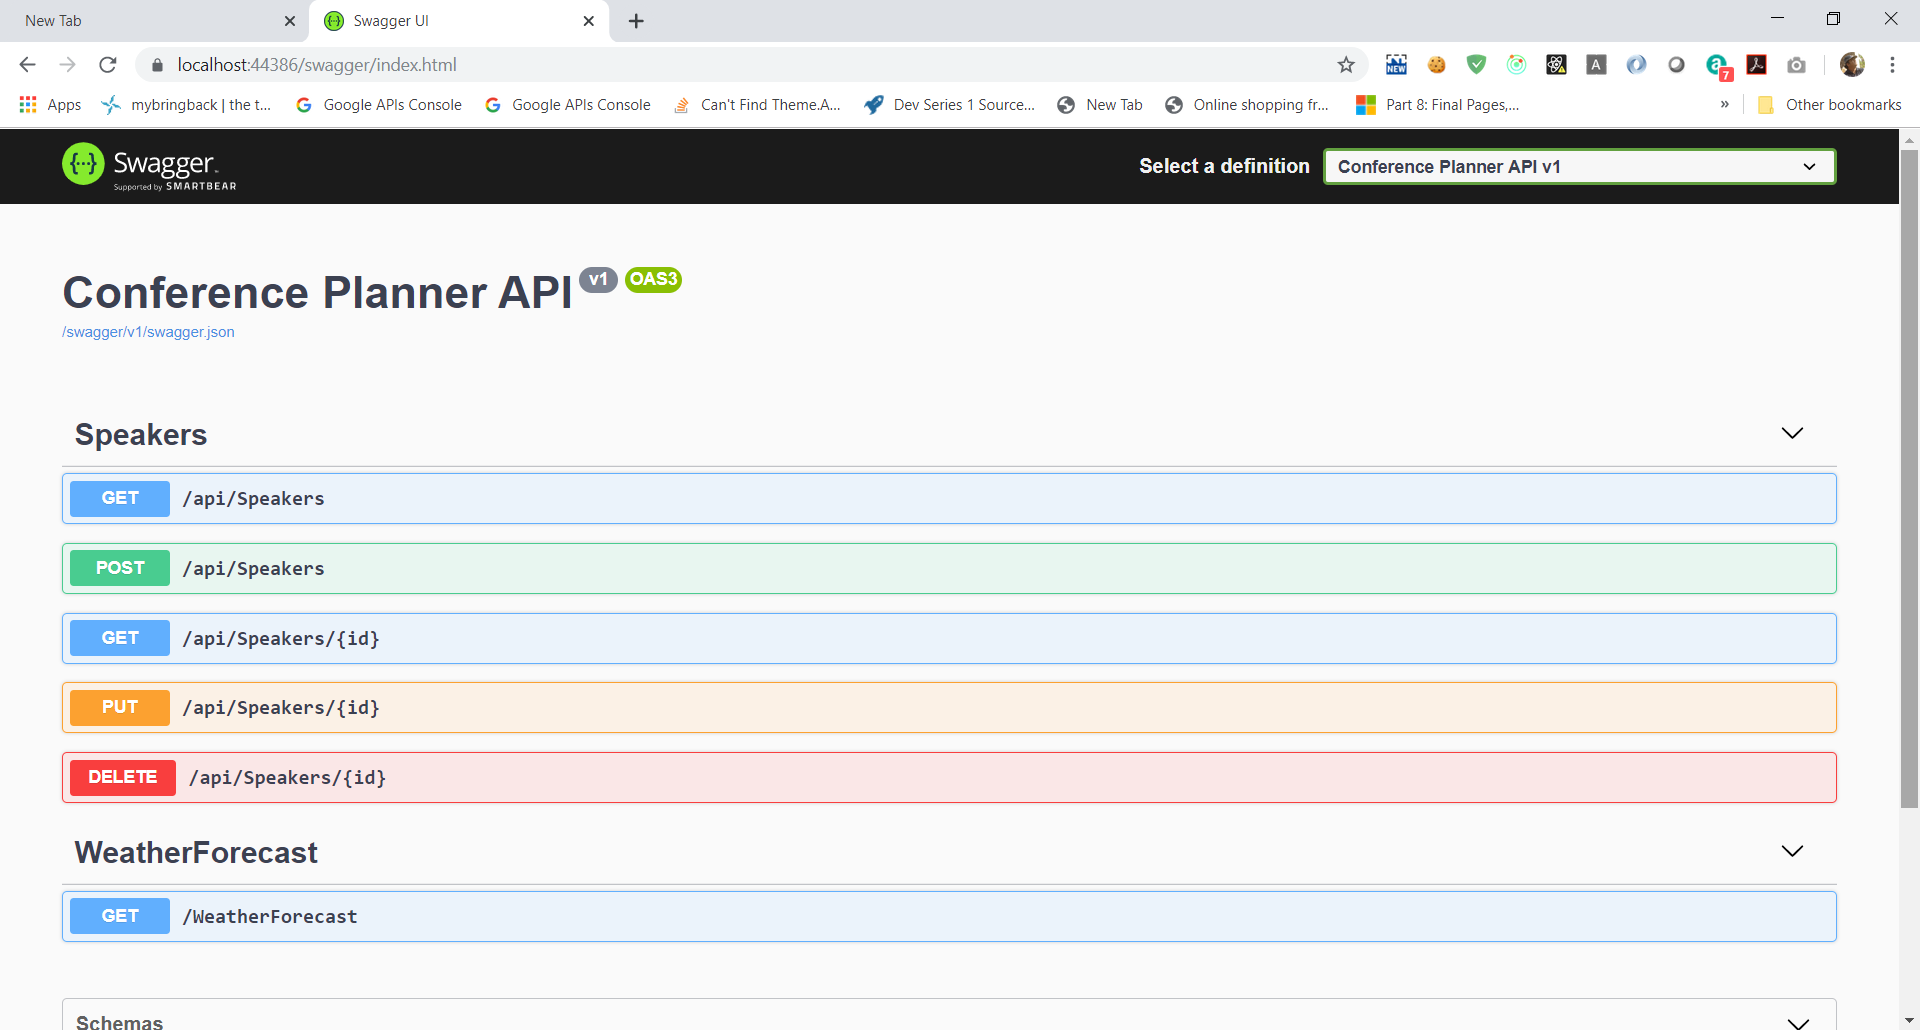
-
First, click on the GET button in WeatherForecast section. You’ll see the values that were listed in the
WeatherForecastControllerearlier.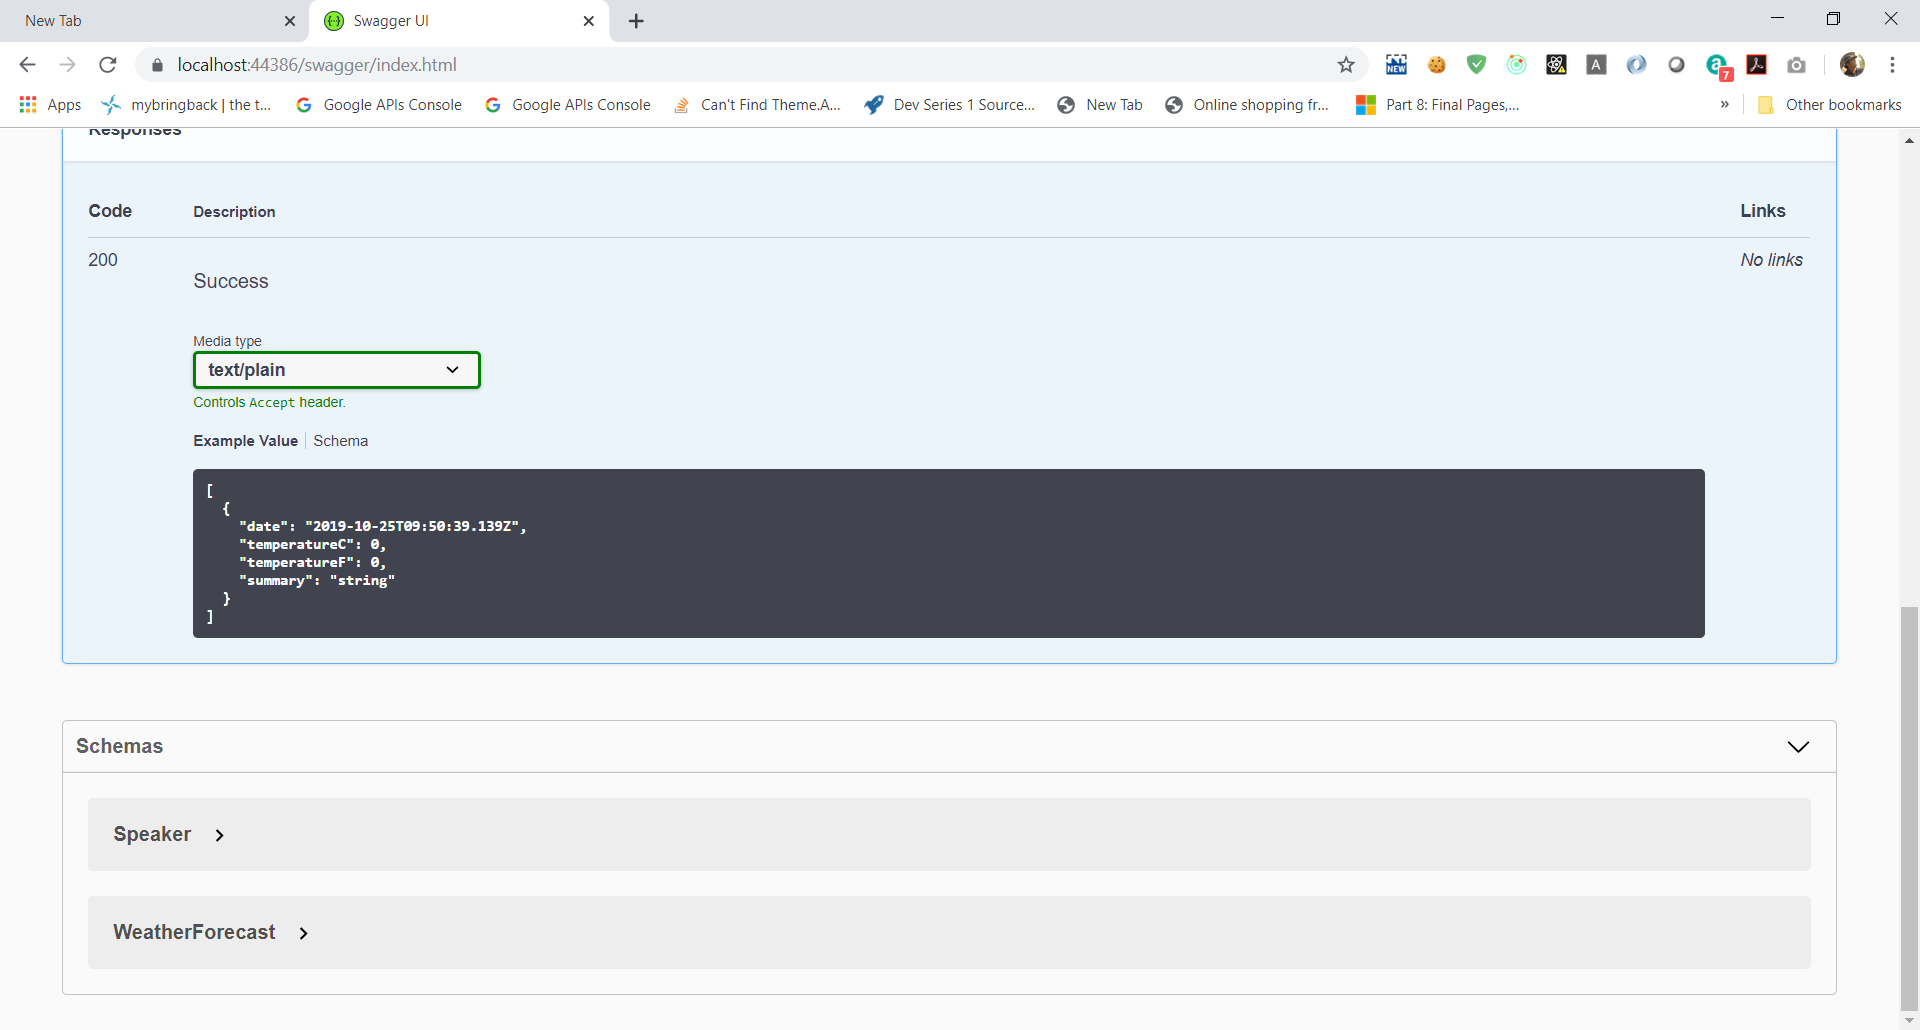
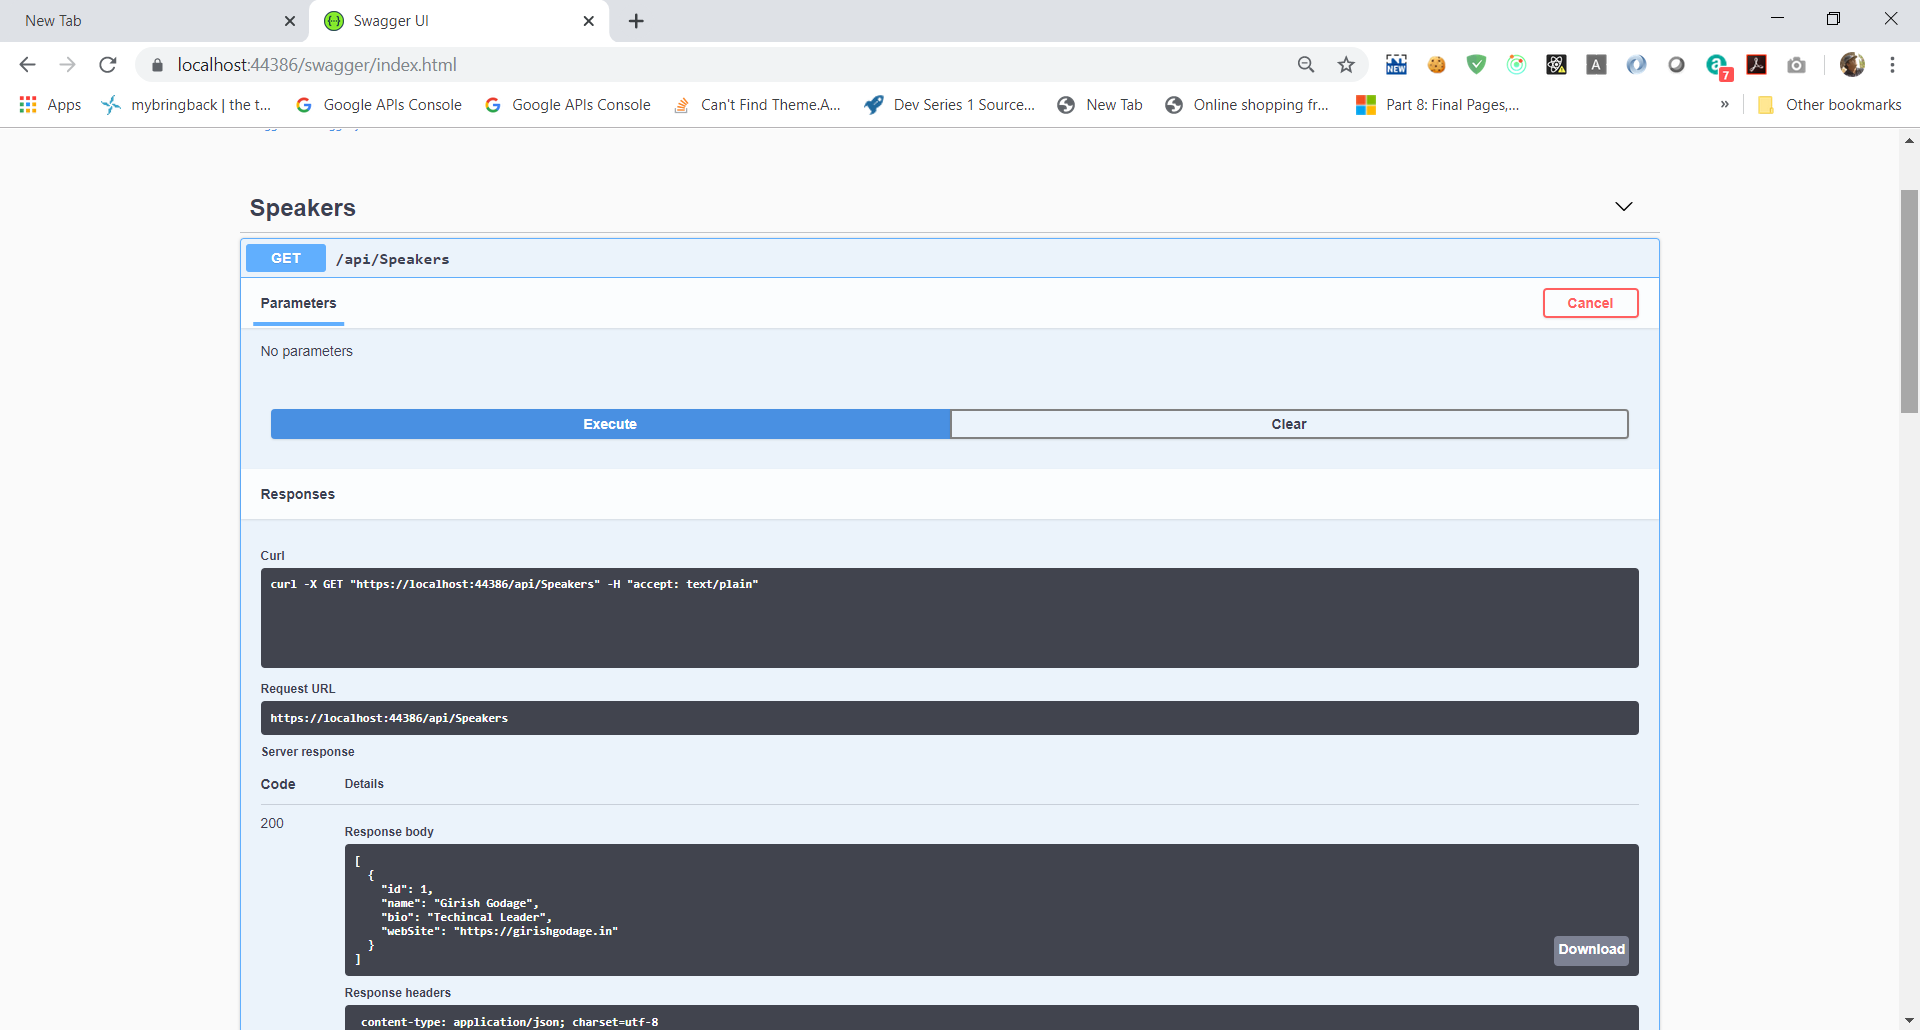
- In the Speakers section, click on the GET button. You’ll see there are not speakers returned. Let’s add one!
-
In the Speakers section, click on the POST button. Referencing the example on the right, fill in a speaker request. Leave the
IDblank, that will be filled in by the database.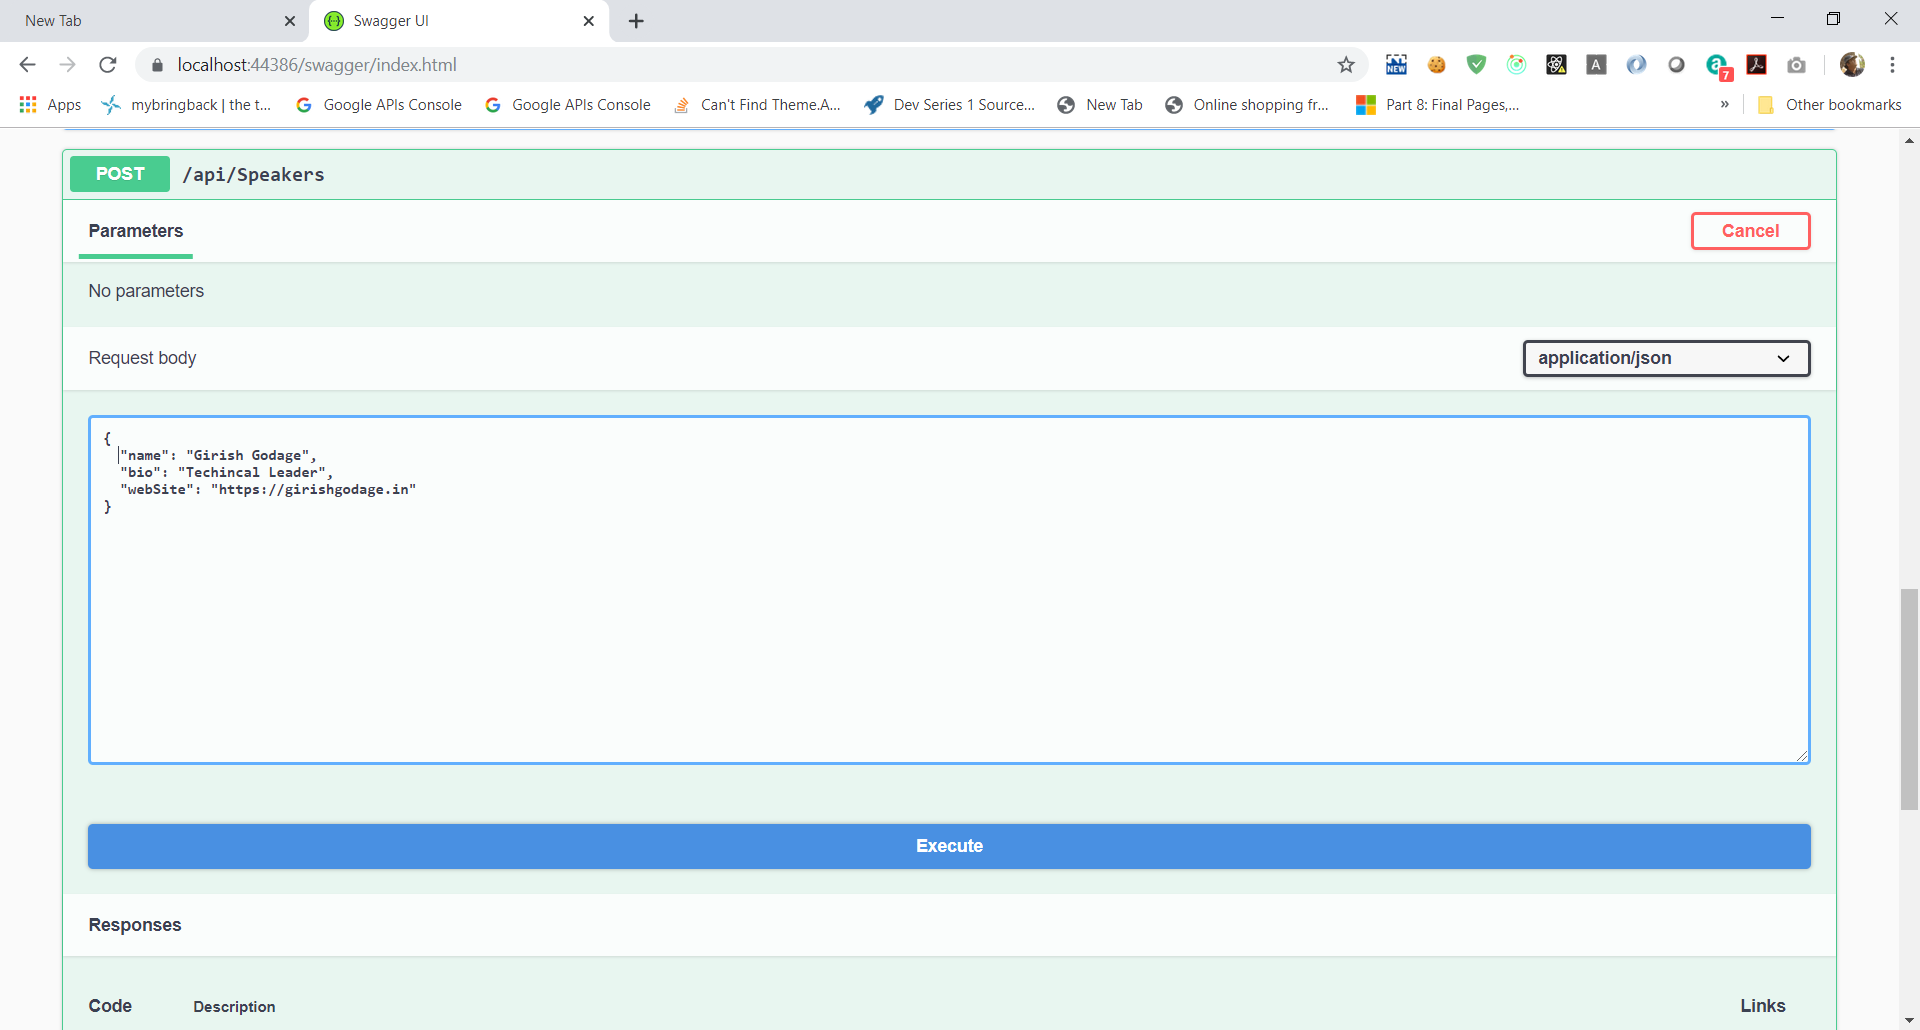
json
    {
      "name": "Girish Godage",
      "bio": "Technical Leader",
      "webSite": "https://girishgodage.in"
    }

-
When you click the Try it out! button, you should see a success response from the server. Now, clicking the GET button above should show your newly added speaker.
Sessions
This is series of articles on Building Conf planner app with Asp.net Core:
- 1 - Build the back-end API with basic EF model
- 2 - Finish the back-end API and EF model, refactor into view modelsl
- 3 - Add front-end, render agenda, set up front-end models
- 4 - Add authentication, add admin policy, allow editing sessions, users can sign-in with Identity, custom auth tag helper
- 5 - Add user association and personal agenda
- 6 - Deployment, Azure and other production environments, configuring environments, diagnostics
- 7 - Challenges
- 8 - SPA front-end