Add ability to log in to the website
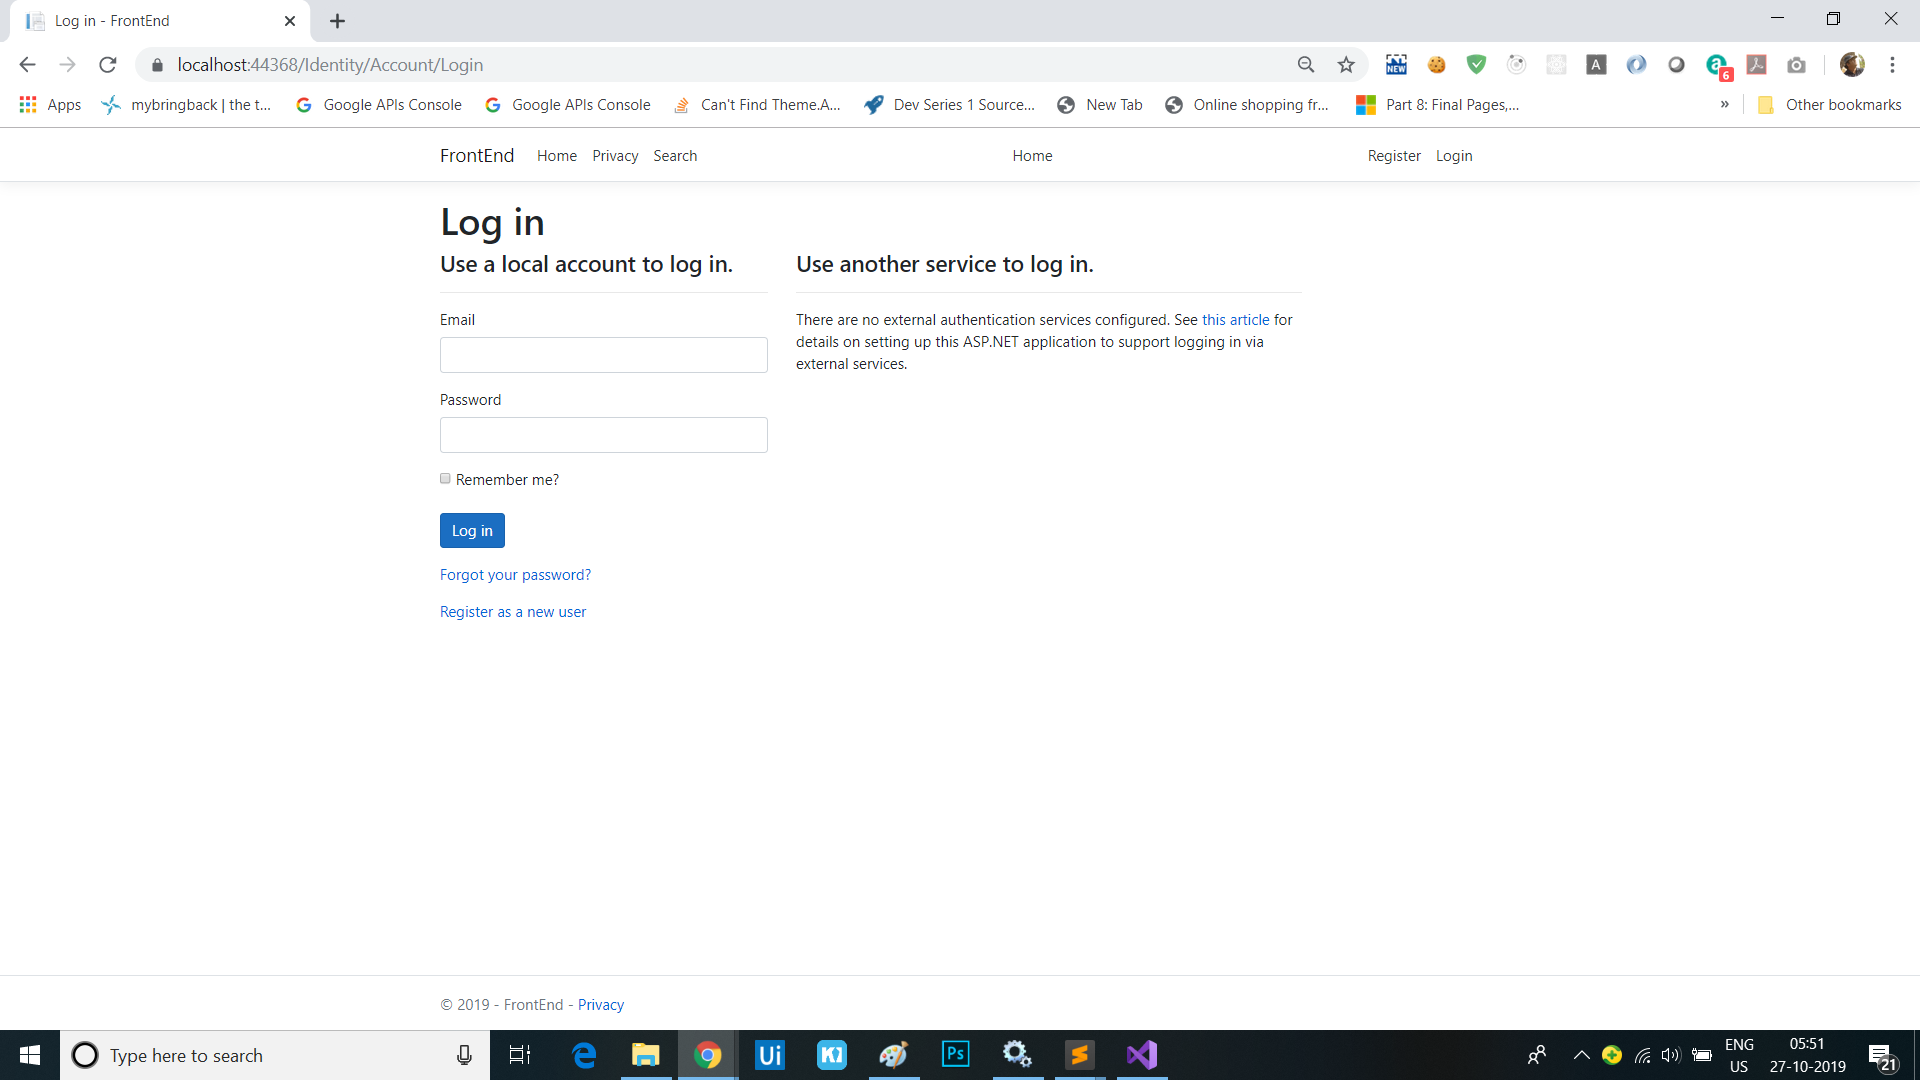
In this module we’re going to add the capability for users to register and sign-in on the front-end web app with a username and password. We’ll do this using ASP.NET Core Identity.
Scaffold in ASP.NET Core Identity and Default UI
We’ll start by scaffolding the default Identity experience into the front-end web app.
Adding Identity using Visual Studio
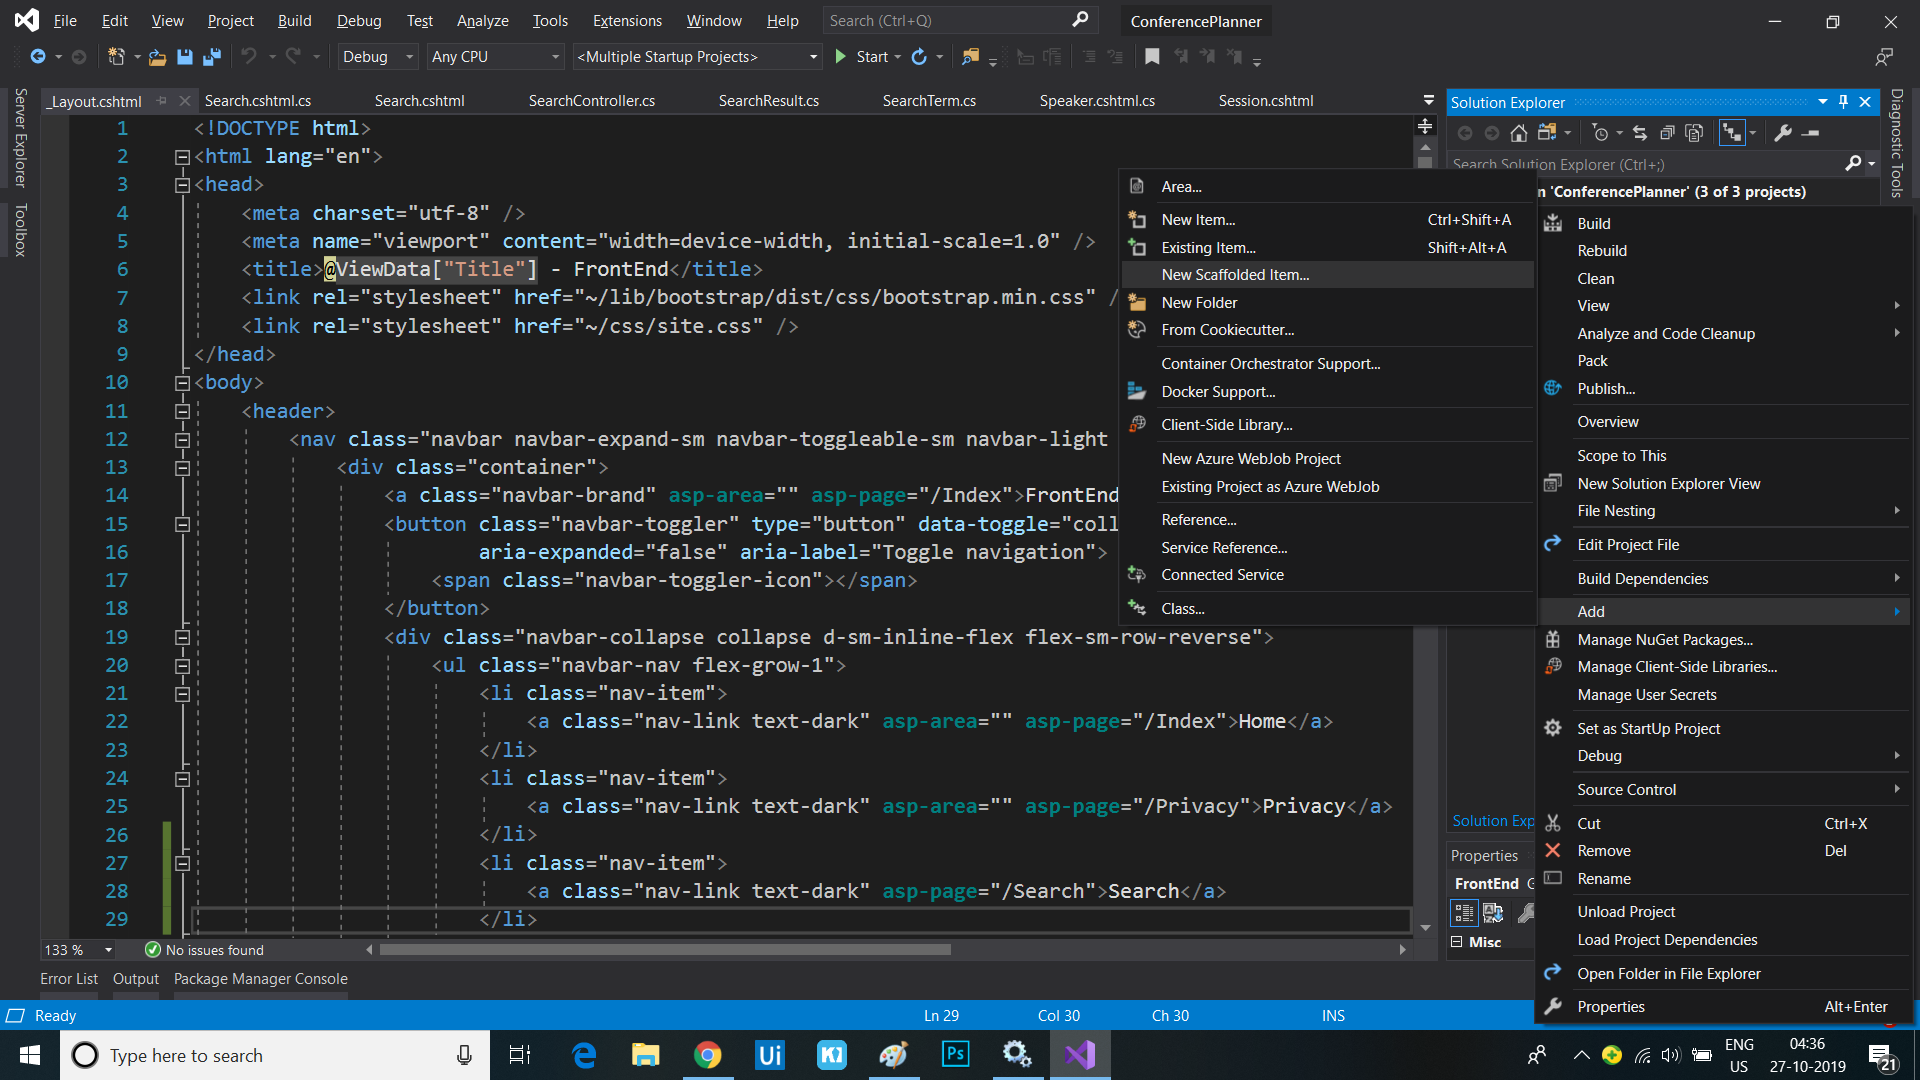
- Right-mouse click on the FrontEnd project in Solution Explorer and select “Add” and then “New Scaffolded Item…”
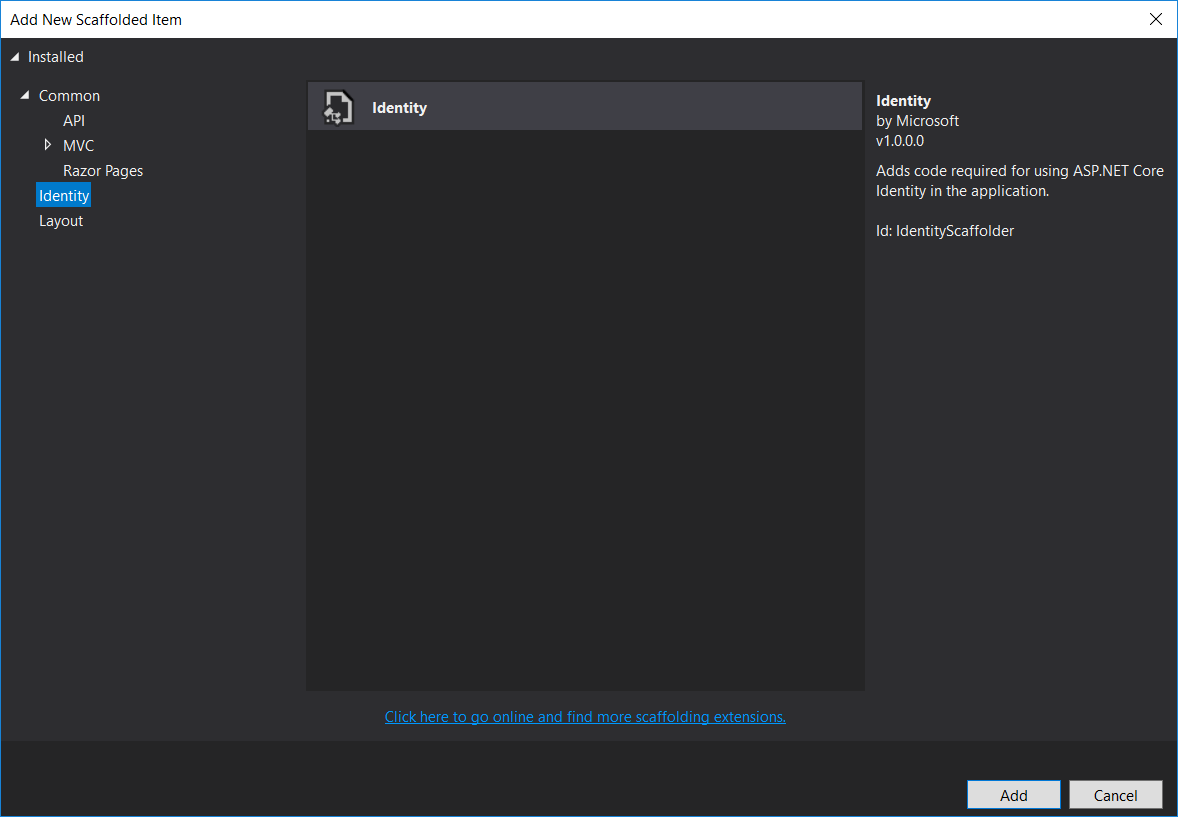
- Select the “Identity” category from the left-hand menu and then select “Identity” from the list and click the “Add” button
- In the “Add Identity” dialog, click the ‘+’ button to add a data context class. Call it
FrontEnd.Data.IdentityDbContext. - In the same dialog, click the ‘+’ button to add a user class. Call it
FrontEnd.Data.User.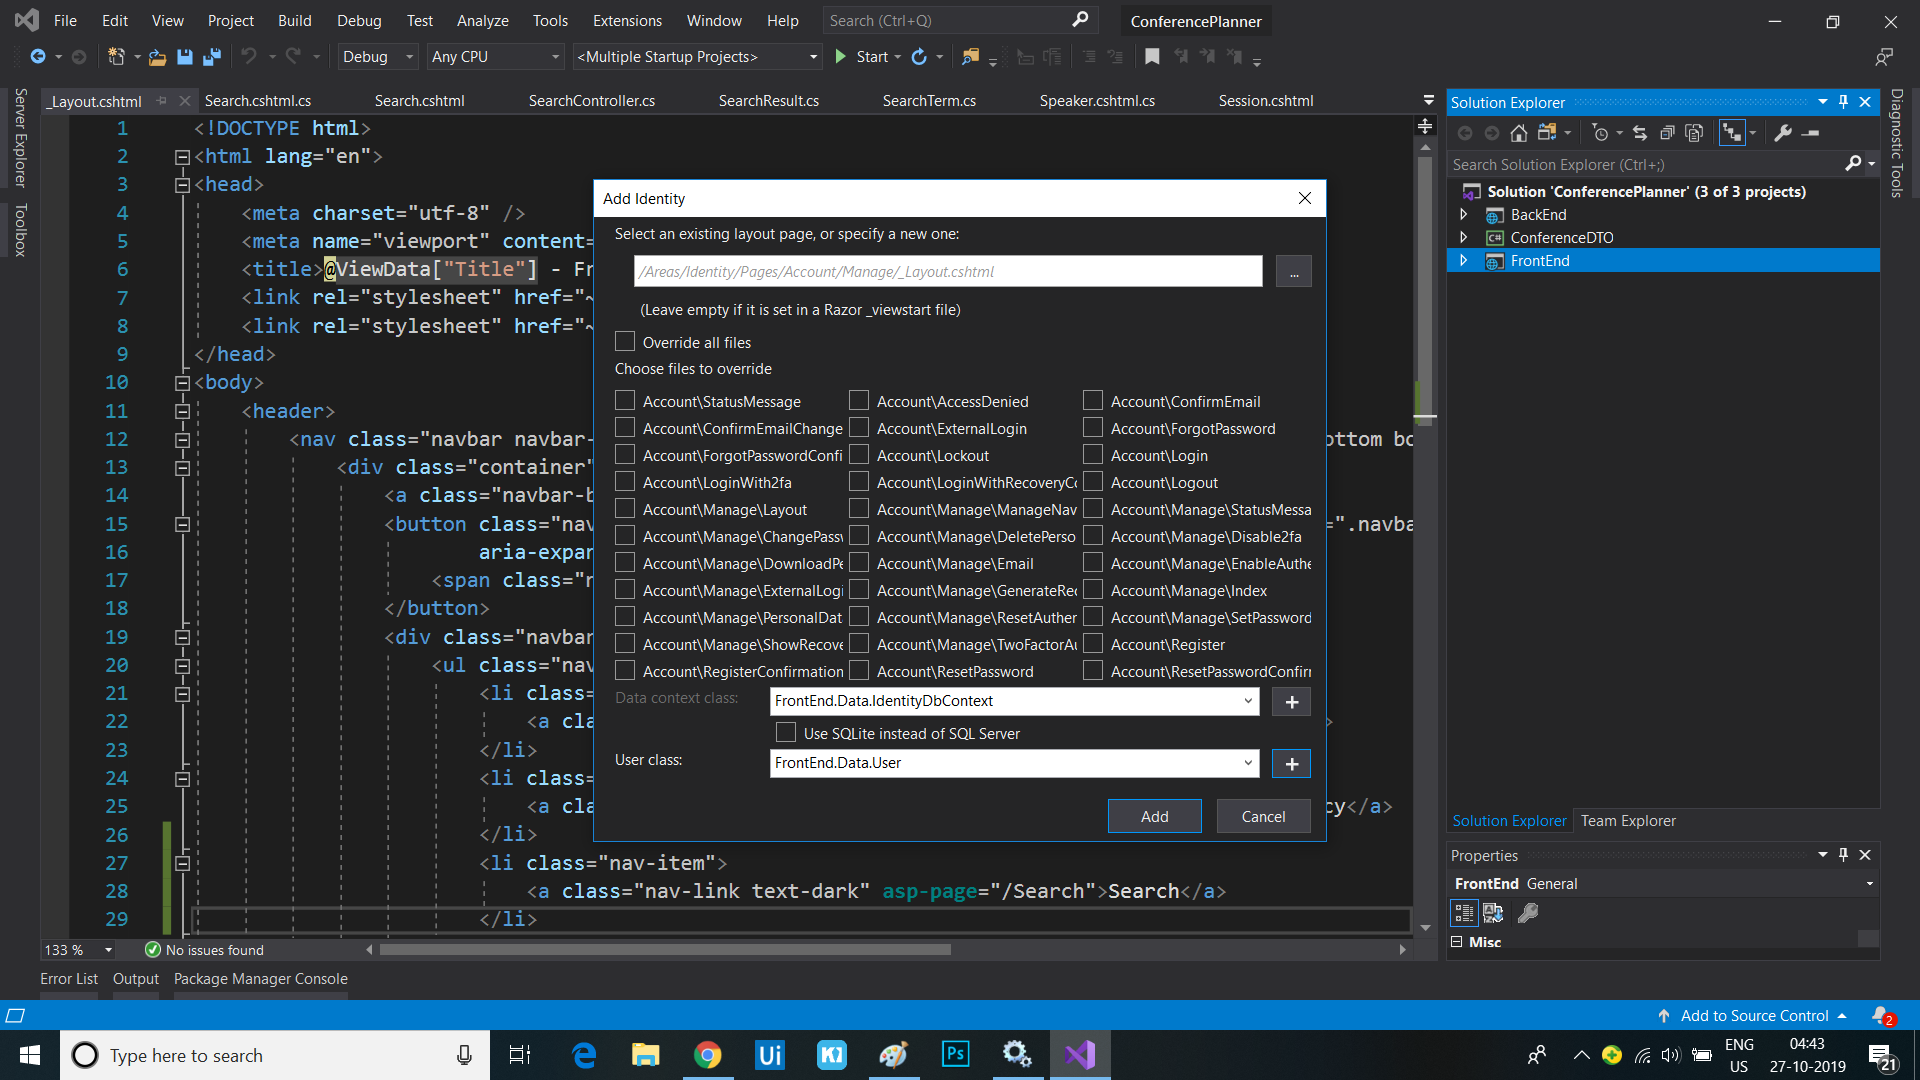
- Click the “Add” button
Adding Identity using the Command Line
- Open a command line to the FrontEnd project folder
- If you haven’t done this already, install the command-line scaffolding tool.
dotnet tool install -g dotnet-aspnet-codegenerator - Add the
Microsoft.VisualStudio.Web.CodeGeneration.Designversion3.0.0package to the project.dotnet add package Microsoft.VisualStudio.Web.CodeGeneration.Design --version 3.0.0 - Run this command to generate the code to use Identity.
dotnet aspnet-codegenerator identity --dbContext FrontEnd.Data.IdentityDbContext --userClass FrontEnd.Data.User --useDefaultUI
Organize the newly created files
Note the new files added to the project in the “Areas/Identity” folder. We’re going to clean these up a little to better match this project’s conventions.
- Delete the
_ValidationScriptsPartial.cshtmlfile in the/Areas/Identity/Pagesfolder, as we already have one in our project’s regular pages folder. - Delete the
ScaffoldingReadme.txtfile.
Add the Identity links to the site header
The scaffolded out Identity system includes a Razor partial view that contains the Identity-related UI for the site header, e.g. Login and Register links, user name once logged in, etc. We need to add a call to this partial from our site’s own layout page:
- Open the
_Layout.cshtmlfile and find the following line:<div class="navbar-collapse collapse d-sm-inline-flex flex-sm-row-reverse"> - Immediately after this line, add a call to render the newly added
_LoginPartial.cshtmlusing the<partial />Tag Helper:<div class="navbar-collapse collapse d-sm-inline-flex flex-sm-row-reverse"> <partial name="_LoginPartial" /> <ul class="navbar-nav flex-grow-1"> <li class="nav-item"> <a class="nav-link text-dark" asp-area="" asp-page="/Index">Home</a> </li> </ul> </div>
Update the app to support admin users
Identity supports simple customization of the classes representing users, and when using the default Entity Framework Core, these changes will result in automatic schema updates for storage. We can also customize the default Identity UI by just scaffolding in the pages we want to change. Let’s add the ability to create an admin user.
Customize the User class to support admin users
- Open the newly created
Userclass in the/Areas/Identity/Datafolder - Add a
boolproperty calledIsAdminto indicate whether the user is an admin:public class User : IdentityUser { public bool IsAdmin { get; set; } }
Generate the Entity Framework migration for our Identity schema
Visual Studio: Package Manager Console
-
In Visual Studio, select the Tools -> NuGet Package Manager -> Package Manager Console
- Run the following commands in the Package Manager Console
Add-Migration CreateIdentitySchema
Update-Database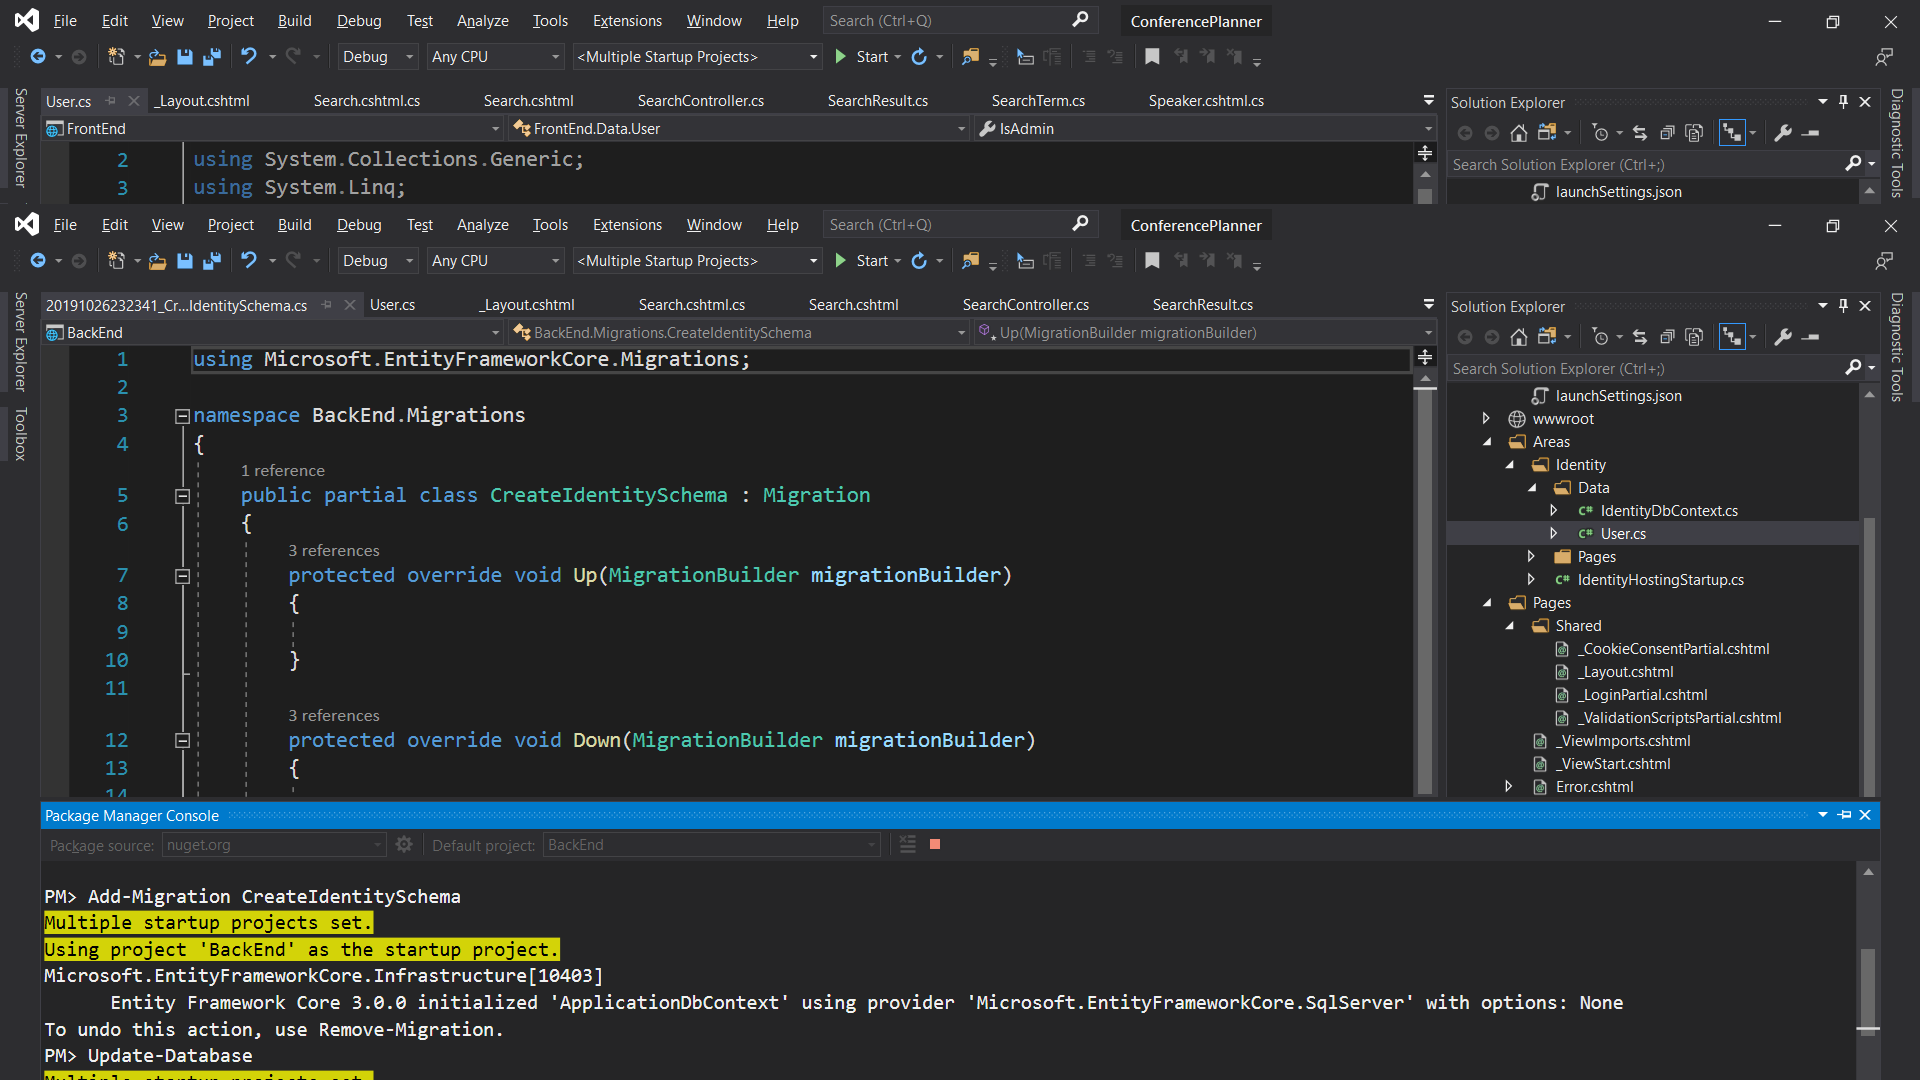
Command line
- Run the following commands in the command prompt:
 dotnet build
 dotnet ef migrations add CreateIdentitySchema
 dotnet ef database update
Add the authentication middleware
We need to ensure that the request pipeline contains the Authentication middleware before any other middleware that represents resources we want to potentially authorize, e.g. Razor Pages
- Open the
Startup.csfile- In the
Configuremethod, add a call to add the Authentication middleware before the Authorization middleware: ``` c# public void Configure(IApplicationBuilder app, IHostingEnvironment env) { if (env.IsDevelopment()) { app.UseDeveloperExceptionPage(); } else { app.UseExceptionHandler(“/Error”); app.UseHsts(); }
    app.UseHttpsRedirection();
    app.UseStaticFiles();

    app.UseRouting();

    app.UseAuthentication();
    app.UseAuthorization();

    app.UseEndpoints(endpoints =>
    {
        endpoints.MapRazorPages();
    });
}
```
Allow creation of an admin user
Let’s make it so the site allows creation of an admin user when there isn’t one already. The first user to access the site will be deemed the administrator.
- Create a new class
AdminServicein theServicesfolder. This class will be responsible for managing the creation key generation and tracking whether the site should allow creating admin users.public class AdminService { private readonly IdentityDbContext _dbContext; private bool _adminExists; public AdminService(IdentityDbContext dbContext) { _dbContext = dbContext; } public async Task<bool> AllowAdminUserCreationAsync() { if (_adminExists) { return false; } else { if (await _dbContext.Users.AnyAsync(user => user.IsAdmin)) { // There are already admin users so disable admin creation _adminExists = true; return false; } // There are no admin users so enable admin creation return true; } } } - Extract an interface from the class and call it
IAdminServicepublic interface IAdminService { Task<bool> AllowAdminUserCreationAsync(); } - In the
Startupclass, modify theConfigureServicesmethod to add the new service to the DI container:services.AddSingleton<IAdminService, AdminService>();
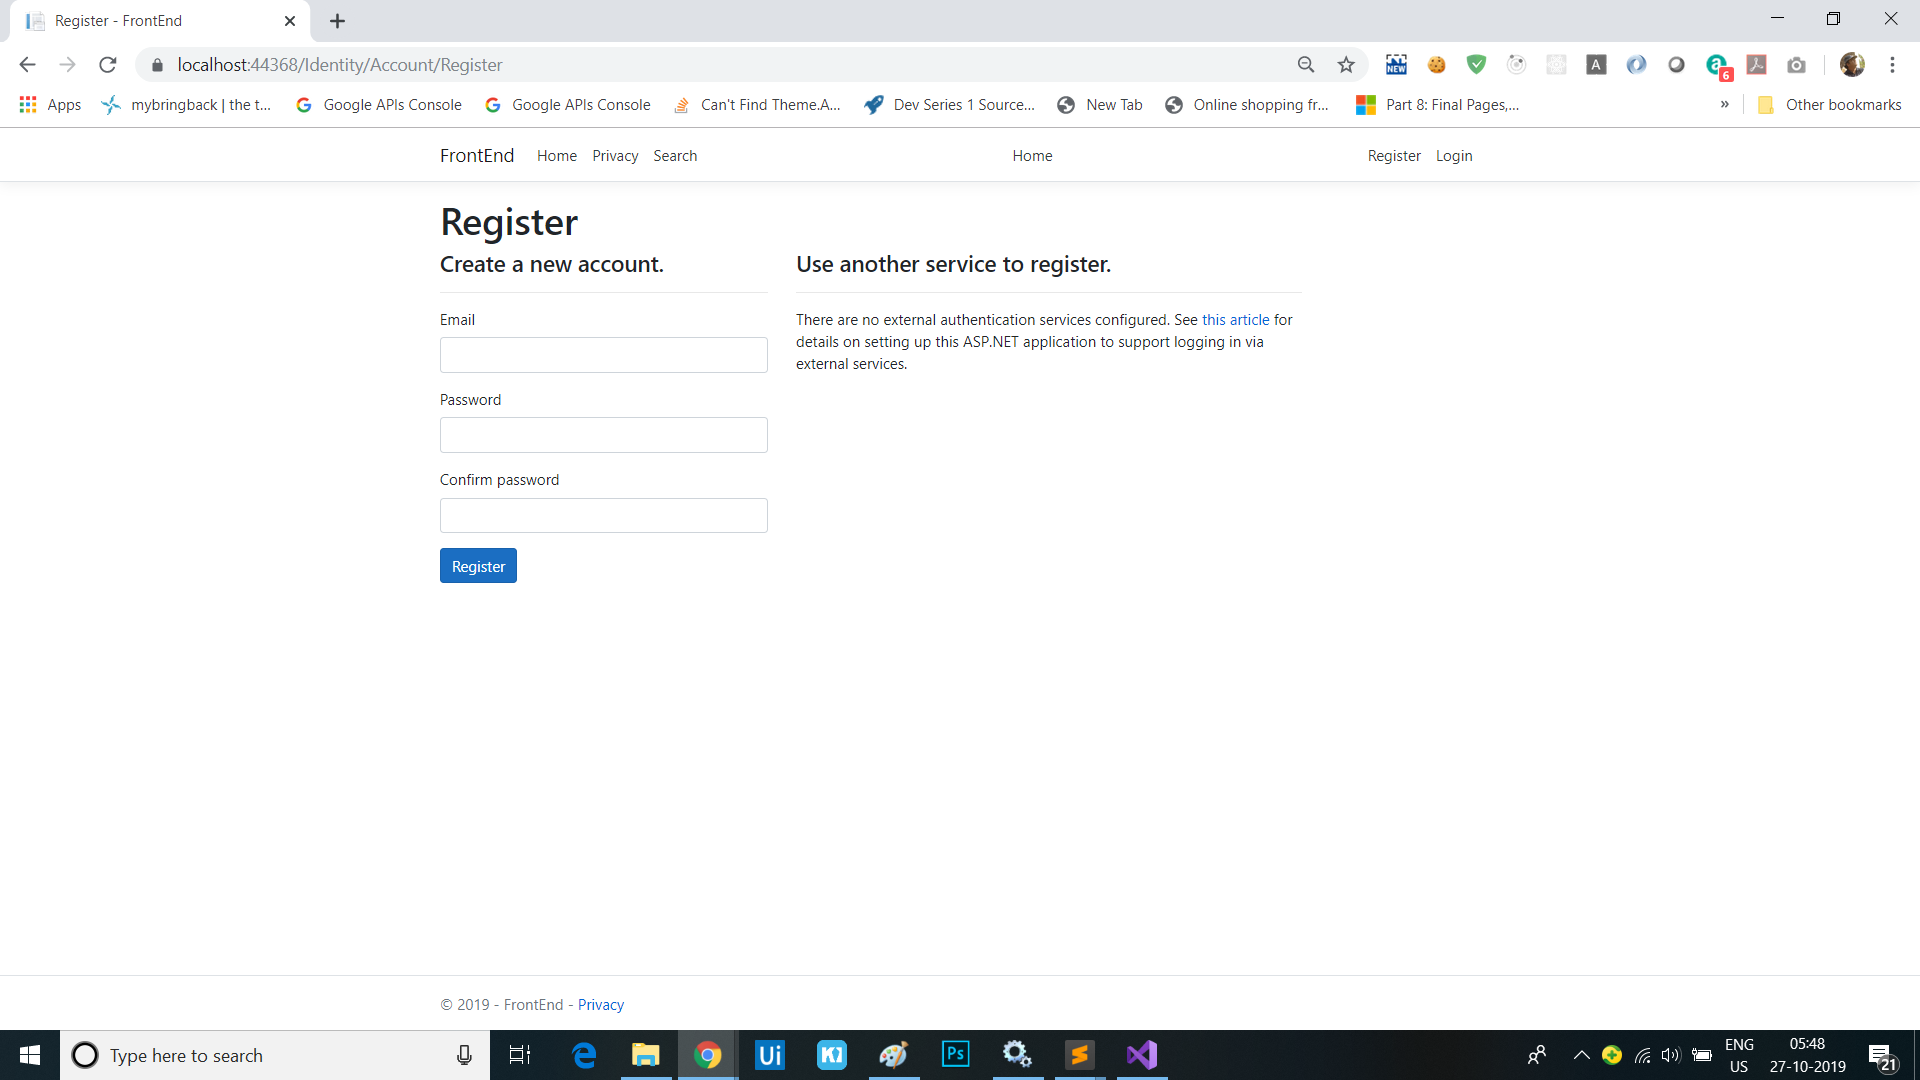
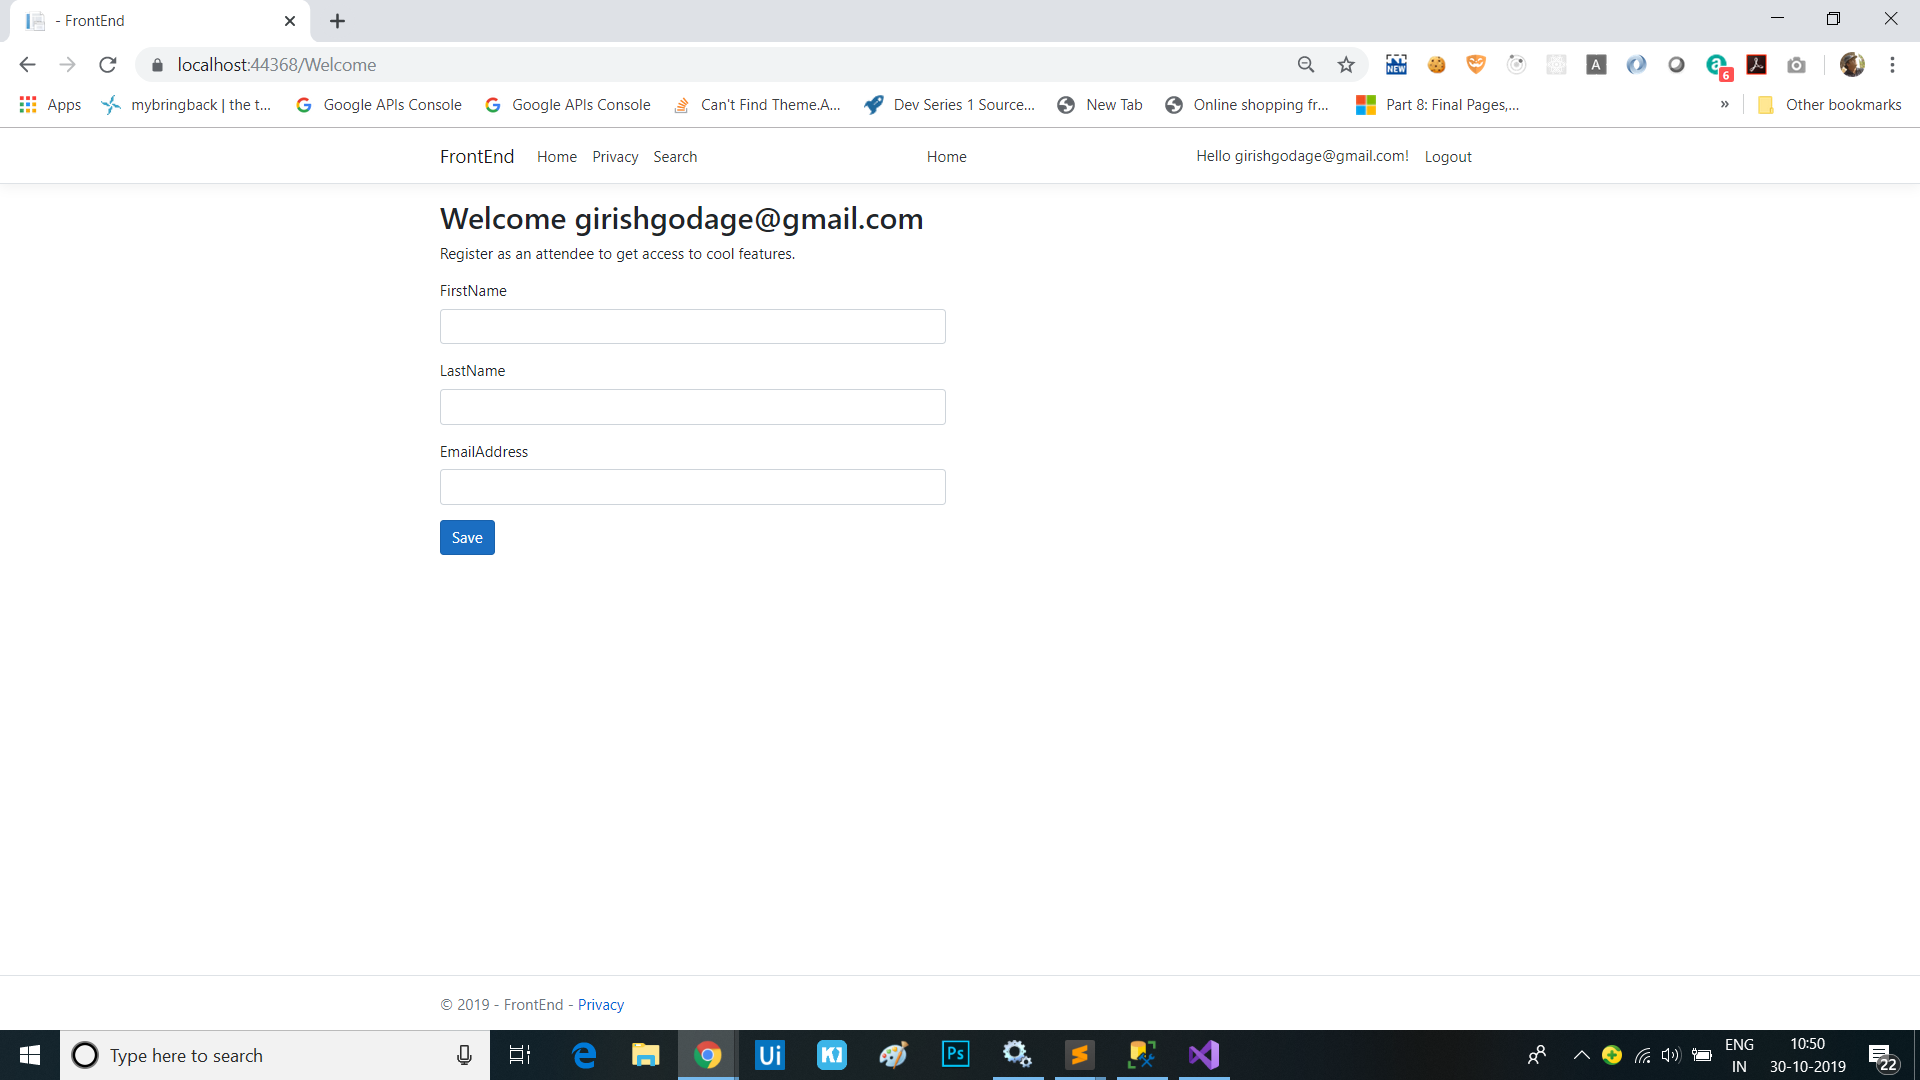
We now need to override the default Register page to enable creating the admin account when the first user is registered.
- Run the Identity scaffolder again, but this time select the
Account\Registerpage in the list of files to override and select theIdentityDbContext (FrontEnd.Data)

- On command line, run
dotnet aspnet-codegenerator identity --dbContext FrontEnd.Data.IdentityDbContext --files Account.Register- Update the
RegisterModelclass in theRegister.cshtml.csfile to acceptIAdminServiceas a parameter and it them to a local member:[AllowAnonymous] public class RegisterModel : PageModel { private readonly SignInManager<User> _signInManager; private readonly UserManager<User> _userManager; private readonly ILogger<RegisterModel> _logger; private readonly IEmailSender _emailSender; private readonly IAdminService _adminService; public RegisterModel( UserManager<User> userManager, SignInManager<User> signInManager, ILogger<RegisterModel> logger, IEmailSender emailSender, IAdminService adminService) { _userManager = userManager; _signInManager = signInManager; _logger = logger; _emailSender = emailSender; _adminService = adminService; } ...
- Update the
- Add code to the
OnPostAsyncthat marks the new user as an admin if theIAdminService.AllowAdminUserCreationAsyncreturns true before creating the user:if (await _adminService.AllowAdminUserCreationAsync()) { // Set as admin user user.IsAdmin = true; } var result = await _userManager.CreateAsync(user, Input.Password); - Update the code that logs a message when users are created to indicate when an admin user is created:
 if (user.IsAdmin)
 {
     _logger.LogInformation("Admin user created a new account with password.");
 }
 else
 {
     _logger.LogInformation("User created a new account with password.");
 }
If you run the app at this point, you’ll see an exception stating that you can’t inject a scoped type into a type registered as a singleton. This is the DI system protecting you from a common anti-pattern that can arise when using IoC containers. Let’s fix the
AdminServiceto use the scopedIdentityDbContextcorrectly.
- Open the
AdminService.csfile and change the code to accept anIServiceProviderinstead of theIdentityDbContextin its constructor:public class AdminService : IAdminService { private readonly IServiceProvider _serviceProvider; private bool _adminExists; public AdminService(IServiceProvider serviceProvider) { _serviceProvider = serviceProvider; } // ...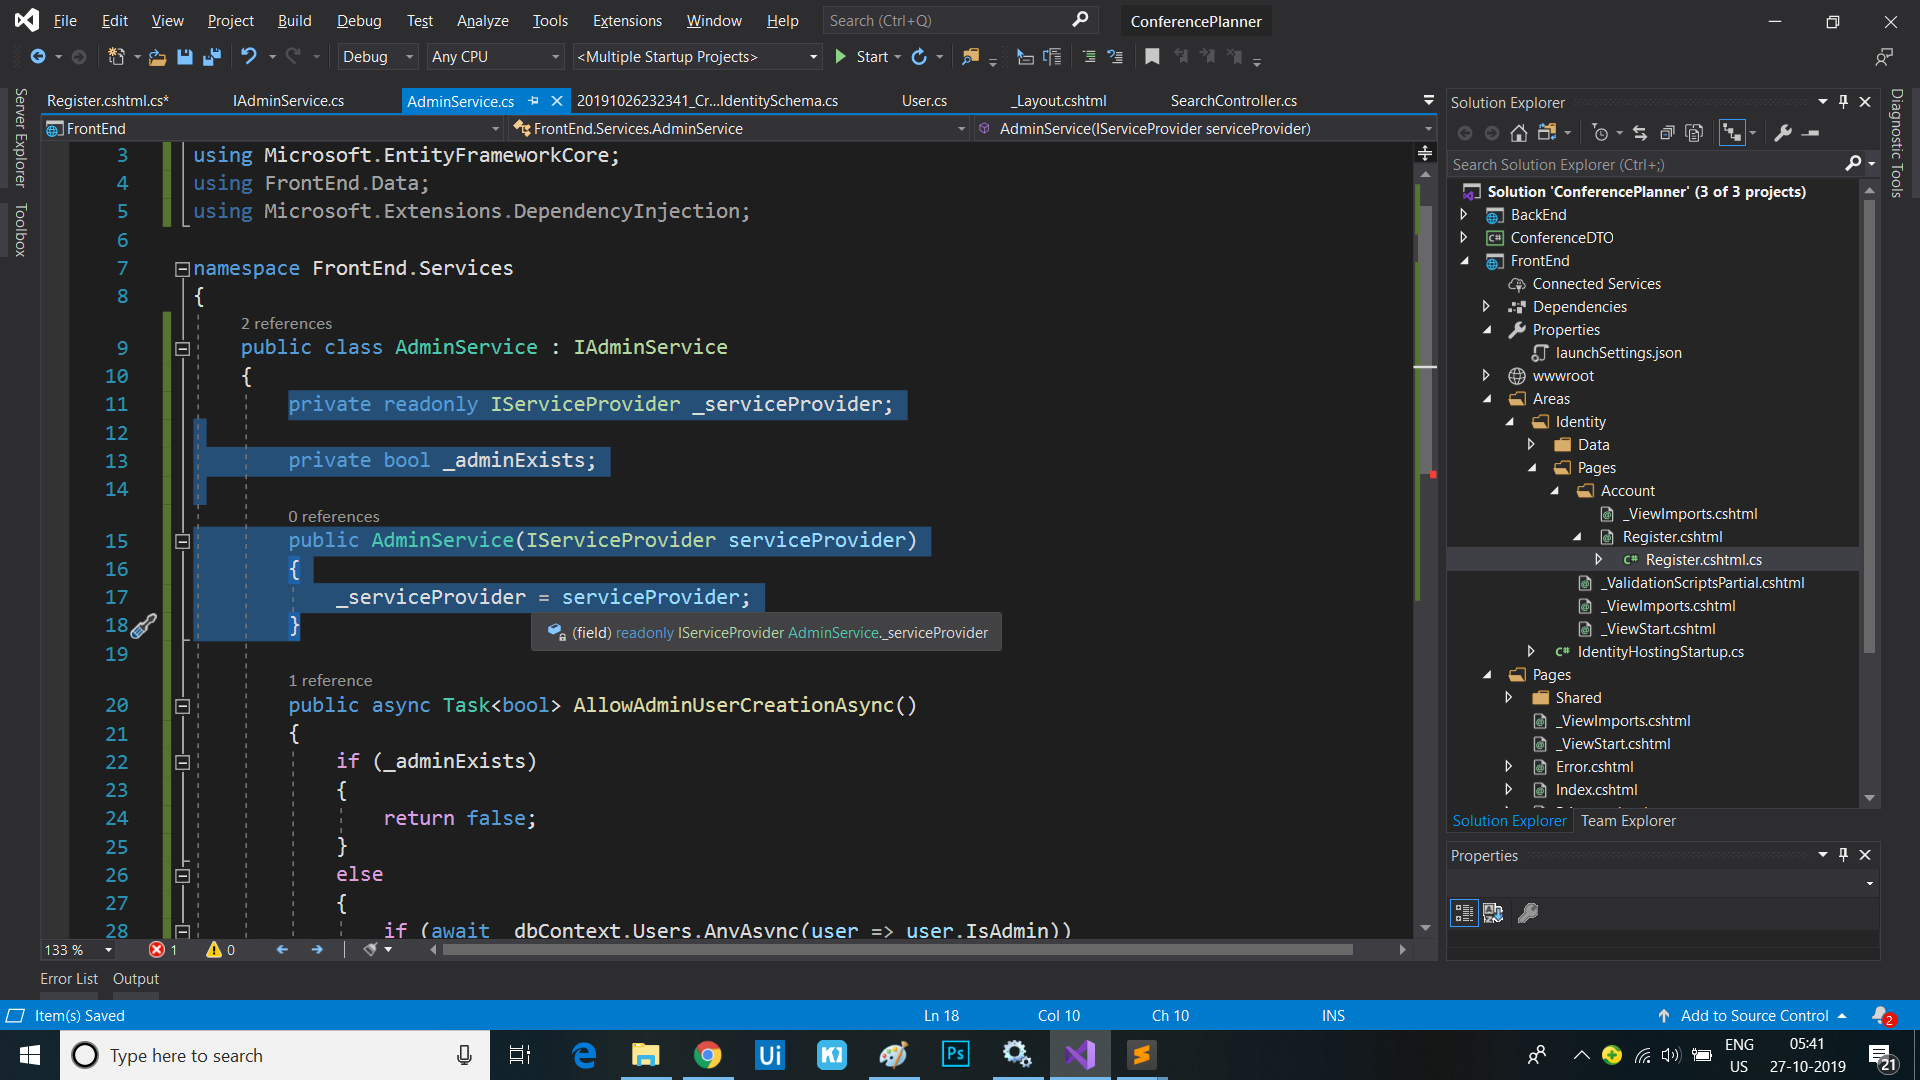
- Now update the
AllowAdminUserCreationAsyncmethod to create a service scope so we can ask for an instance of theIdentityDbContextwithin a scoped context:public async Task<bool> AllowAdminUserCreationAsync() { if (_adminExists) { return false; } else { using (var scope = _serviceProvider.CreateScope()) { var dbContext = scope.ServiceProvider.GetRequiredService<IdentityDbContext>(); if (await dbContext.Users.AnyAsync(user => user.IsAdmin)) { // There are already admin users so disable admin creation _adminExists = true; return false; } // There are no admin users so enable admin creation return true; } } } - Re-launch the application and now you shouldn’t get an exception.
Adding admin section
Add an admin policy
Rather than looking up the user in the database each time the app needs to check if a user is an admin, we can read this information once when the user logs in, then store it as an additional claim on the user identity. We also need to add an authoriation policy to the app that corresponds to this claim, that we can use to protect resources we only want admins to be able to access.
- Add a new class
ClaimsPrincipalFactoryin the/Areas/Identityfolder and add code that adds an admin claim for users who are admins:public class ClaimsPrincipalFactory : UserClaimsPrincipalFactory<User> { private readonly IApiClient _apiClient; public ClaimsPrincipalFactory(IApiClient apiClient, UserManager<User> userManager, IOptions<IdentityOptions> optionsAccessor) : base(userManager, optionsAccessor) { _apiClient = apiClient; } protected override async Task<ClaimsIdentity> GenerateClaimsAsync(User user) { var identity = await base.GenerateClaimsAsync(user); if (user.IsAdmin) { identity.MakeAdmin(); } return identity; } } - Add a new class file
AuthHelpers.csin theInfrastructurefolder and add the following helper methods for reading and setting the admin claim:namespace FrontEnd.Infrastructure { public static class AuthConstants { public static readonly string IsAdmin = nameof(IsAdmin); public static readonly string IsAttendee = nameof(IsAttendee); public static readonly string TrueValue = "true"; } } namespace System.Security.Claims { public static class AuthnHelpers { public static bool IsAdmin(this ClaimsPrincipal principal) => principal.HasClaim(AuthConstants.IsAdmin, AuthConstants.TrueValue); public static void MakeAdmin(this ClaimsPrincipal principal) => principal.Identities.First().MakeAdmin(); public static void MakeAdmin(this ClaimsIdentity identity) => identity.AddClaim(new Claim(AuthConstants.IsAdmin, AuthConstants.TrueValue)); } } namespace Microsoft.Extensions.DependencyInjection { public static class AuthzHelpers { public static AuthorizationPolicyBuilder RequireIsAdminClaim(this AuthorizationPolicyBuilder builder) => builder.RequireClaim(AuthConstants.IsAdmin, AuthConstants.TrueValue); } } -
Register the custom
UserClaimsPrincipalFactory<User>in theIdentityHostingStartupclass:services.AddDefaultIdentity<User>() .AddEntityFrameworkStores<IdentityDbContext>() .AddClaimsPrincipalFactory<ClaimsPrincipalFactory>(); -
Add authorization services with an admin policy to the
ConfigureServices()method ofStartup.csthat uses the just-added helper methods to require the admin claim:services.AddAuthorization(options => { options.AddPolicy("Admin", policy => { policy.RequireAuthenticatedUser() .RequireIsAdminClaim(); }); });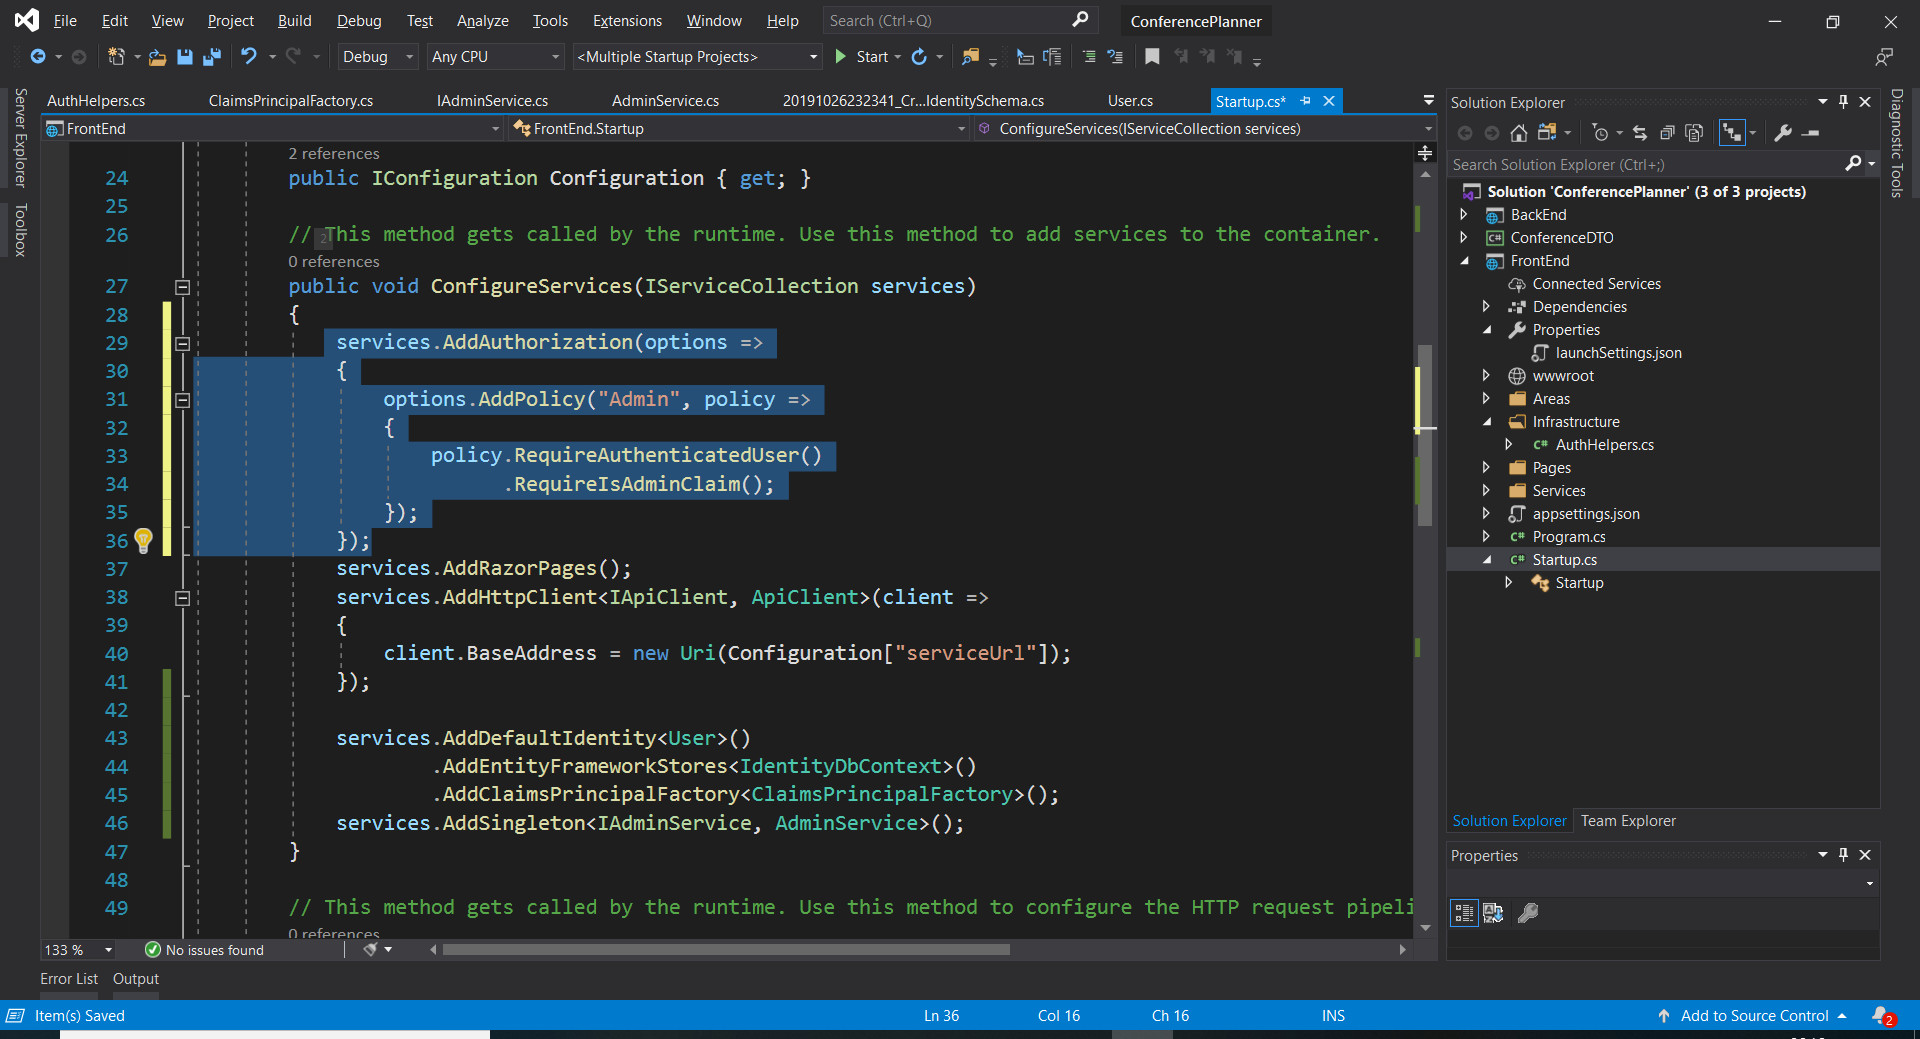
-
Add
System.Security.Claimsto the list of usings inIndex.cshtml.cs, then use the helper method in the page model to determine if the current user is an administrator.public bool IsAdmin { get; set; } public async Task OnGetAsync(int day = 0) { IsAdmin = User.IsAdmin(); // More stuff here // ... }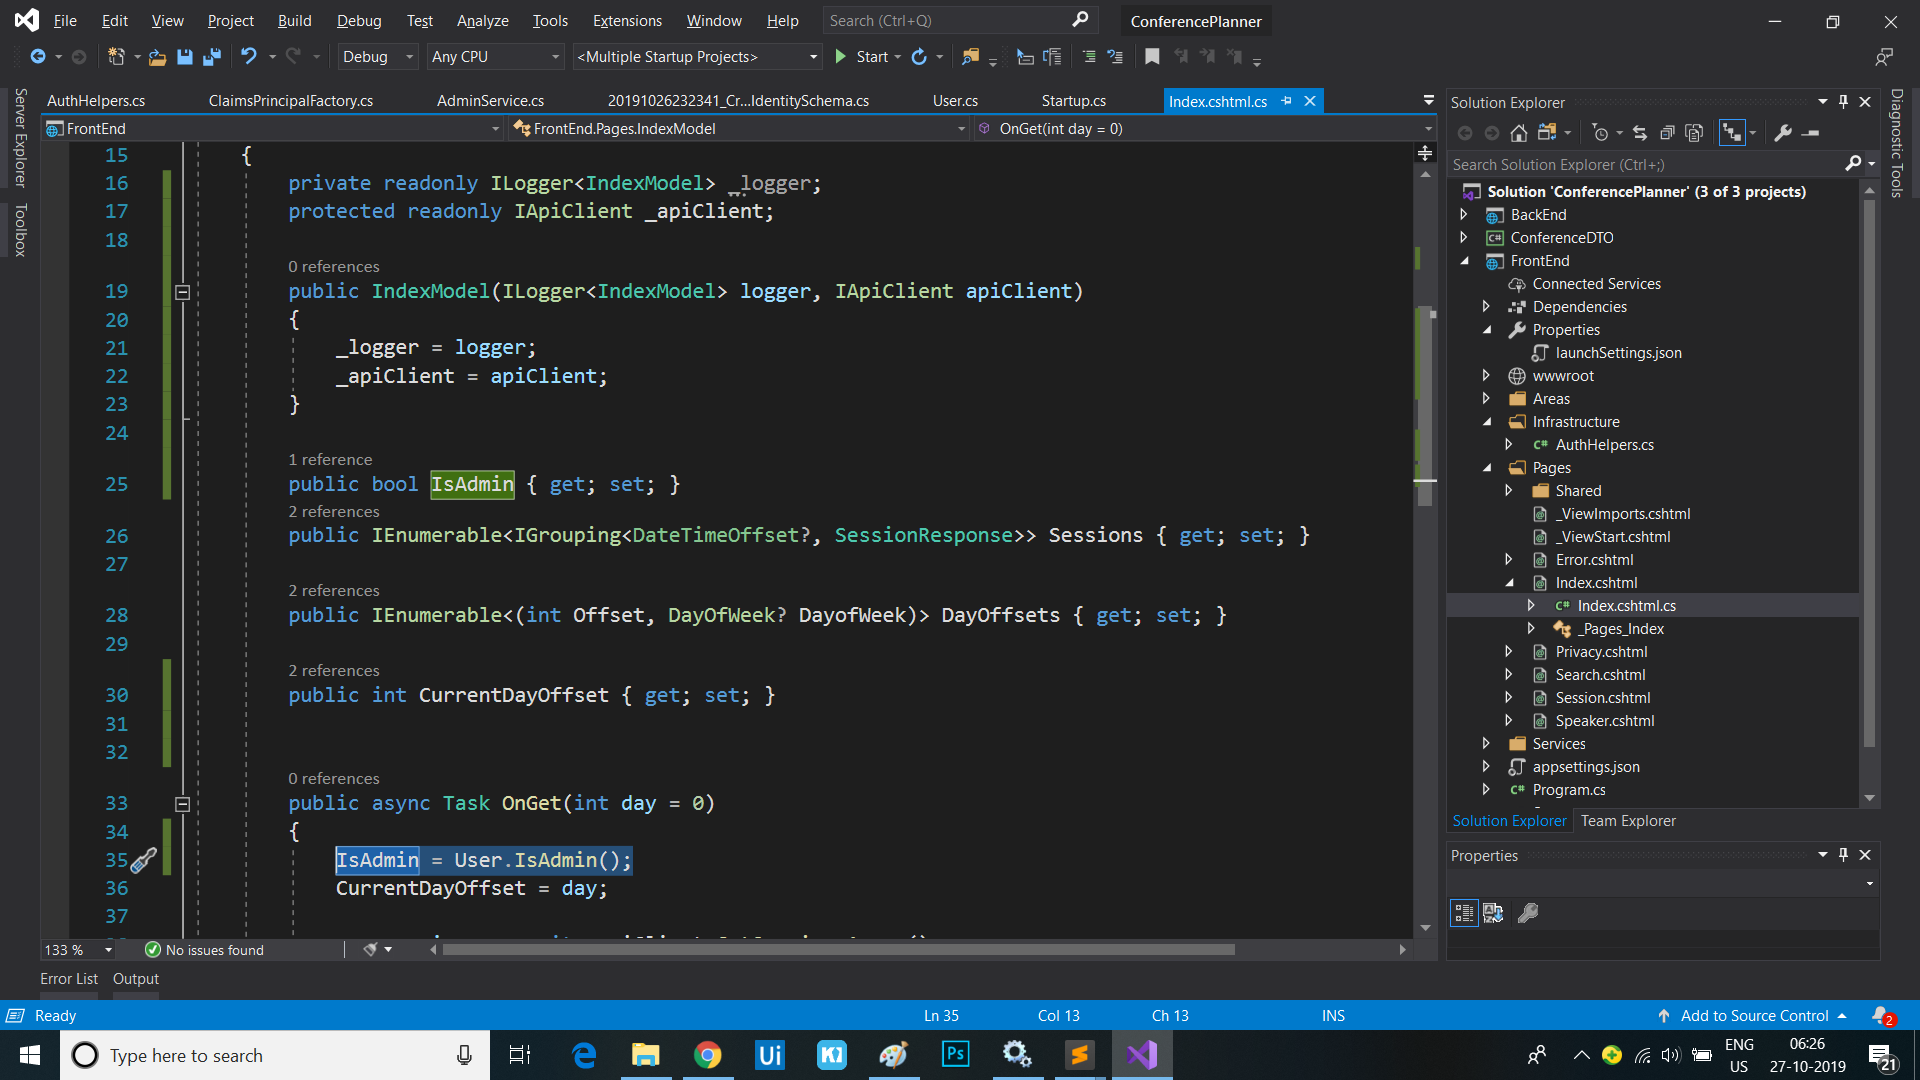
-
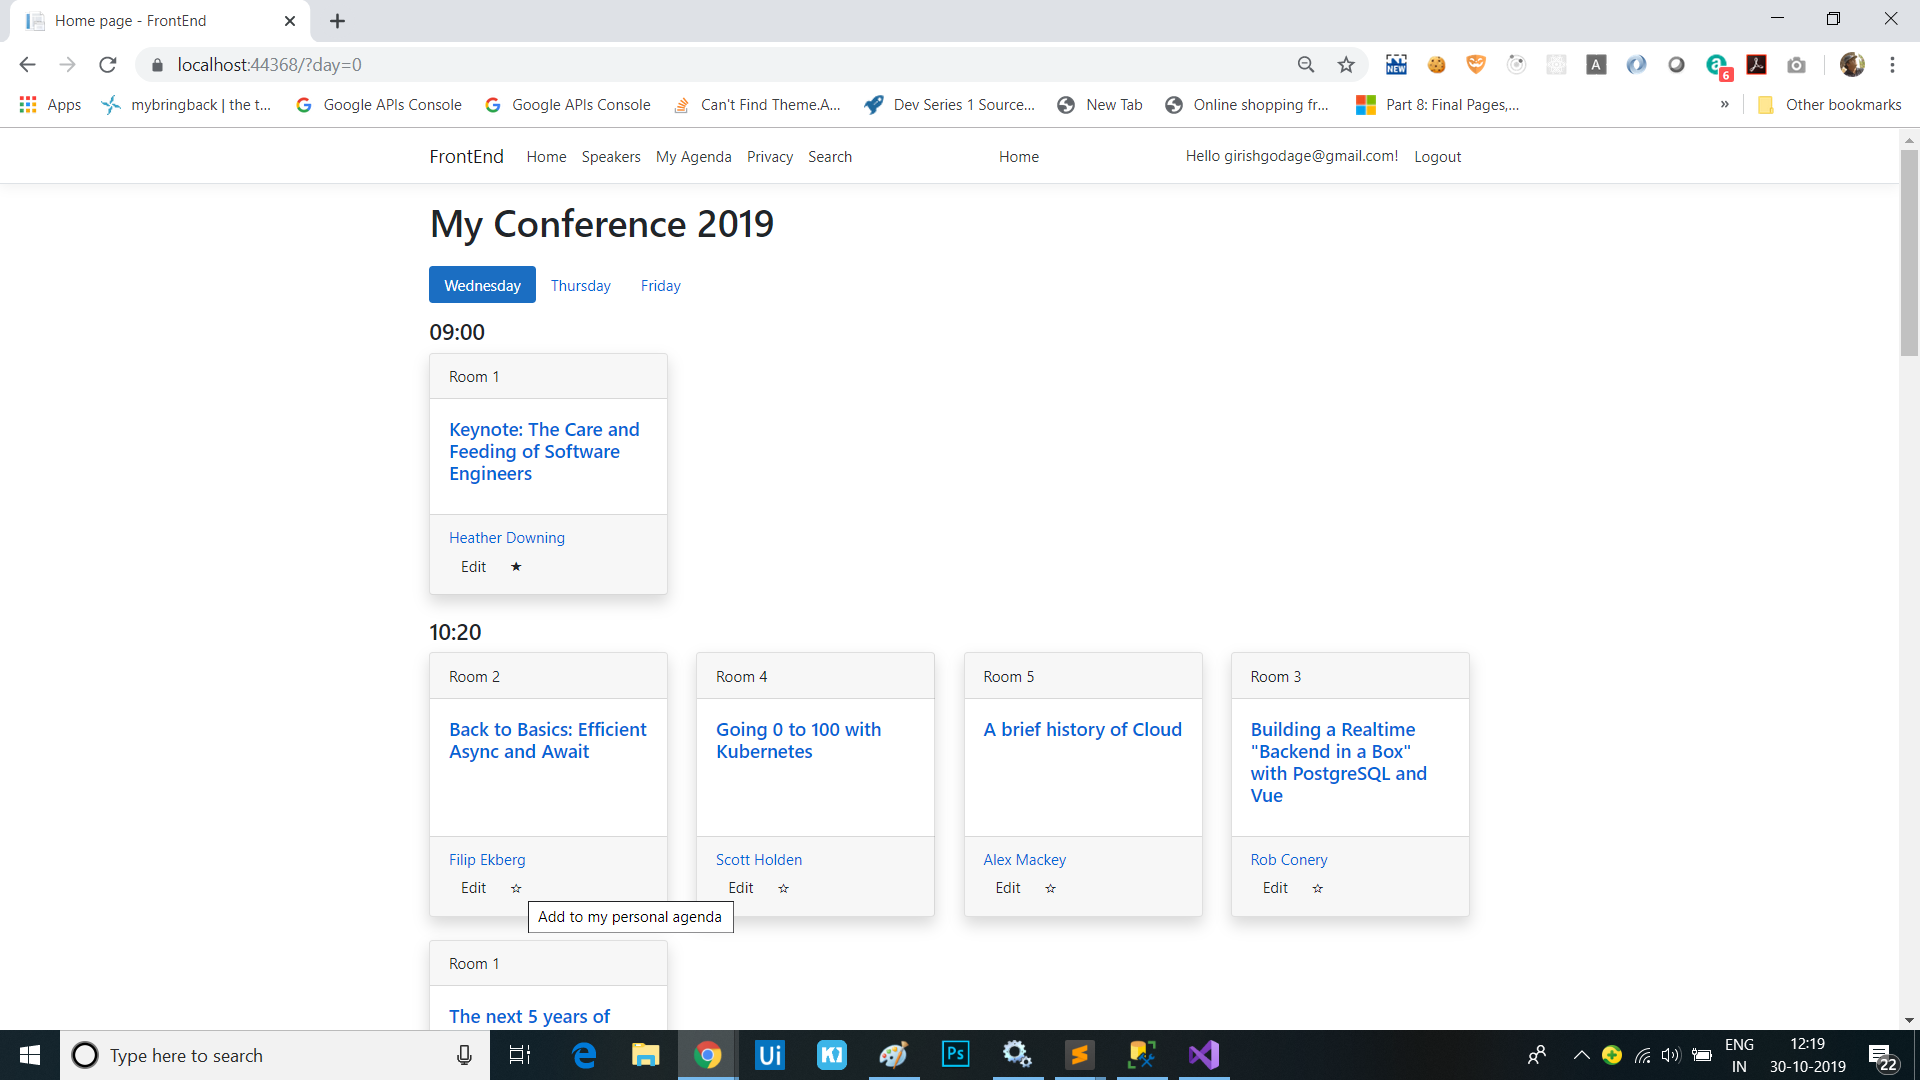
On the
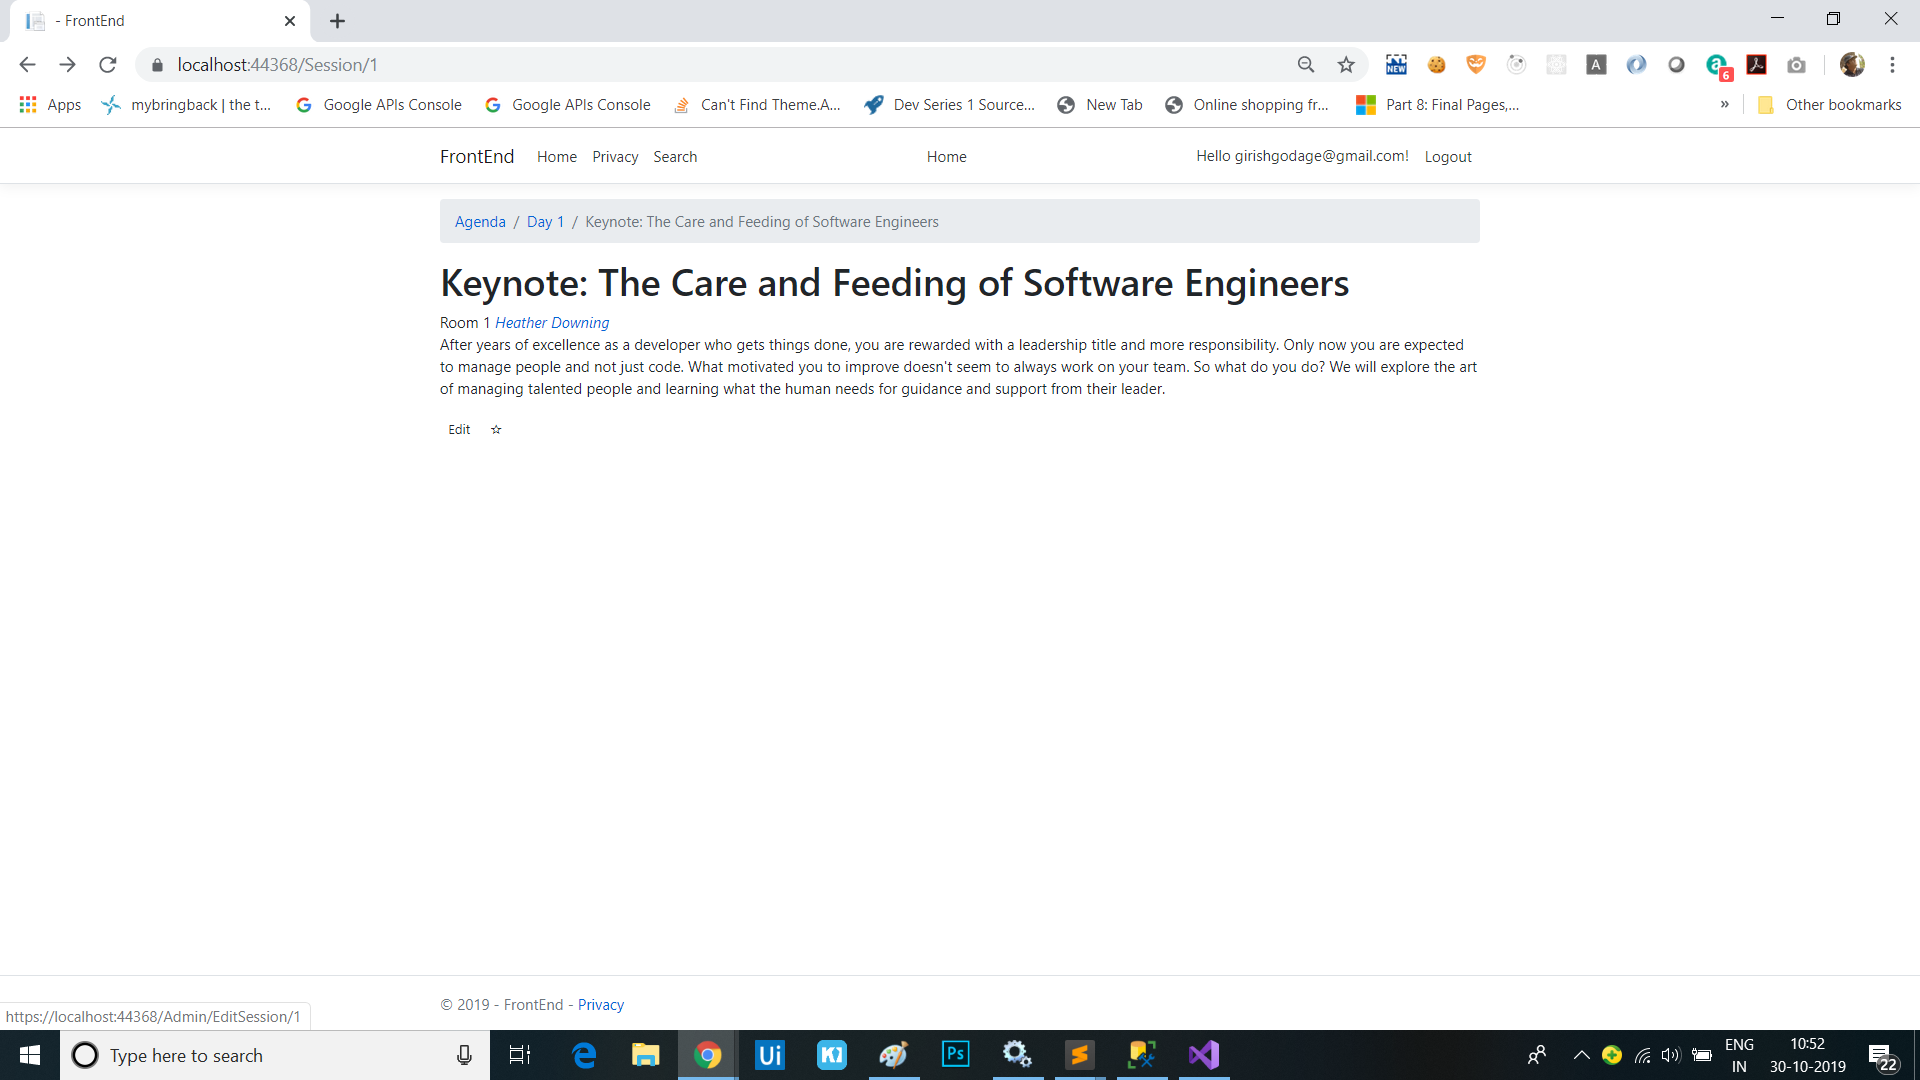
Indexrazor page, add an edit link to allow admins to edit sessions. You’ll add the following code directly after the sessionforeachloop:<div class="card-footer"> <ul class="list-inline mb-0"> @foreach (var speaker in session.Speakers) { <li class="list-inline-item"> <a asp-page="Speaker" asp-route-id="@speaker.Id">@speaker.Name</a> </li> } @if (Model.IsAdmin) { <li> <a asp-page="/Admin/EditSession" asp-route-id="@session.Id" class="btn btn-default btn-xs">Edit</a> </li> } </ul> </div> - Add a nested
Adminfolder to thePagesfolder then add anEditSession.cshtmlrazor page andEditSession.cshtml.cspage model to it. -
Next, we’ll protect pages in the
Adminfolder with an Admin policy by making the following change to theservices.AddRazorPages()call inStartup.ConfigureServices:services.AddRazorPages(options => { options.Conventions.AuthorizeFolder("/Admin", "Admin"); });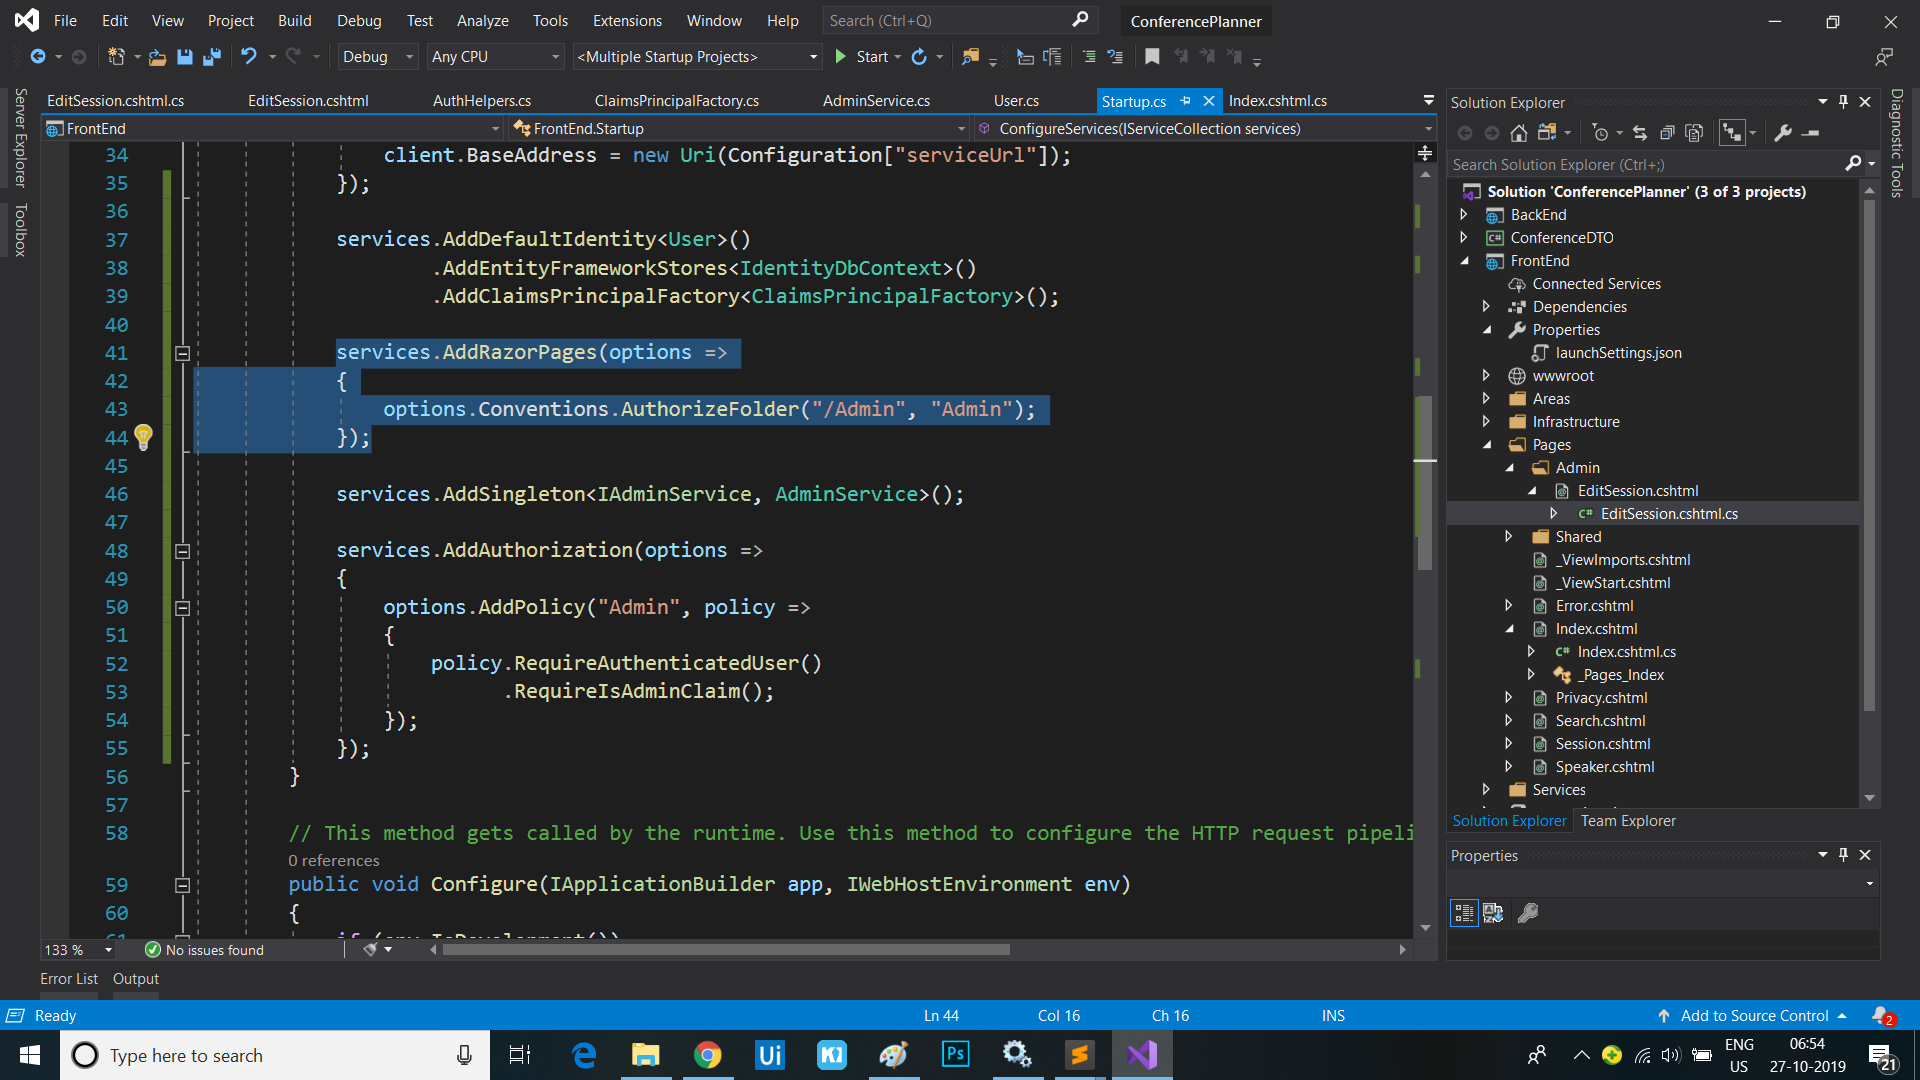
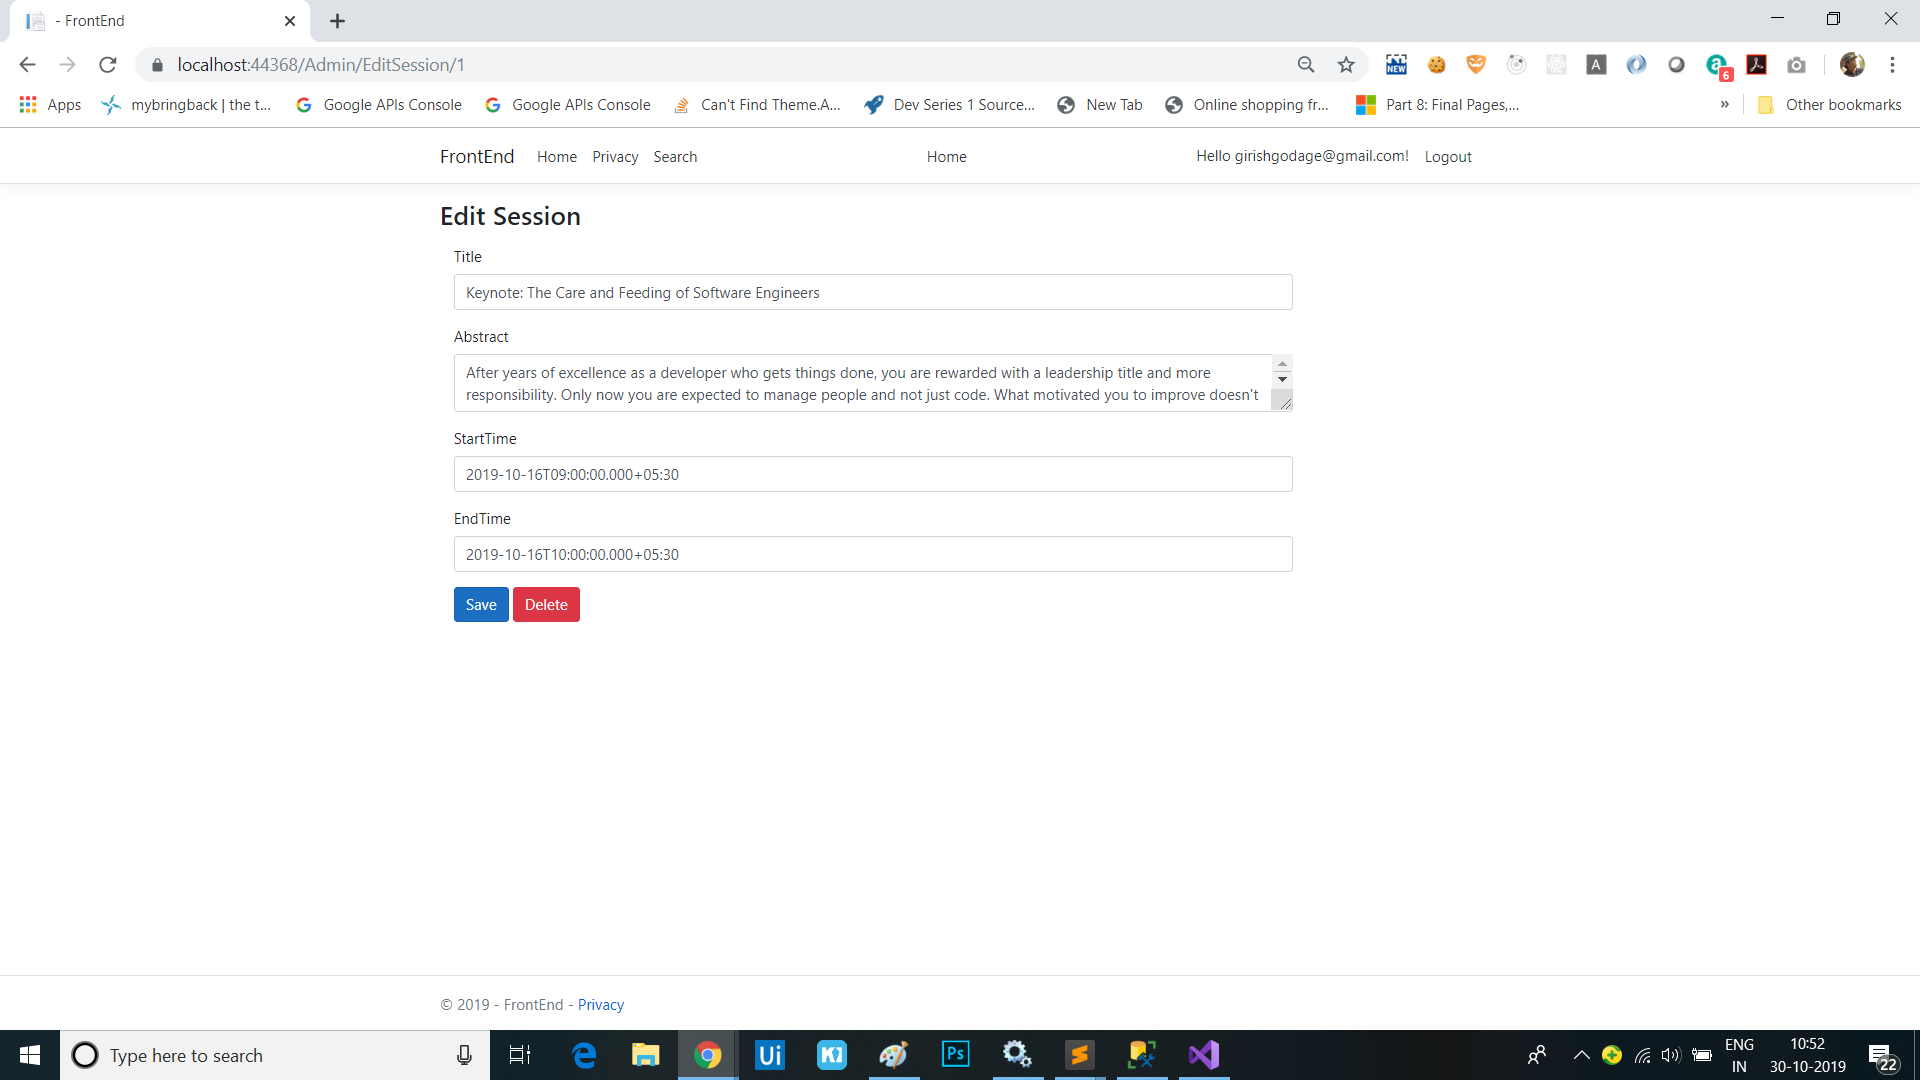
Add a form for editing a session
-
Change
EditSession.cshtml.csto render the session in the edit form:public class EditSessionModel : PageModel { private readonly IApiClient _apiClient; public EditSessionModel(IApiClient apiClient) { _apiClient = apiClient; } public Session Session { get; set; } public async Task OnGetAsync(int id) { var session = await _apiClient.GetSessionAsync(id); Session = new Session { Id = session.Id, TrackId = session.TrackId, Title = session.Title, Abstract = session.Abstract, StartTime = session.StartTime, EndTime = session.EndTime }; } } -
Add the “{id}” route to the
EditSession.cshtmlform:@page "{id}" @model EditSessionModel -
Add the following edit form to
EditSession.cshtml:<h3>Edit Session</h3> <form method="post" class="form-horizontal"> <div asp-validation-summary="All" class="text-danger"></div> <input asp-for="Session.Id" type="hidden" /> <input asp-for="Session.TrackId" type="hidden" /> <div class="form-group"> <label asp-for="Session.Title" class="col-md-2 control-label"></label> <div class="col-md-10"> <input asp-for="Session.Title" class="form-control" /> <span asp-validation-for="Session.Title" class="text-danger"></span> </div> </div> <div class="form-group"> <label asp-for="Session.Abstract" class="col-md-2 control-label"></label> <div class="col-md-10"> <textarea asp-for="Session.Abstract" class="form-control"></textarea> <span asp-validation-for="Session.Abstract" class="text-danger"></span> </div> </div> <div class="form-group"> <label asp-for="Session.StartTime" class="col-md-2 control-label"></label> <div class="col-md-10"> <input asp-for="Session.StartTime" class="form-control" /> <span asp-validation-for="Session.StartTime" class="text-danger"></span> </div> </div> <div class="form-group"> <label asp-for="Session.EndTime" class="col-md-2 control-label"></label> <div class="col-md-10"> <input asp-for="Session.EndTime" class="form-control" /> <span asp-validation-for="Session.EndTime" class="text-danger"></span> </div> </div> <div class="form-group"> <div class="col-md-offset-2 col-md-10"> <button type="submit" class="btn btn-primary">Save</button> <button type="submit" asp-page-handler="Delete" class="btn btn-danger">Delete</button> </div> </div> </form> @section Scripts { <partial name="_ValidationScriptsPartial" /> } -
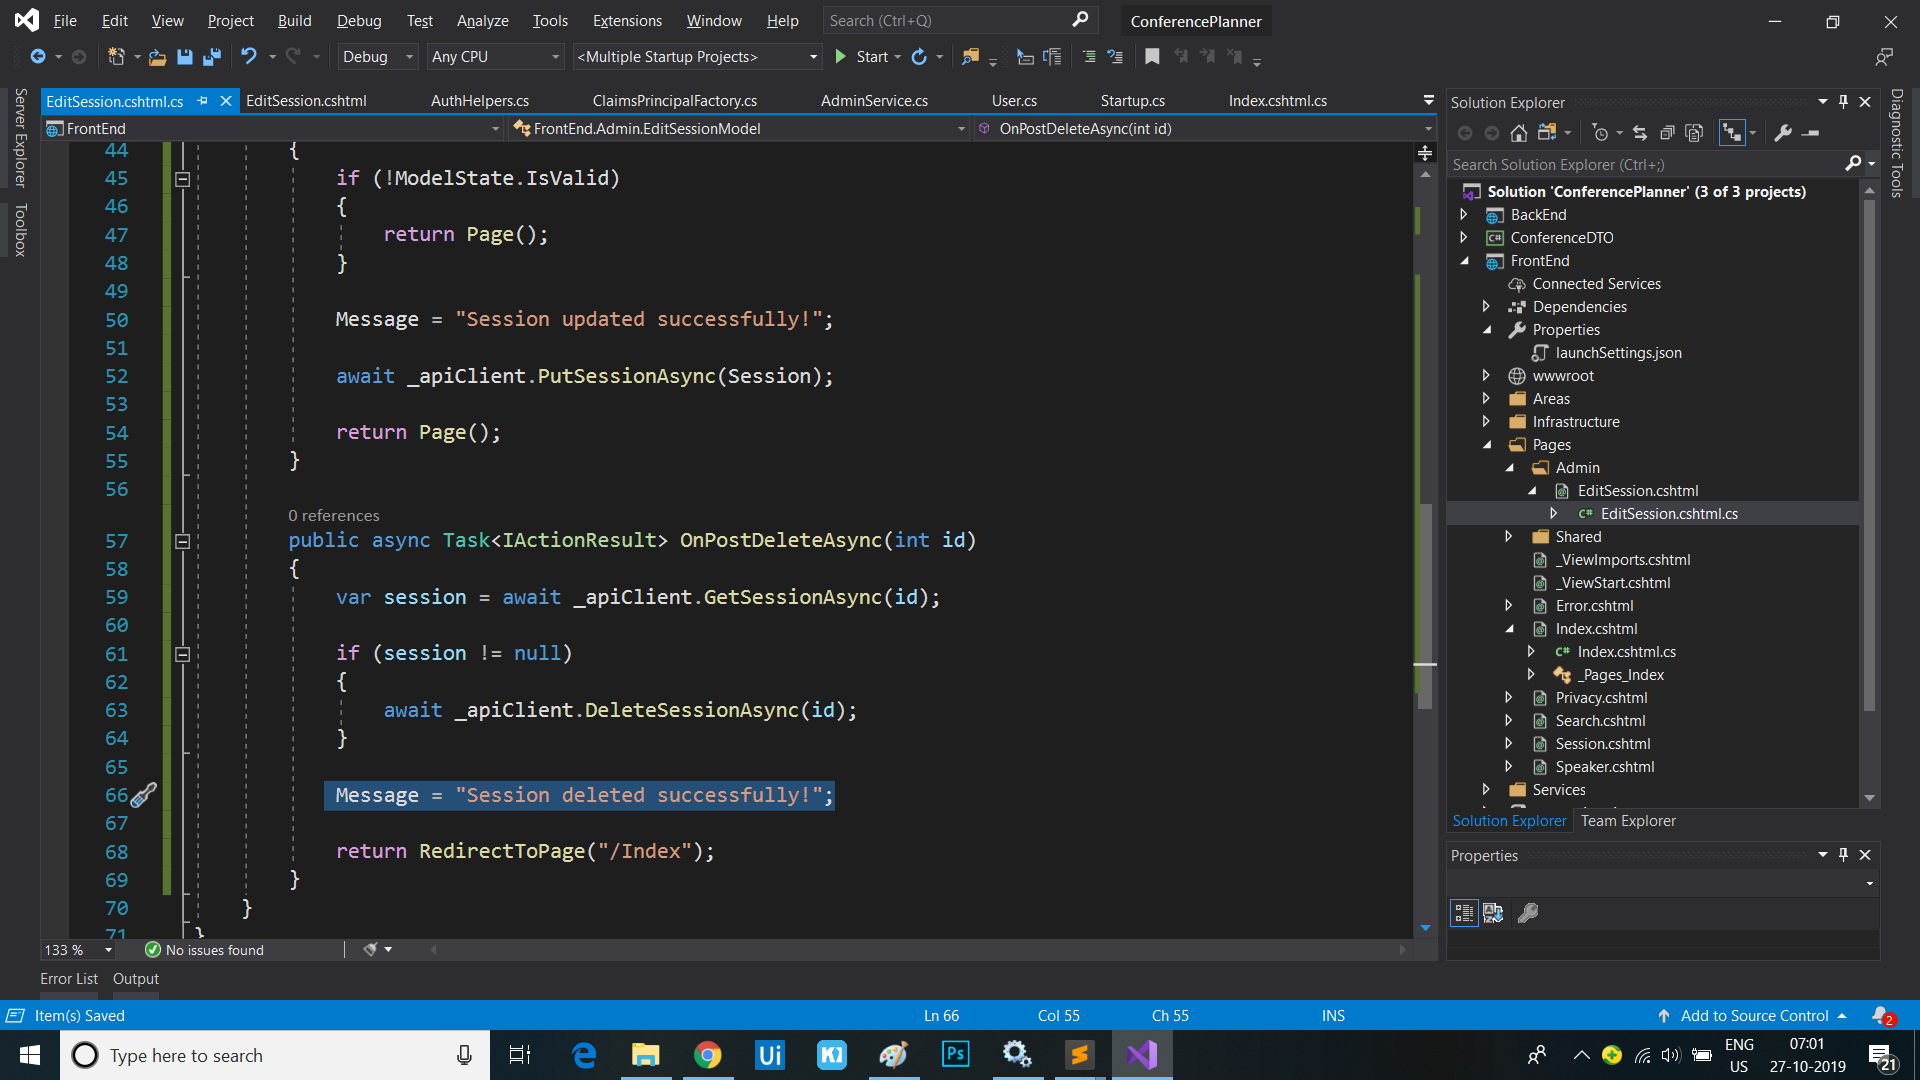
Add code to handle the
SaveandDeletebutton actions inEditSession.cshtml.cs:public async Task<IActionResult> OnPostAsync() { if (!ModelState.IsValid) { return Page(); } await _apiClient.PutSessionAsync(Session); return Page(); } public async Task<IActionResult> OnPostDeleteAsync(int id) { var session = await _apiClient.GetSessionAsync(id); if (session != null) { await _apiClient.DeleteSessionAsync(id); } return Page(); } - Add a
[BindProperty]attribute to theSessionproperty inEditSession.cshtml.csto make sure properties get bound on form posts:[BindProperty] public Session Session { get; set; } - The form should be fully functional.
Add success message to form post and use the PRG pattern
-
Add a
TempDatadecoratedMessageproperty and aShowMessageproperty toEditSession.cshtml.cs:[TempData] public string Message { get; set; } public bool ShowMessage => !string.IsNullOrEmpty(Message); -
Set a success message in the
OnPostAsyncandOnPostDeleteAsyncmethods and changePage()toRedirectToPage():public async Task<IActionResult> OnPostAsync() { if (!ModelState.IsValid) { return Page(); } Message = "Session updated successfully!"; await _apiClient.PutSessionAsync(Session); return RedirectToPage(); } public async Task<IActionResult> OnPostDeleteAsync(int id) { var session = await _apiClient.GetSessionAsync(id); if (session != null) { await _apiClient.DeleteSessionAsync(id); } Message = "Session deleted successfully!"; return RedirectToPage("/Index"); }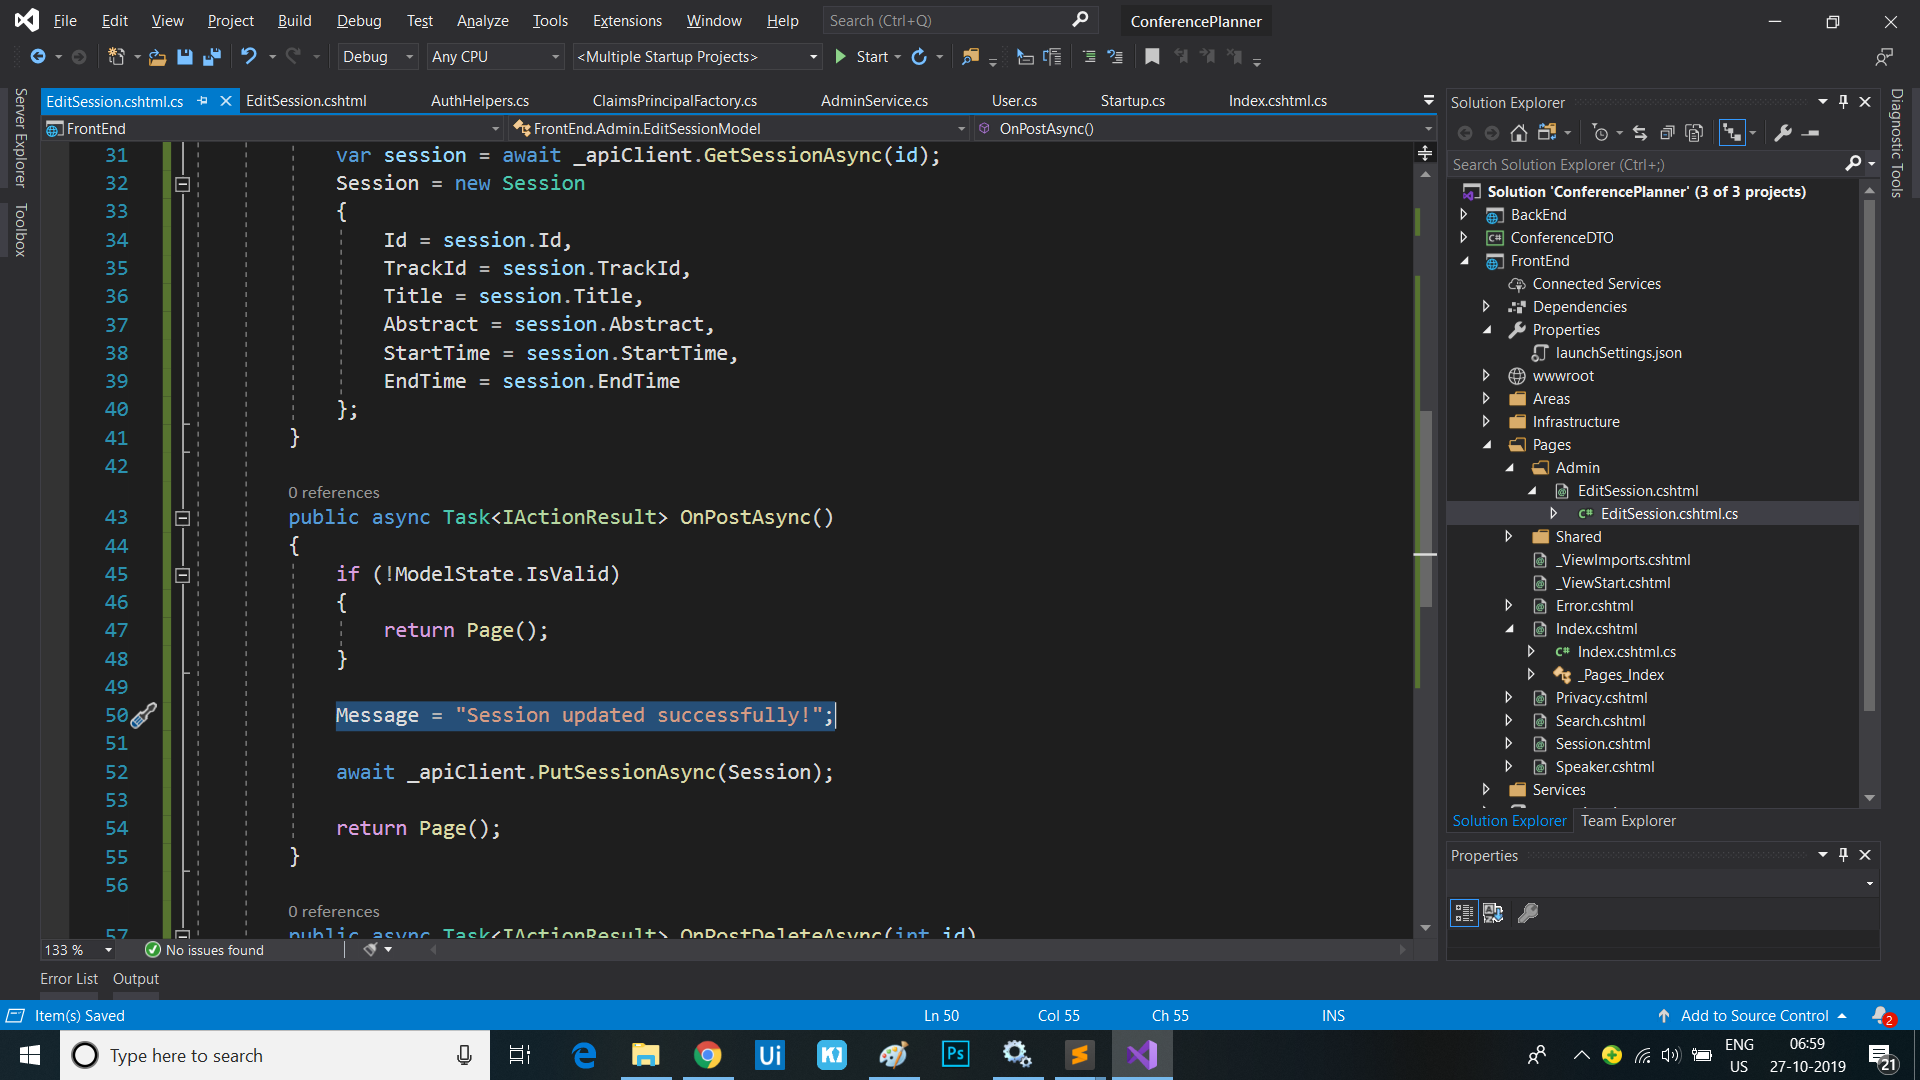
-
Update
EditSession.cshtmlto show the message after posting. Add the following code directly below the<h3>tag at the top:@if (Model.ShowMessage) { <div class="alert alert-success alert-dismissible" role="alert"> <button type="button" class="close" data-dismiss="alert" aria-label="Close"><span aria-hidden="true">×</span> </button> @Model.Message </div> }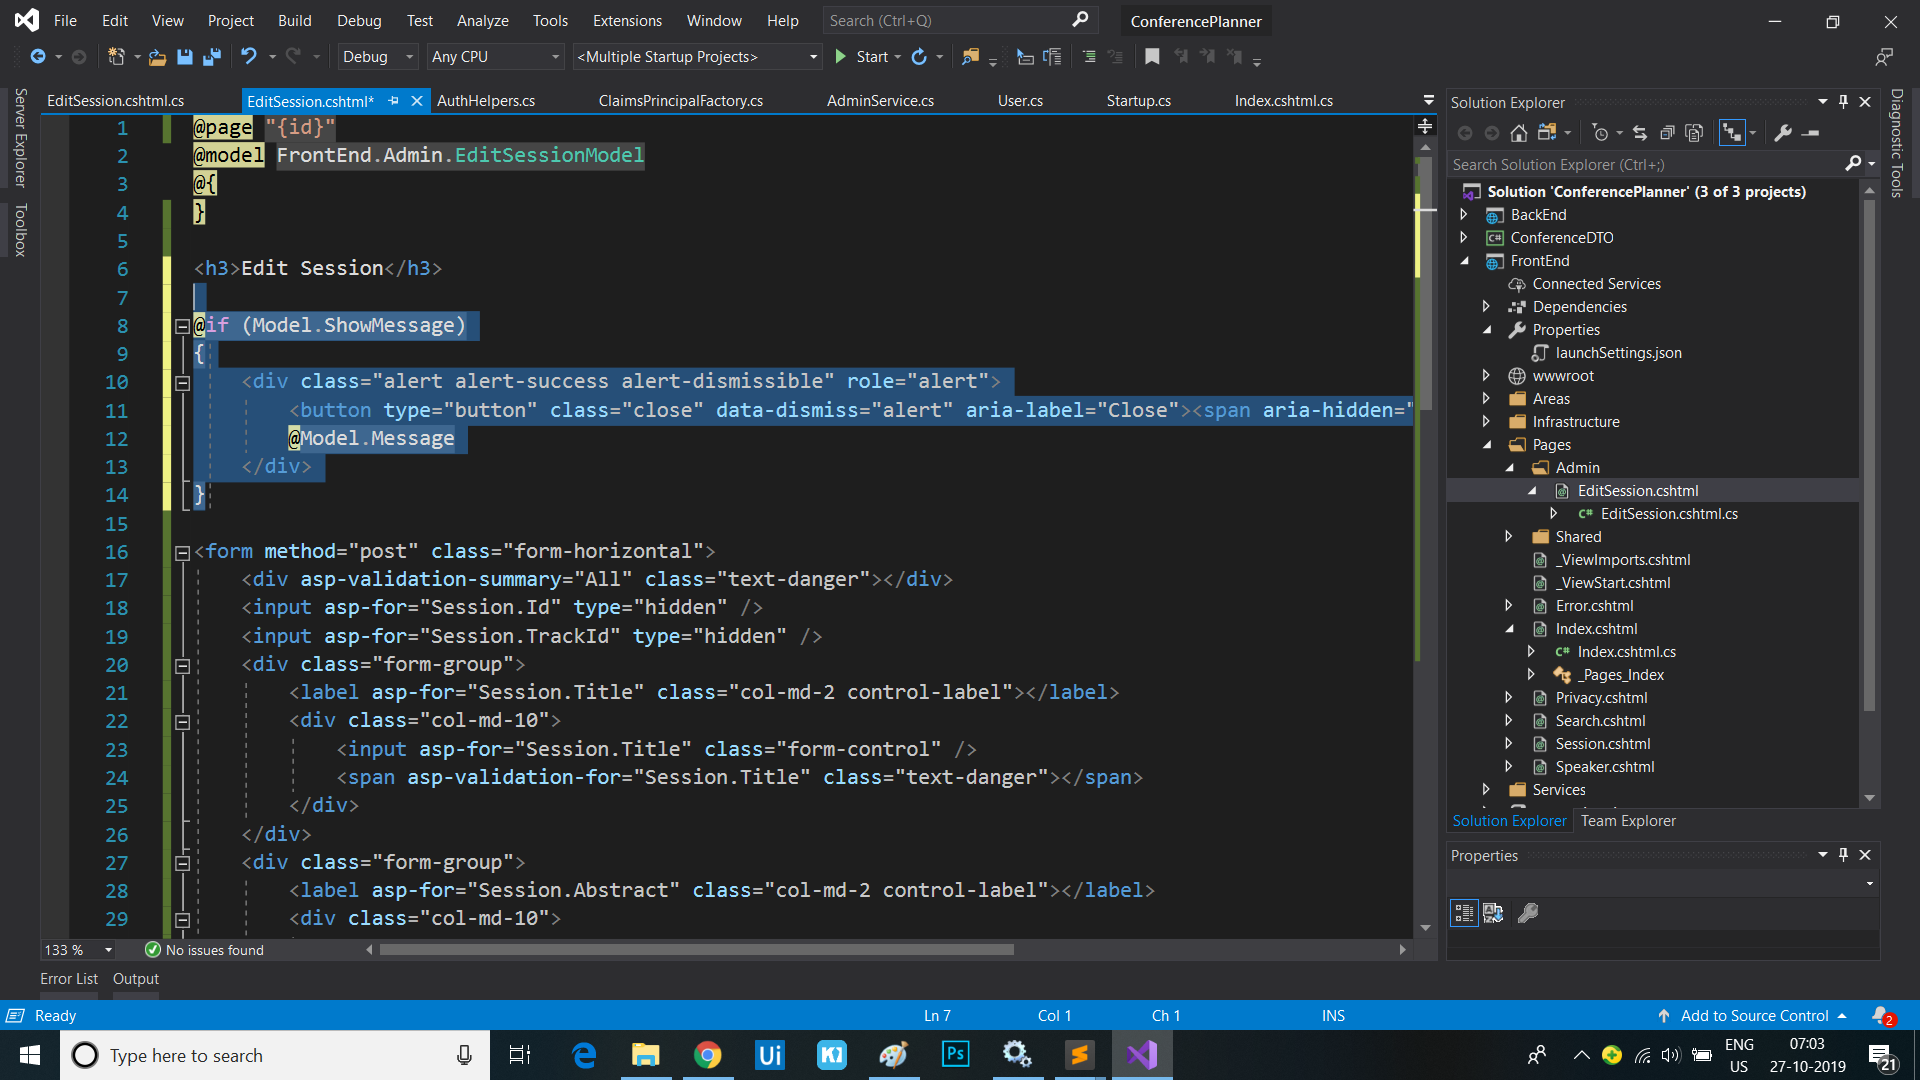
TempData-backed properties also flow across pages, so we can update the Index page to show the message value too, e.g. when the session is deleted
- Copy the message display markup from the top of the
EditSession.cshtmlfile to the top of theIndex.cshtmlfile:@if (Model.ShowMessage) { <div class="alert alert-success alert-dismissible" role="alert"> <button type="button" class="close" data-dismiss="alert" aria-label="Close"><span aria-hidden="true">×</span> </button> @Model.Message </div> }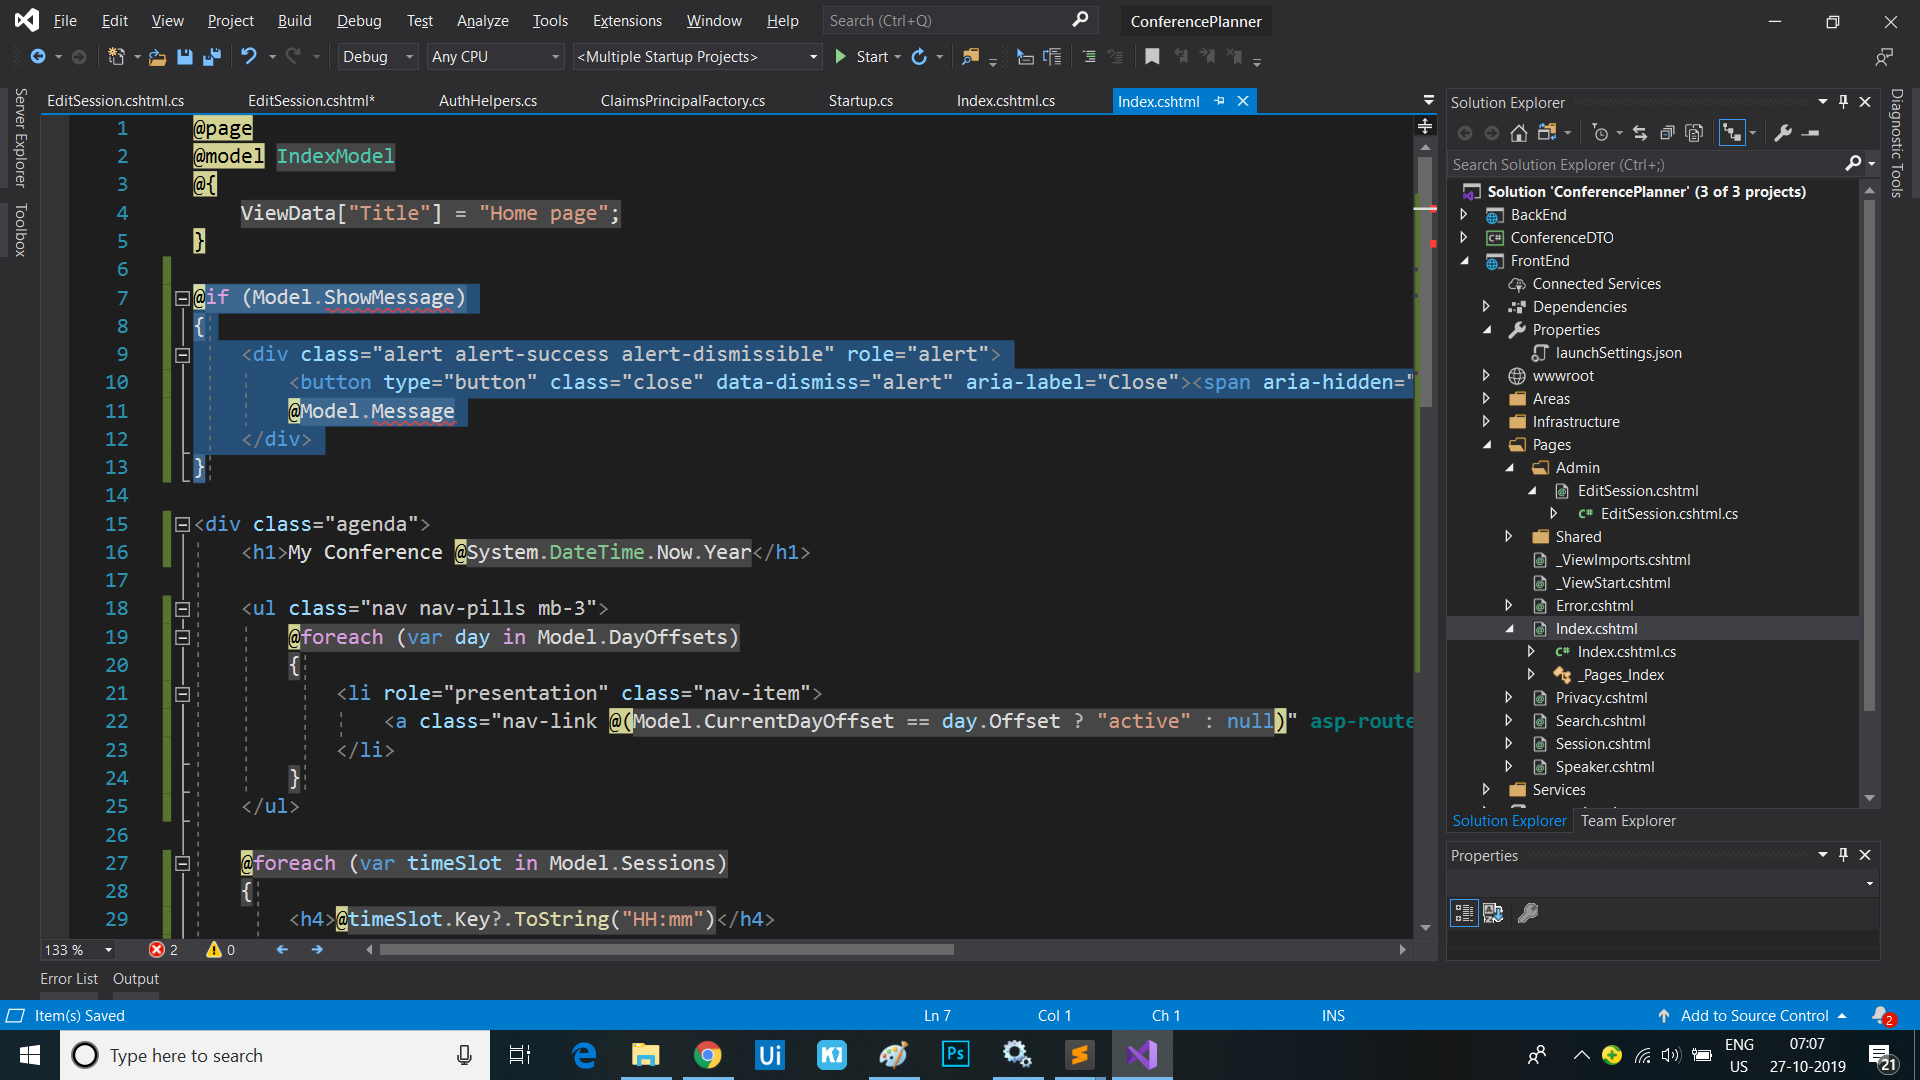
- Copy the properties from the
EditSession.cshtml.csPage Model class file to theIndex.cshtml.csPage Model too:[TempData] public string Message { get; set; } public bool ShowMessage => !string.IsNullOrEmpty(Message);
- Rebuild and run the app then delete a session and observe it redirect to the home page and display the success message
Create a Tag Helper for setting authorization requirements for UI elements
We’re currently using if blocks to determine whether to show parts of the UI based the user’s auth policies. We can clean up this code by creating a custom Tag Helper.
- Create a new folder called
TagHelpersin the root of the FrontEnd project. Right-click on the folder, select Add / New Item… / Razor Tag Helper. Name the Tag HelperAuthzTagHelper.cs. - Modify the
HtmlTargetElementattribute to bind to all elements with an “authz” attribute:[HtmlTargetElement("*", Attributes = "authz")] - Add an additional
HtmlTargetElementattribute to bind to all elements with an “authz-policy” attribute:[HtmlTargetElement("*", Attributes = "authz-policy")] - Inject the
AuthorizationServiceas shown:private readonly IAuthorizationService _authzService; public AuthzTagHelper(IAuthorizationService authzService) { _authzService = authzService; } - Add the following properties which will represent the
authandauthzattributes we’re binding to:[HtmlAttributeName("authz")] public bool RequiresAuthentication { get; set; } [HtmlAttributeName("authz-policy")] public string RequiredPolicy { get; set; } - Add a
ViewContextproperty:[ViewContext] public ViewContext ViewContext { get; set; } - Mark the
ProcessAsyncmethod asasync. - Add the following code to the
ProcessAsyncmethod:public override async Task ProcessAsync(TagHelperContext context, TagHelperOutput output) { var requiresAuth = RequiresAuthentication || !string.IsNullOrEmpty(RequiredPolicy); var showOutput = false; if (context.AllAttributes["authz"] != null && !requiresAuth && !ViewContext.HttpContext.User.Identity.IsAuthenticated) { // authz="false" & user isn't authenticated showOutput = true; } else if (!string.IsNullOrEmpty(RequiredPolicy)) { // authz-policy="foo" & user is authorized for policy "foo" var authorized = false; var cachedResult = ViewContext.ViewData["AuthPolicy." + RequiredPolicy]; if (cachedResult != null) { authorized = (bool)cachedResult; } else { var authResult = await _authzService.AuthorizeAsync(ViewContext.HttpContext.User, RequiredPolicy); authorized = authResult.Succeeded; ViewContext.ViewData["AuthPolicy." + RequiredPolicy] = authorized; } showOutput = authorized; } else if (requiresAuth && ViewContext.HttpContext.User.Identity.IsAuthenticated) { // authz="true" & user is authenticated showOutput = true; } if (!showOutput) { output.SuppressOutput(); } } - Register the new Tag Helper in the
_ViewImports.cshtmlfile:@namespace FrontEnd.Pages @addTagHelper *, Microsoft.AspNetCore.Mvc.TagHelpers @addTagHelper *, FrontEnd - We can now update the
Index.cshtmlpage to replace theifblock which controls the Edit button’s display with declarative code using our new Tag Helper. Remove theifblock and addauthz="trueto the<a>which displays the edit button:<div class="card-footer"> <ul class="list-inline mb-0"> @foreach (var speaker in session.Speakers) { <li class="list-inline-item"> <a asp-page="Speaker" asp-route-id="@speaker.Id">@speaker.Name</a> </li> } </ul> <a authz-policy="Admin" asp-page="/Admin/EditSession" asp-route-id="@session.Id" class="btn btn-default btn-xs">Edit</a> </div>


Sessions
This is series of articles on Building Conf planner app with Asp.net Core:
- 1 - Build the back-end API with basic EF model
- 2 - Finish the back-end API and EF model, refactor into view modelsl
- 3 - Add front-end, render agenda, set up front-end models
- 4 - Add authentication, add admin policy, allow editing sessions, users can sign-in with Identity, custom auth tag helper
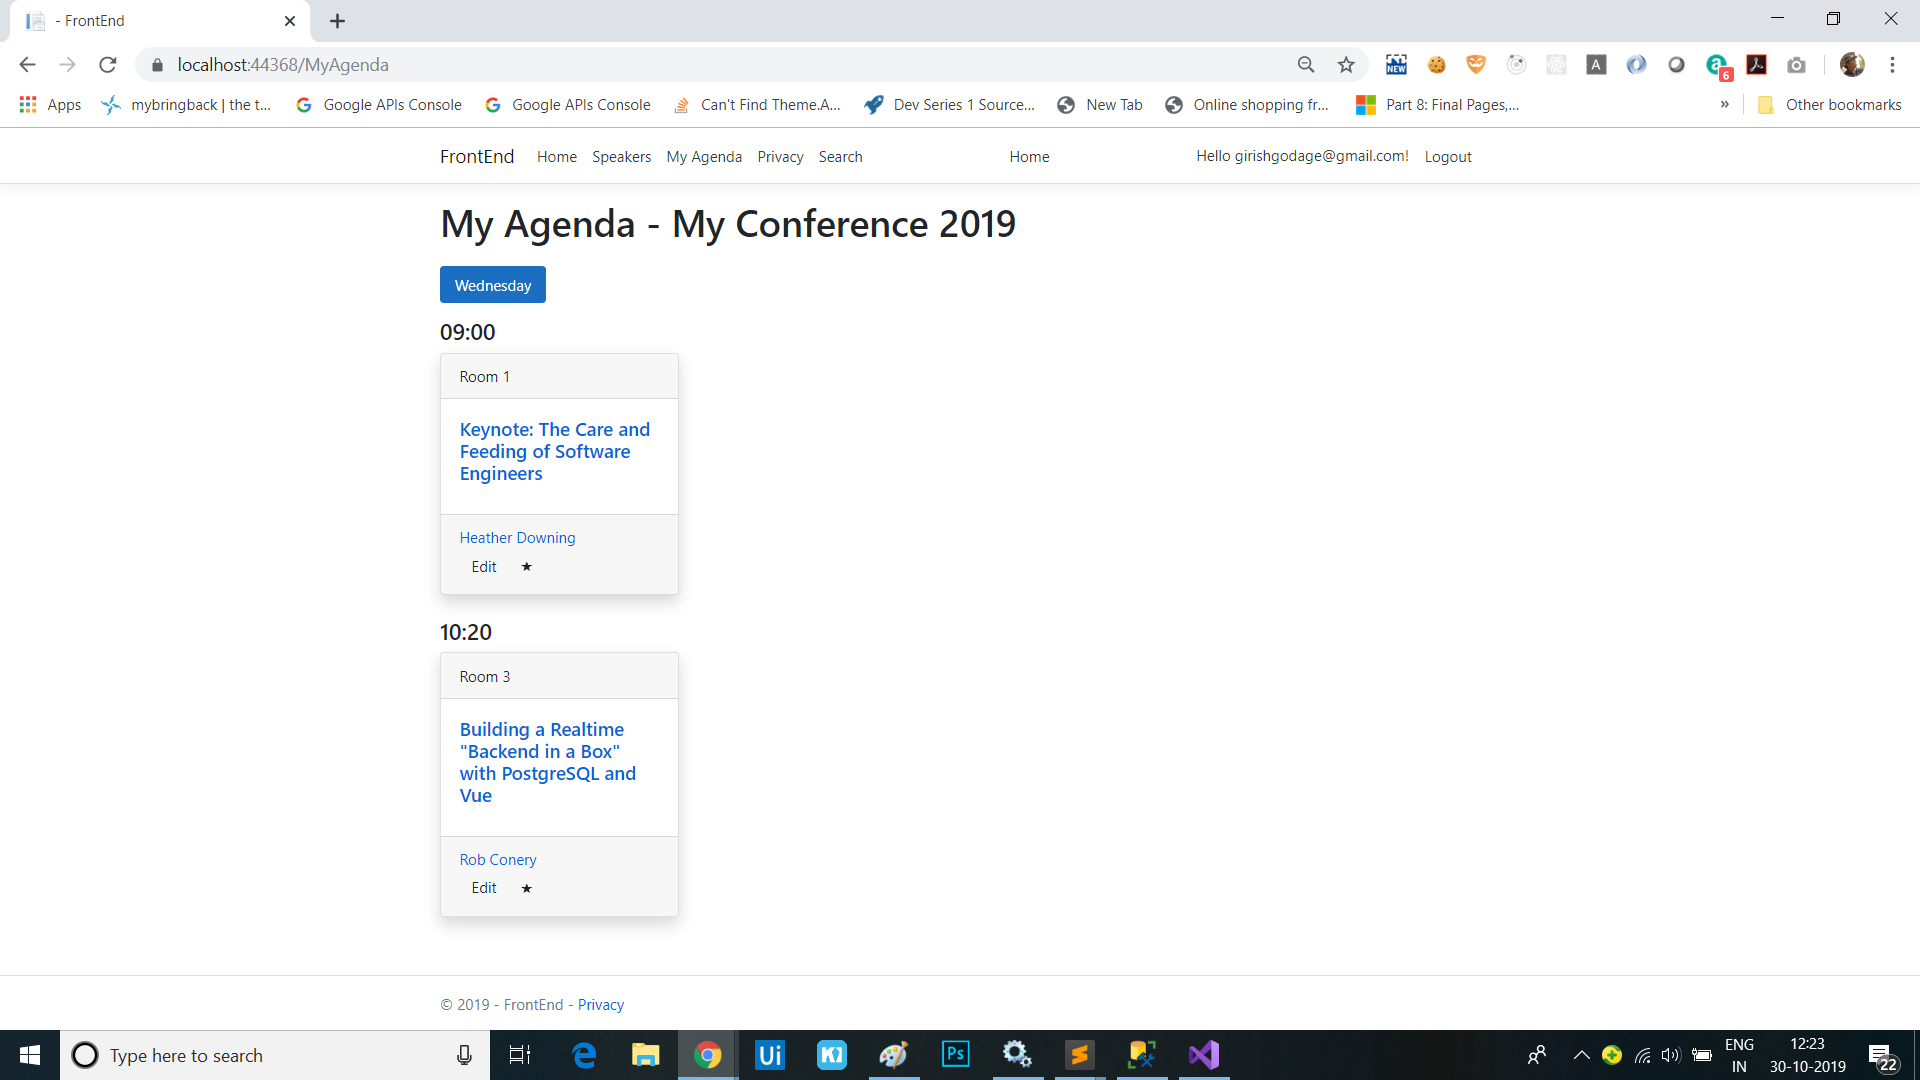
- 5 - Add user association and personal agenda
- 6 - Deployment, Azure and other production environments, configuring environments, diagnostics
- 7 - Challenges
- 8 - SPA front-end