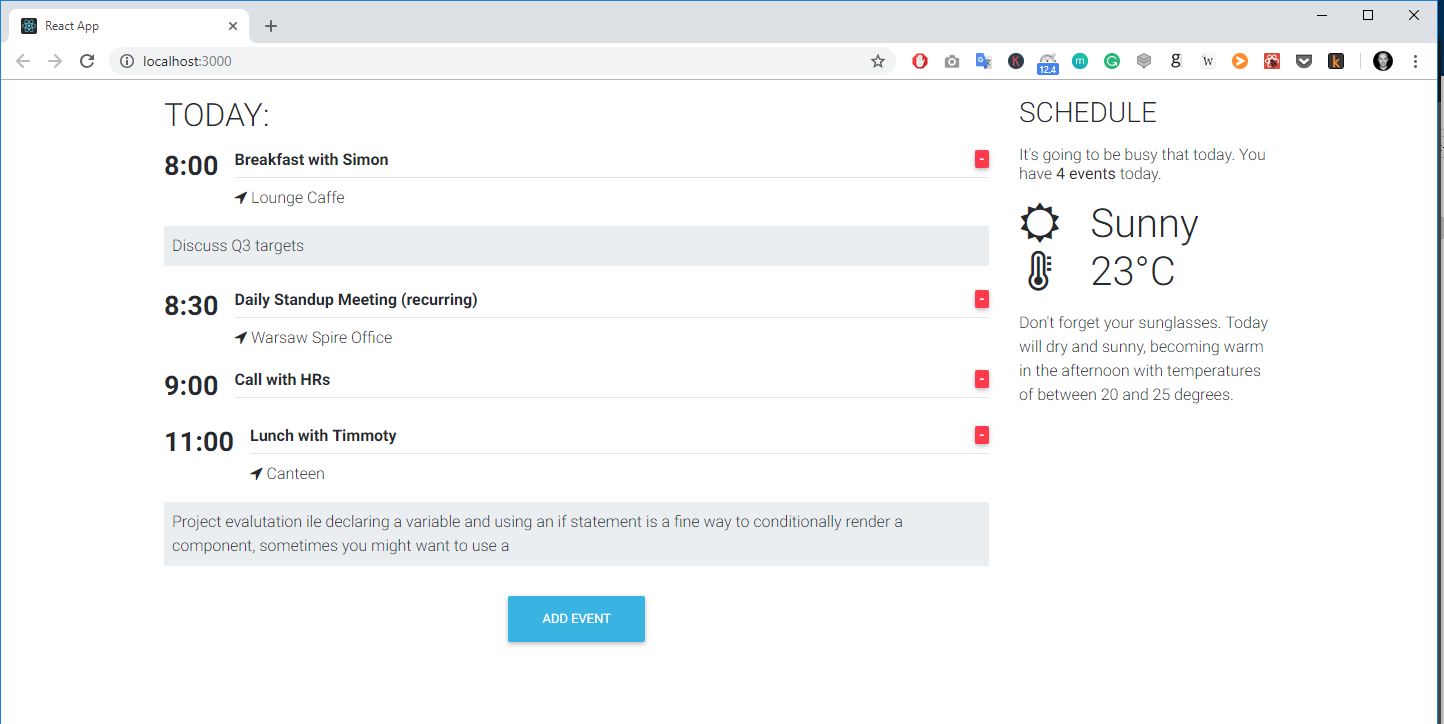
Earlier, we learned how to create the Event component. The problem is, that this component won’t be useful unless you can pass data to it, such as the time, title, location and description of the specific event we want to display. That's where inputs come into the picture.
In this lesson we will learn 2 different ways on how we can pass data to our component.
1. Passing Data using <ng-content>
The first way you pass data to our object is to use <ng-content> which allows us to render content between the tags.
- Update
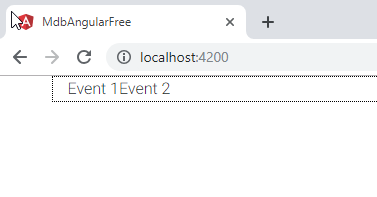
event.component.htmlwith the following code: - Add some data in between <app-event></app-event> tags in
app.component.htmlfile: - Save the file and run the app
Great! But what if we want to pass more varied data? Let's learn how to pass multiple data to our component.
1. Passing Data using @Input
Child component (Event Component)
- Import
Inputinevent.component.ts(before we were importing onlyComponent) - Define new
@Input()variable within EventComponent class: - Update the component template (
event.component.html) to display ourvaluevariable:
Parent component (App Component)
- Update the App template (
app.component.html): - Save the files and run the project
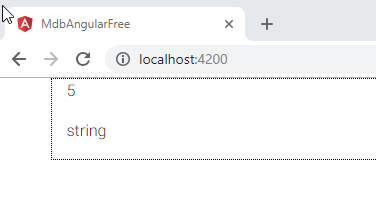
Using this method we can pass as many parameters as we need.
Note that the way we pass data from parent to the child component also matters.
We can als use @Input to pass more complex structure.
Important:
Keep in mind that using the @Input allows us to pass data only in one direction - from the
Parent to the Child component.
3. Passing complex objects
- Add initial event object to the
app.component.ts - Update the
Apptemplate: - Update the
Eventtemplate: - Save the files and rune the project:
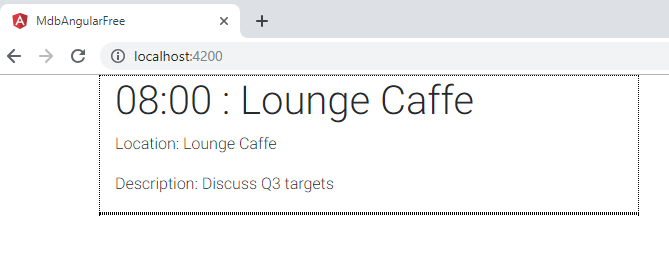
As you can see, it's very easy to pass even a complex objects using