In this lesson, we will learn how to deal with Inputs. Inputs are very widely used components in web development. We use them everywhere, starting with the login form, newsletter subscription forms, a new post editor through configuration panel etc.

As you seen while playing with the final app, we will use inputs to create a form to add a new event to our daily agenda.
Form

In this lesson we will learn how to deal with forms.

1. ngModel

    The easiest way to work with forms is to use ngModel directive. Let's see how it works.

  1. Import FormsModule in app.module.ts:
  2. import { FormsModule } from '@angular/forms';
            ...
  3. Add FormsModule to the imports[] array:
  4. imports: [
            ...
                FormsModule
              ],
    Preview
  5. Add a new variable to app.component.ts and call it name
  6. export class AppComponent {
              @ViewChild(ModalDirective) modal: ModalDirective;
              name: string = '';
              ...
  7. Update the Modal Body within the app.component.html template
  8. <!--Body-->
            <div class="modal-body">
              <input [(ngModel)]="name" #ctrl="ngModel">
              {{name}}
            </div>
            <!--/.Body-->
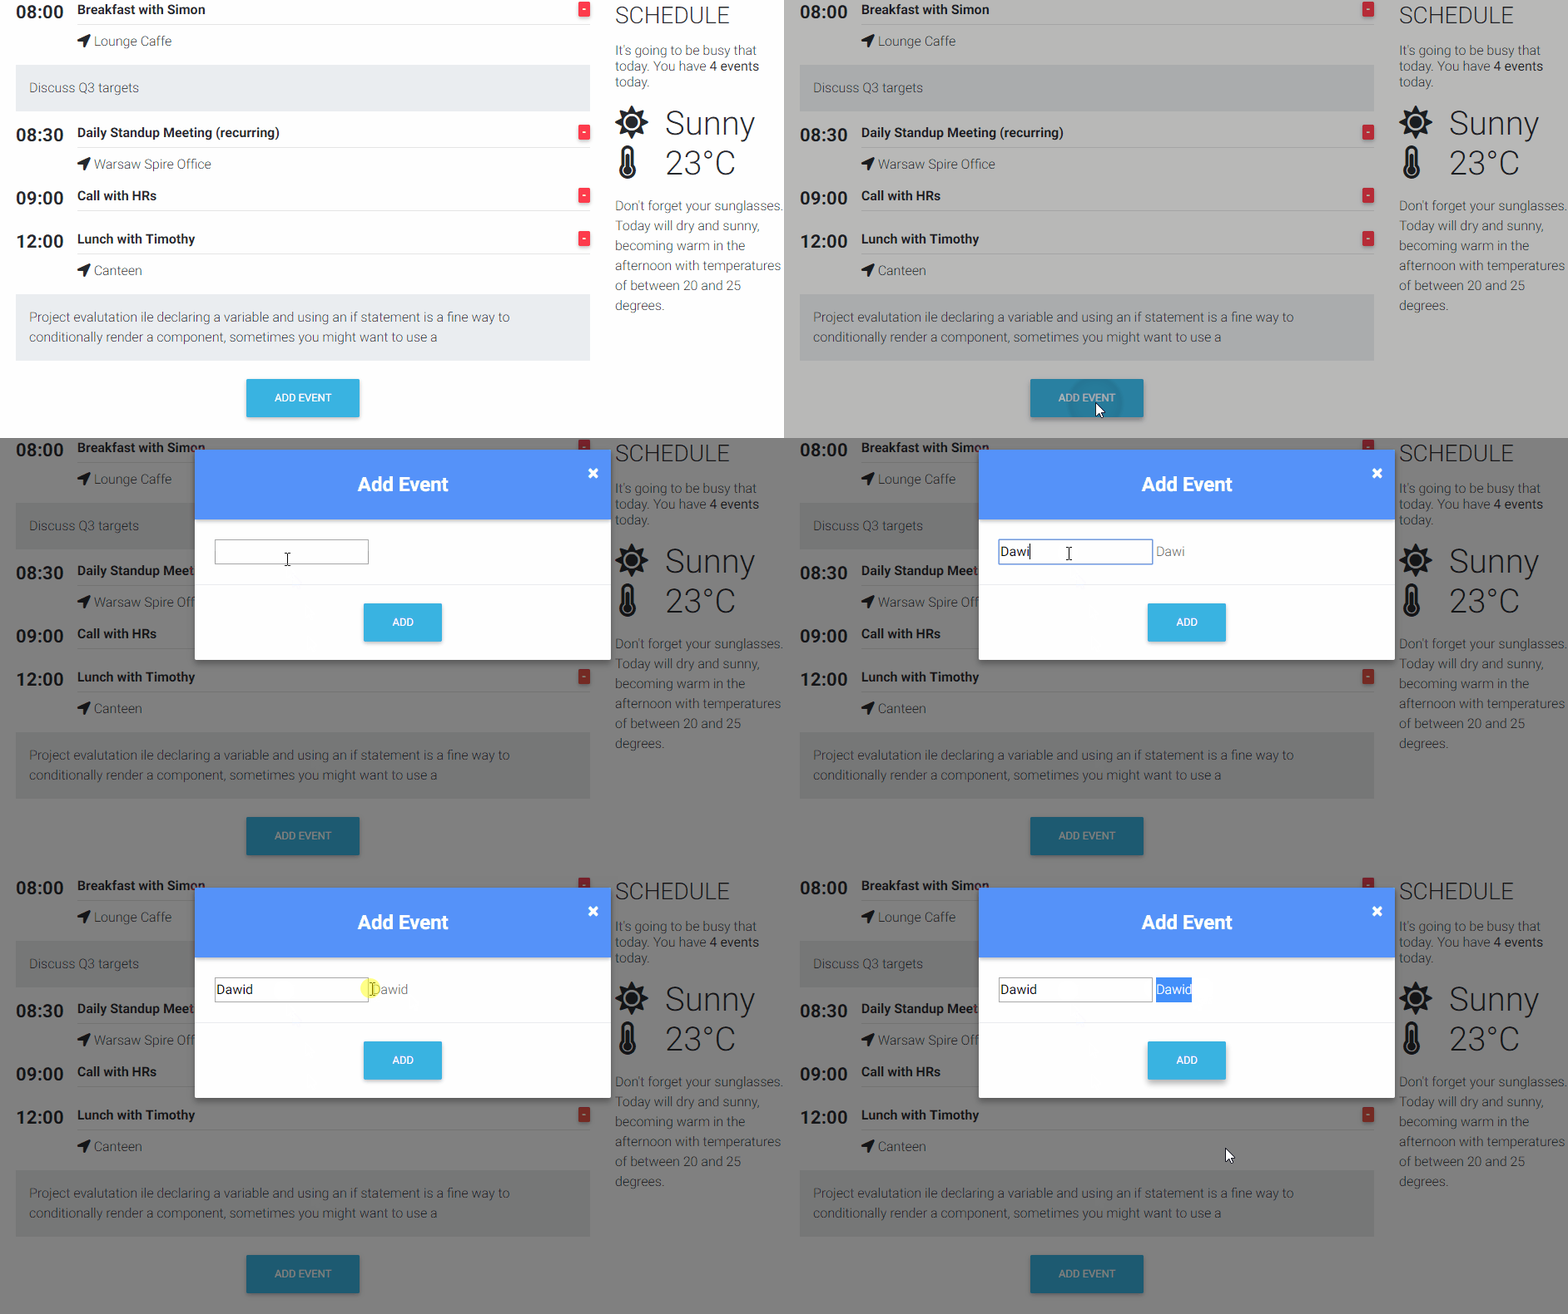
  9. Save and run the project.
  10. Form

    As you can see we have binded our view (Input) with the model (variable) thanks to ngModel. Furhter, this works in both ways, that's why it's called two-way Data Bindings.
  11. Add a new function (app.component.ts) and the button (app.component.html) to trigger the function as shown below
  12. <!--Body-->
            <div class="modal-body">
              <input [(ngModel)]="name" #ctrl="ngModel">
              {{name}}
              <button (click)="changeName()">Call me Johny</button>
            </div>
            <!--/.Body-->
    export class AppComponent {
              @ViewChild(ModalDirective) modal: ModalDirective;
              name: string = '';
            
              changeName(){
                this.name = "Johny";
              }
              ...
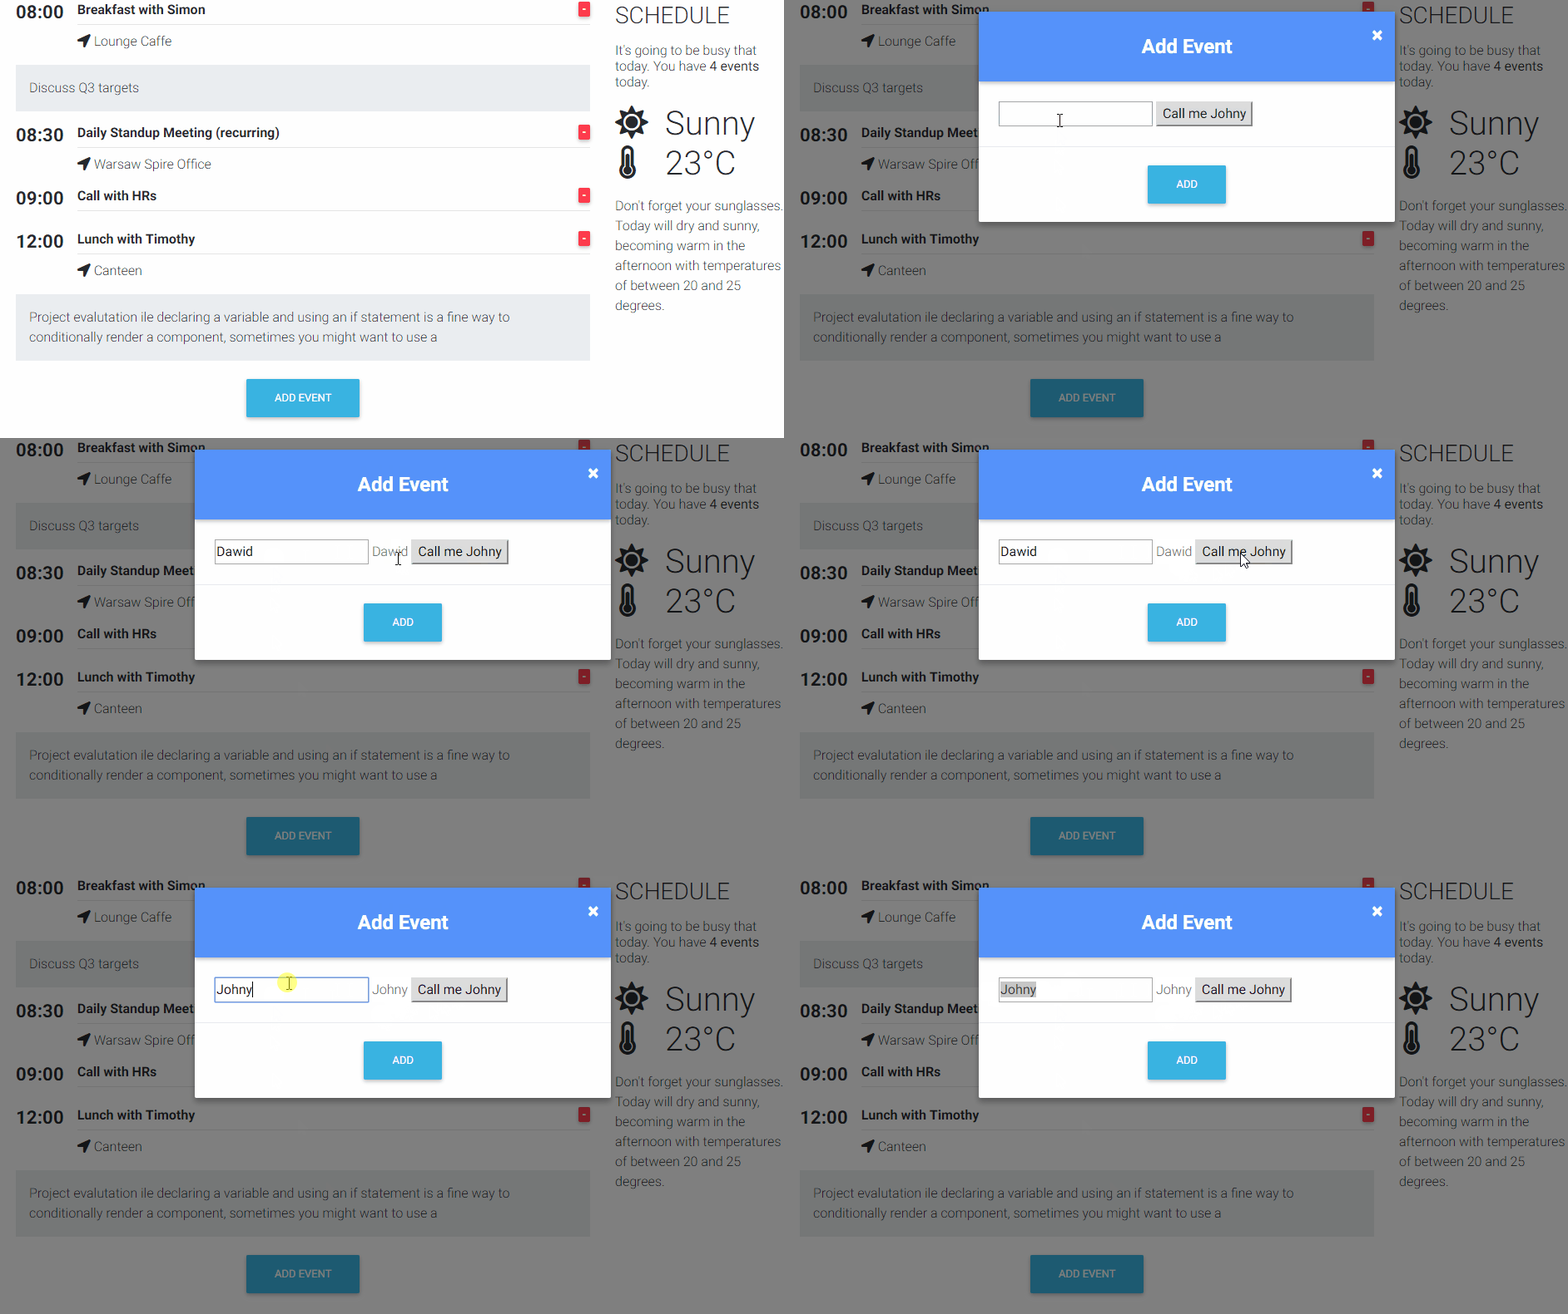
  13. Save the file and run the project
  14. Two way data bingins

    Two-way binding means that any data-related changes affecting the model are immediately propagated to the matching view(s), and that any changes made in the view(s) (say, by the user) are immediately reflected in the underlying model. When app data changes, so does the UI, and conversely.

    So ngModel is the thing in Angular that implements two-way data binding. It’s not the only thing that does that, but it’s in most cases the directive we want to use for simple scenarios. We will dedicate a separate lesson to dive into more options.

    For now I want you to remember that Angular comes with three different ways of building forms in our applications. There’s the template-driven approach which allows us to build forms with very little to none application code required, then there’s the model-driven or reactive approach using low level APIs, which makes our forms testable without a DOM being required.

    The ngModel is a template-driven case. Now I am gonna show you how to use a model-driven approach.

    Before we move on you can revert the changes:

    • remove name variable and changeName() function in app.component.ts
    • Empty Modal Body div in app.component.html

    2. formControl

  15. Import following ReactiveFormsModule and add it to imports[]
  16. import {FormsModule, ReactiveFormsModule} from '@angular/forms';
            ....
            
              imports: [
                BrowserModule,
                BrowserAnimationsModule,
                MDBBootstrapModule.forRoot(),
                FormsModule,
                ReactiveFormsModule
              ],
  17. Import FormControl in app.component.ts
  18. import {FormControl} from '@angular/forms';
  19. Define new variable in app.component.ts
  20. export class AppComponent {
              @ViewChild(ModalDirective) modal: ModalDirective;
            
              timeInput = new FormControl();
              subjectInput = new FormControl();
              locationInput = new FormControl();
              descriptionInput = new FormControl();
              ...
  21. Update the Modal Body in app.component.html with the following code
  22. <!--Body-->
            <div class="modal-body">
              <div class="md-form mb-5">
                <mdb-icon far icon="clock"></mdb-icon>
                <input
                  type="text"
                  id="time"
                  class="form-control"
                  mdbInput
                  [formControl]="timeInput"
                />
                <label for="time">Time</label>
              </div>
            
              <div class="md-form">
                <mdb-icon fas icon="edit"></mdb-icon>
                <input
                  type="text"
                  id="subject"
                  class="form-control"
                  mdbInput
                  [formControl]="subjectInput"
                />
                <label for="subject">Subject</label>
              </div>
            
              <div class="md-form mb-5">
                <mdb-icon far icon="map"></mdb-icon>
                <input
                  type="text"
                  id="location"
                  class="form-control"
                  mdbInput
                  [formControl]="locationInput"
                />
                <label for="location">Location (optional) </label>
              </div>
            
              <div class="md-form">
                <mdb-icon fas icon="sticky-note"></mdb-icon>
            
                <input
                  type="text"
                  id="description"
                  class="form-control"
                  mdbInput
                  [formControl]="descriptionInput"
                />
                <label for="description">Description (optional) </label>
              </div>
            </div>
            <!--/.Body-->
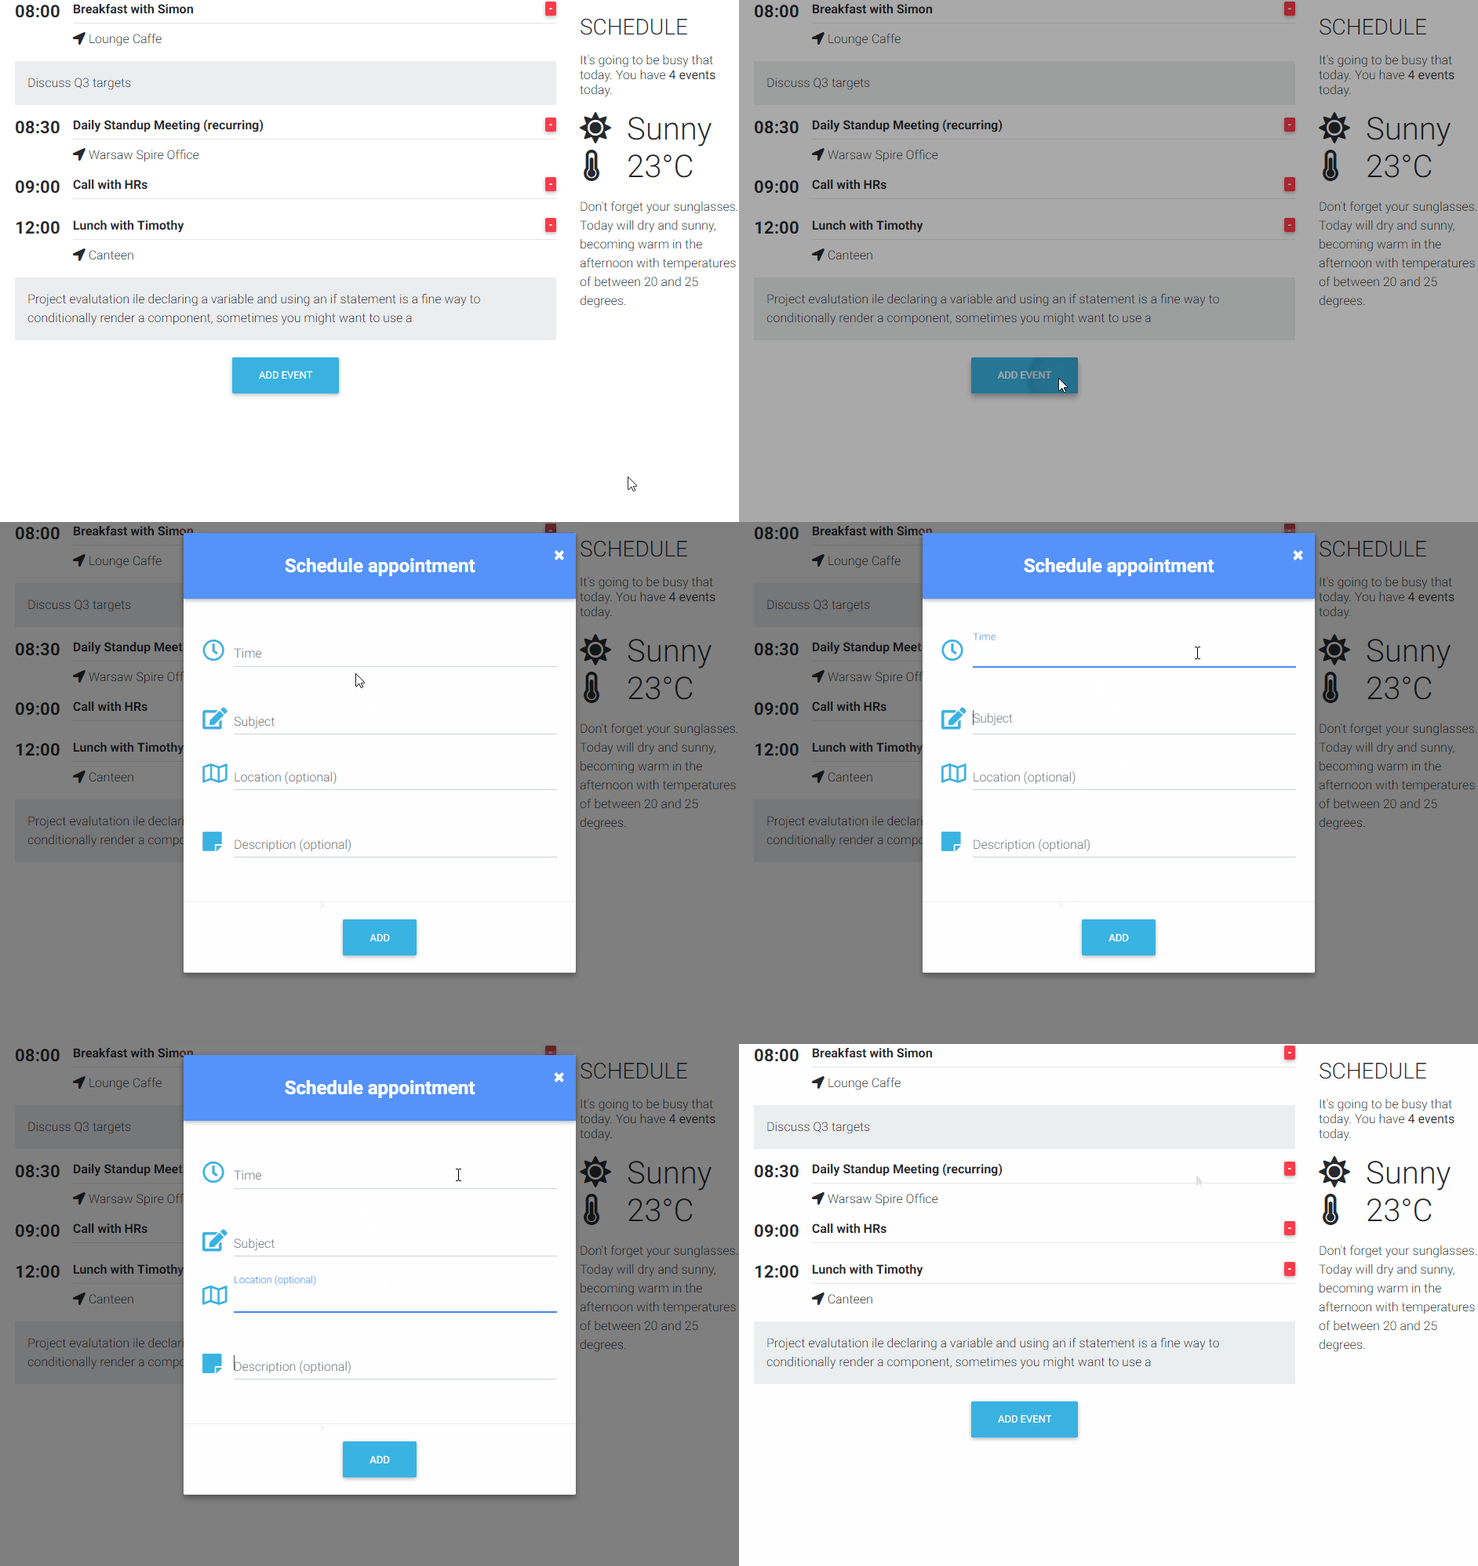
  23. Save and run project.
  24. Form