
UPLOADING DOWNLOADING AND DELETING FILES IN AWS S3 CLOUD STORAGE USING ASP.NET CORE
This article will learn how to upload , download and delete files from amazon AWS S3 Cloud Storage using ASP.NET CORE.
What is Amazon S3?
Amazon S3 has a simple web services interface that you can use to store and retrieve any amount of data, at any time, from anywhere on the web.
https://docs.aws.amazon.com/AmazonS3/latest/userguide/Welcome.html
What you’ll be building
In this article, you’ll learn the following
- Creating application ASP.NET Core Application
- Installing packages from NuGet
- Creating a Bucket
- View after creating a bucket.
- Creating a User
- Adding a User to Group and assigning policy
- Created Table for Storing Documents
- Added Entity and DbContext class along with interface and Concrete for Storing and Reading the documents
- AppSettings for Storing AccessKey and SecretKey configuring database connection string
- Creating Controller
- Upload File
- AllFiles
- Download file
- Delete file
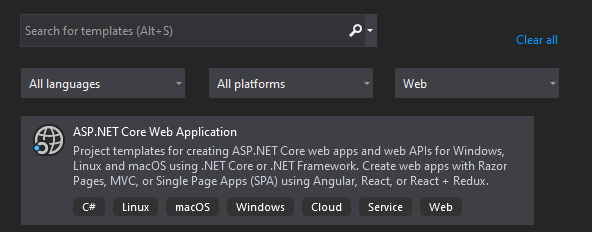
Creating application ASP.NET Core Application
Next, we are going to set Project Name “WebStorageDemo” and location.
We will choose .Net Core framework and ASP.NET Core Version 5.0 as the framework for application and we are not going to enable docker settings for this project.
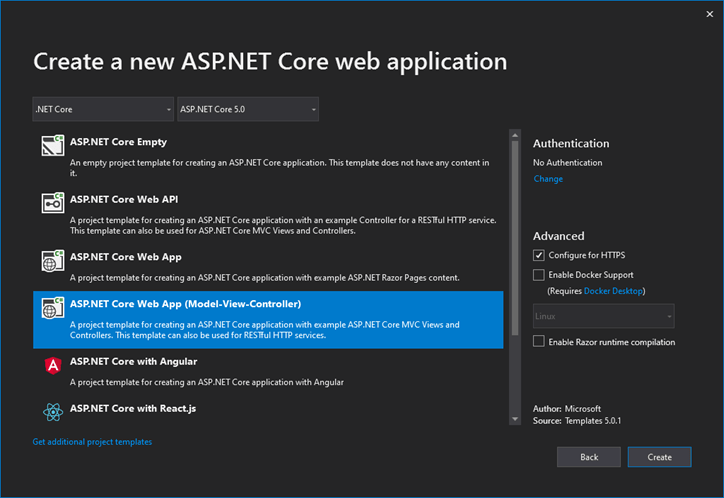
Now finally click on create button to create a project.
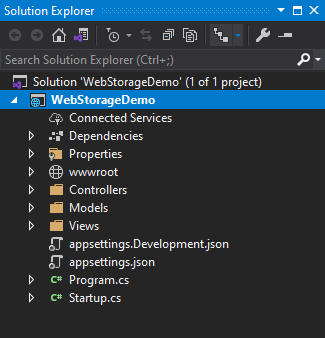
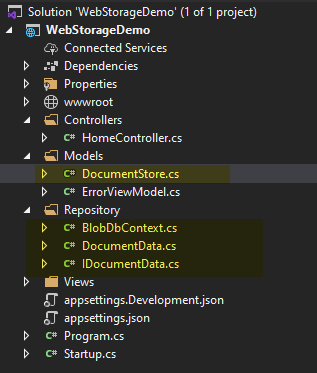
Project structure
The project structure generated according to the configuration.
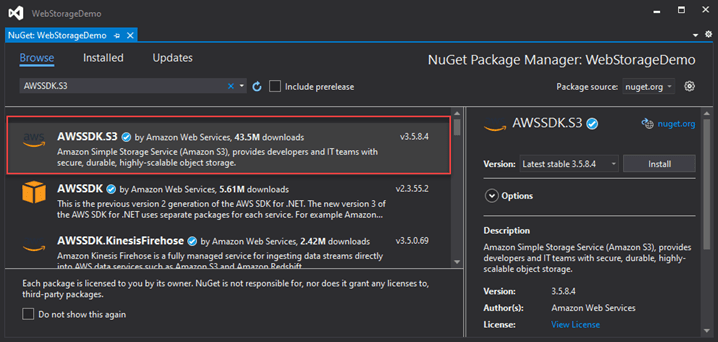
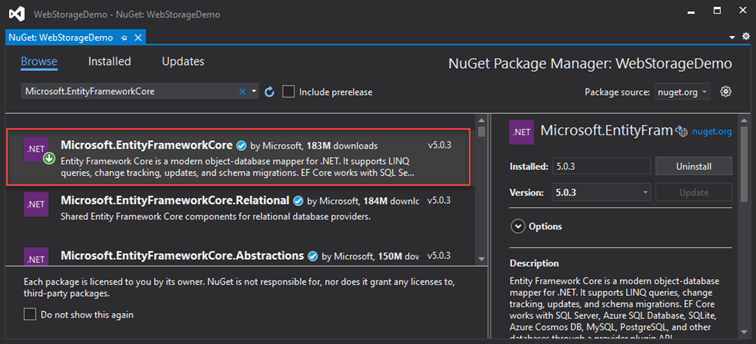
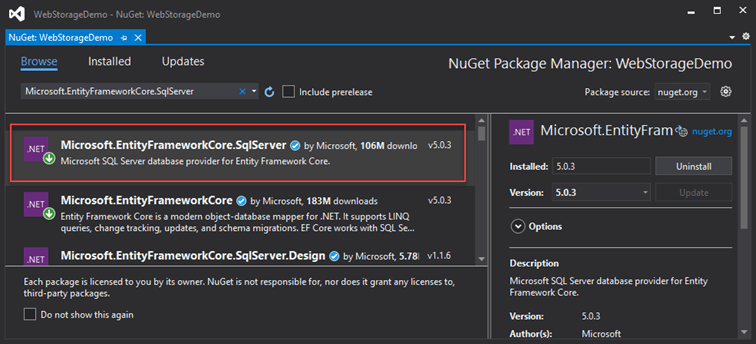
After creating project next, we are going to install below package from NuGet Packages.
Installing a package from NuGet
-
WindowsAzure.Storage
-
Microsoft.EntityFrameworkCore
-
Microsoft.EntityFrameworkCore.SqlServer
After installing packages next, we will create a bucket for that we must have an AWS account.
If you do not have an account, then create one account for free. https://aws.amazon.com/
I have already created an AWS account and logged in to the portal, for creating a bucket.
Creating a Bucket
The bucket is a virtual container where we are going to store all objects.
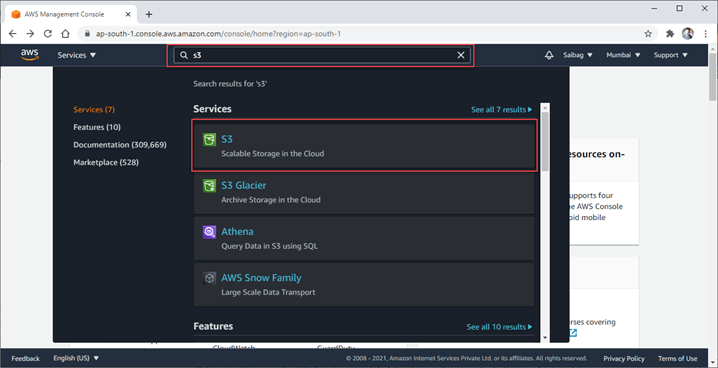
For using Amazon S3 service, we must search S3 service in search.
After selecting S3 service, it redirects to buckets page.
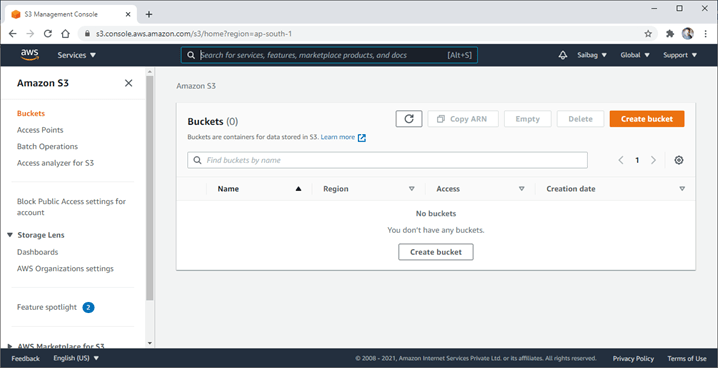
Here for creating a bucket, we need to click on Create bucket button.
For creating a bucket, we need to enter a unique bucket name and select region where you want this bucket to be made.
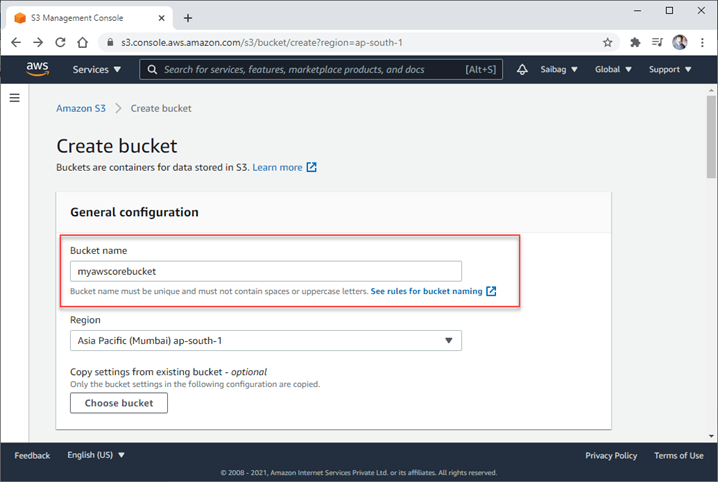
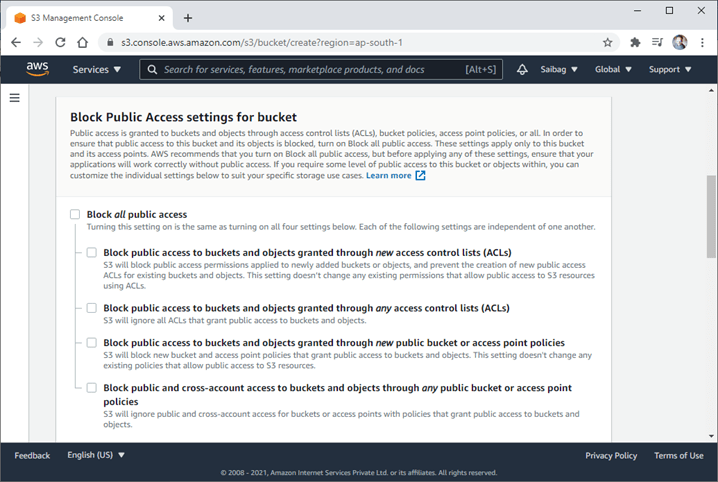
Here we are going to enter the name of bucket (myawscorebucket) and then select region as “Asia Pacific (Mumbai)” after selecting just scroll your page then you will find “Block Public Access settings for bucket” here for the demo I am going to uncheck all checkboxes you must uncheck it according to your need.
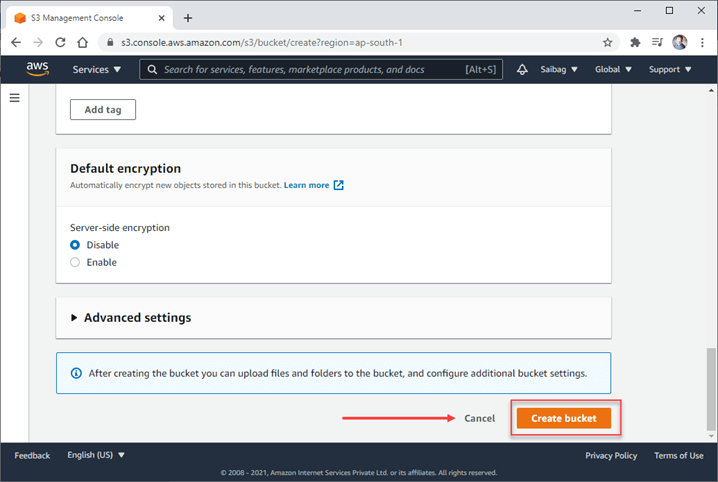
Just scroll your page below you will find create bucket button just click on it to create a bucket.
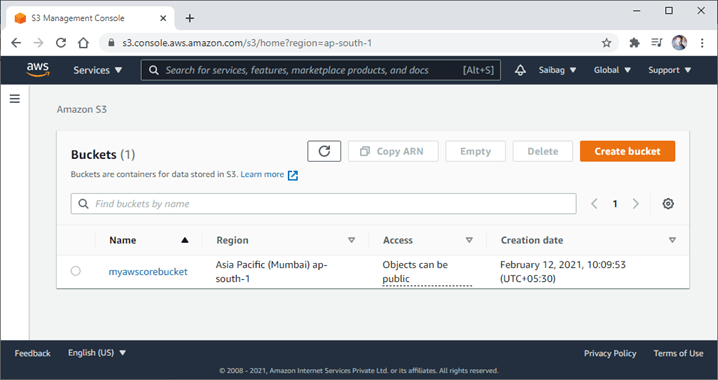
View after creating a bucket
After creating a bucket next, we are going to create a user for we need to search IAM (Identity and Access Management).
Adding a User
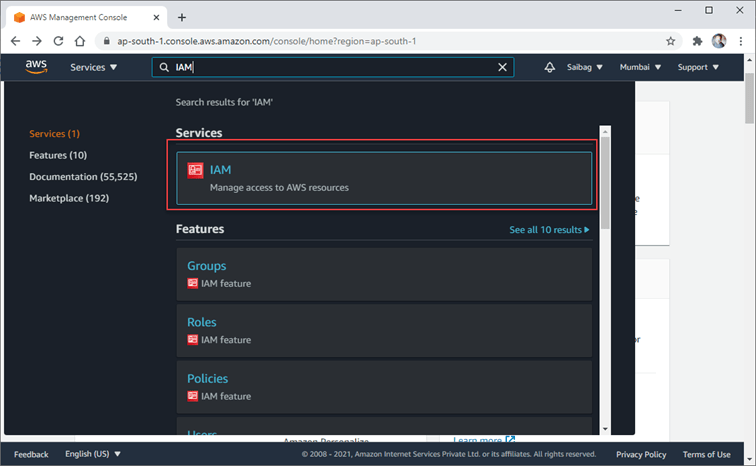
After selecting IAM, you will see below screen.
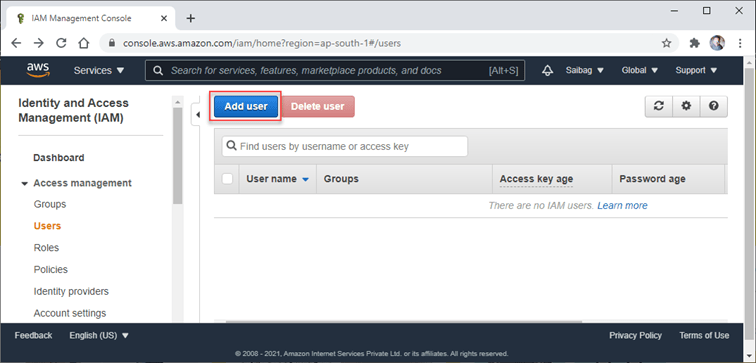
After clicking on Add user, we will add a user name and select Access type as shown below.
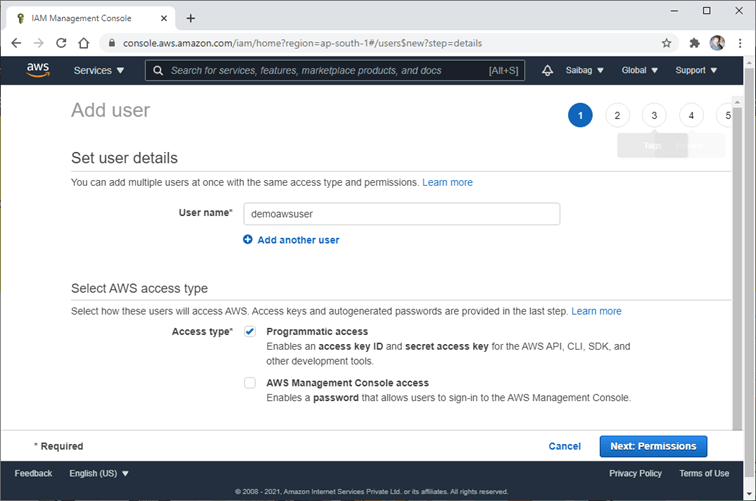
After filling in all details, click on the next permission button.
Adding a User to Group and assigning policy
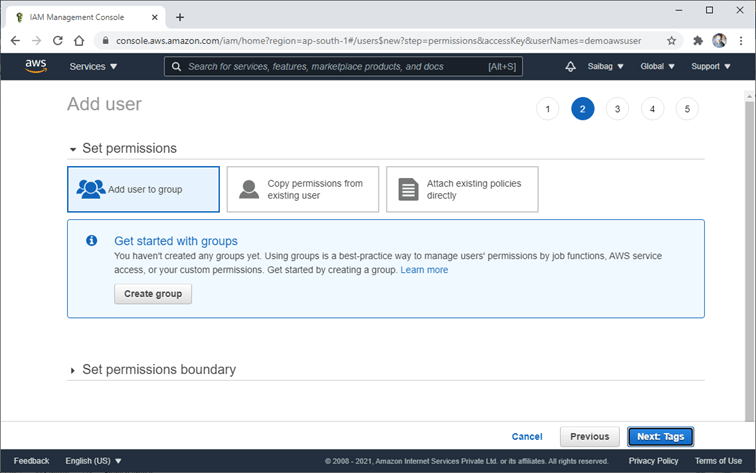
We will create a group with the name “AWSS3FullAccess” and assign policy (AmazonS3FullAccess) to access Amazon S3.
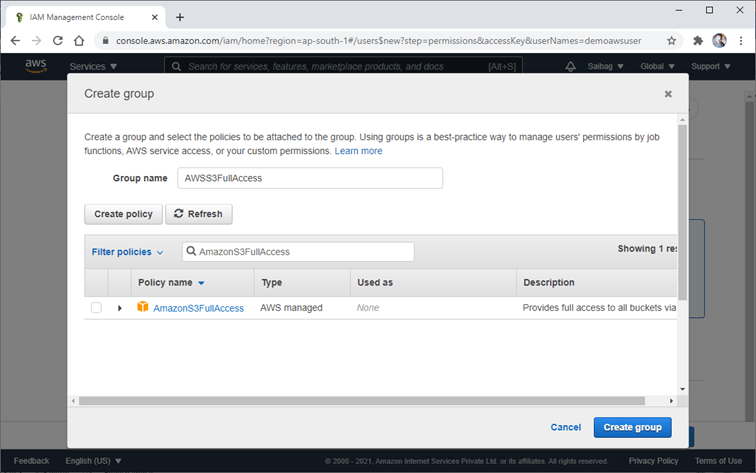
Just click on Create group button for creating a group. Next step will be making tags I will skip it, and the final screen will be Review as shown below.
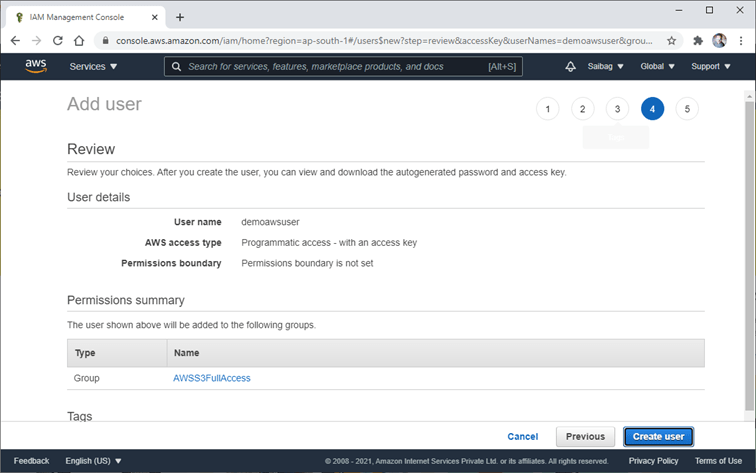
The review page will show all details that you have configured just click on create a user it will create user successfully as shown below.
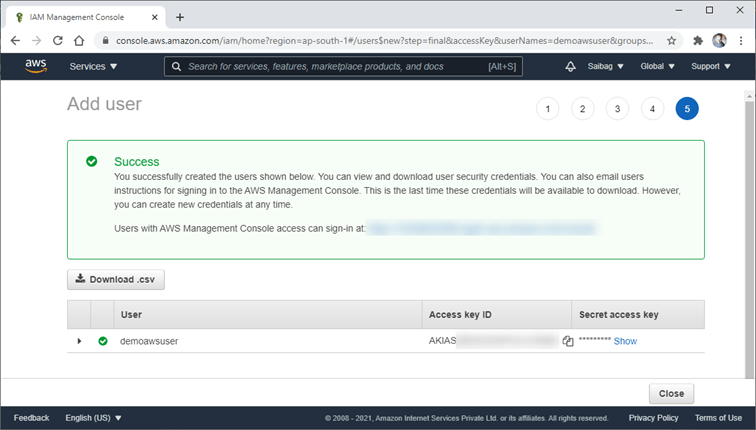
Now you have Access key ID and Secret access key for accessing S3 Services. Next, we have created a table in the database to store document details.
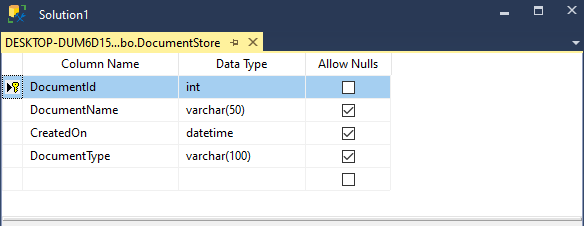
Created Table for Storing Documents
Creating a table with name DocumentStore for storing document details.
Added Entity and DbContext class along with interface and Concrete for Storing and Reading the document.
In this part first, we have added the DocumentStore Entity.
  using System;
  using System.ComponentModel.DataAnnotations;
  using System.ComponentModel.DataAnnotations.Schema;

  namespace WebStorageDemo.Models
  {
      [Table("DocumentStore")]
      public class DocumentStore
      {
          [Key]
          public int DocumentId { get; set; }
          public string DocumentName { get; set; }
          public string DocumentType { get; set; }
          public DateTime CreatedOn { get; set; }
      }
  }
Next, we have added DbContext with name BlobDbContext.
  using Microsoft.EntityFrameworkCore;
  using WebStorageDemo.Models;

  namespace WebStorageDemo.Repository
  {
      public class BlobDbContext : DbContext
      {
          public BlobDbContext(DbContextOptions<BlobDbContext> options) : base(options)
          {
          }
          public DbSet<DocumentStore> DocumentStore { get; set; }
      }
  }
After adding BlobDbContext next, we are going to add Interface and Concrete in the Repository folder.
  using System.Collections.Generic;
  using WebStorageDemo.Models;

  namespace WebStorageDemo.Repository
  {
      public interface IDocumentData
      {
          void Add(DocumentStore documentStore);
          List<DocumentStore> GetDocumentStoresList();
          void Delete(DocumentStore documentStore);
          DocumentStore GetDocumentbyDocumentId(int documentId);
      }
  }
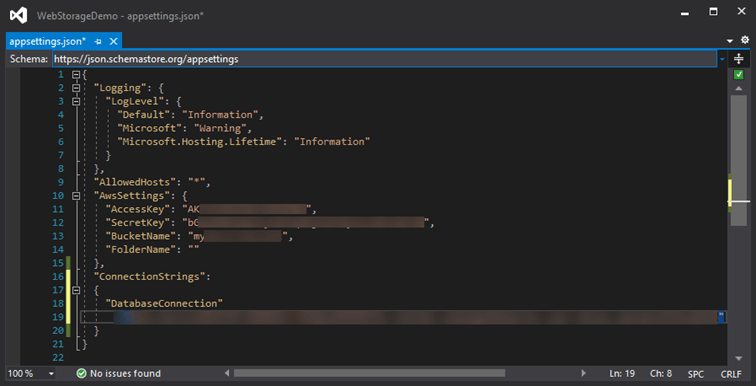
AppSettings for Storing AccessKey and SecretKey and configuring database connection string
It is not recommended to store the keys in the appsettings.json file you can use the best methods available for the demo I am storing keys in the appsettings.json file.
After setting keys in the appsettings.json file next, we will configure entity framework core, appsettings and registering IDocumentData interface.
public void ConfigureServices(IServiceCollection services)
{
    services.AddScoped<IDocumentData, DocumentData>();
    var connection = Configuration.GetConnectionString("DatabaseConnection");
    services.AddDbContext<BlobDbContext>(options => options.UseSqlServer(connection));
    services.Configure<AppSettings>(Configuration.GetSection("AwsSettings"));
    services.AddControllersWithViews();
}
Everything is configured now let’s Create Controller for Uploading, Downloading and Deleting files.
Creating Controller
We will create Controller With name DemoController with different action methods such as UploadFile, DeleteFile, DownloadFile and AllFiles.
Upload File
We will access 2 things in Controller AppSettings, IDocumentData from appsettings we will get bucket name, Access key and Secret key, we will pass Access key and Secret key to BasicAWSCredentials method and then set RegionEndpoint.
After that, we will get uploaded files details from IFromFile interface that we will assign to TransferUtilityUploadRequest class of AWS and then finally call TransferUtility class and access UploadAsync method to upload file meanwhile we are going to store all document details to the database.
        [HttpGet]
        public IActionResult UploadFile()
        {
            return View();
        }

        [HttpPost]
        public async Task<IActionResult> UploadFile(IFormFile file)
        {
            try
            {

                var bucketName = !string.IsNullOrWhiteSpace(_appSettings.FolderName)
                    ? _appSettings.BucketName + @"/" + _appSettings.FolderName
                    : _appSettings.BucketName;

                var credentials = new BasicAWSCredentials(_appSettings.AccessKey, _appSettings.SecretKey);
                var config = new AmazonS3Config
                {
                    RegionEndpoint = Amazon.RegionEndpoint.APSouth1
                };


                using var client = new AmazonS3Client(credentials, config);
                await using var newMemoryStream = new MemoryStream();
                await file.CopyToAsync(newMemoryStream);

                var fileExtension = Path.GetExtension(file.FileName);
                var documentName = $"{GenerateId()}{fileExtension}";

                // URL for Accessing Document for Demo
                var result = $"https://{bucketName}.s3.amazonaws.com/{documentName}";

                var uploadRequest = new TransferUtilityUploadRequest
                {
                    InputStream = newMemoryStream,
                    Key = documentName,
                    BucketName = bucketName,
                    CannedACL = S3CannedACL.PublicRead
                };

                var fileTransferUtility = new TransferUtility(client);
                await fileTransferUtility.UploadAsync(uploadRequest);

                DocumentStore documentStore = new DocumentStore()
                {
                    CreatedOn = DateTime.Now,
                    DocumentId = 0,
                    DocumentName = documentName,
                    DocumentType = file.ContentType
                };

                _documentdata.Add(documentStore);

            }
            catch (AmazonS3Exception amazonS3Exception)
            {
                if (amazonS3Exception.ErrorCode != null
                    && (amazonS3Exception.ErrorCode.Equals("InvalidAccessKeyId") || amazonS3Exception.ErrorCode.Equals("InvalidSecurity")))
                {
                    throw new Exception("Check the provided AWS Credentials.");
                }
                else
                {
                    throw new Exception("Error occurred: " + amazonS3Exception.Message);
                }
            }
            return RedirectToAction("AllFiles");
        }
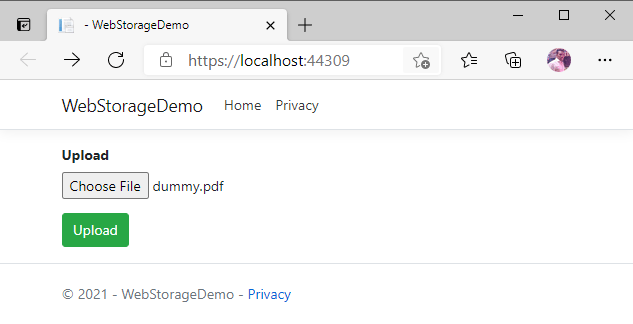
Output
We are going to access the Demo/UploadFile path for uploading the file.
After uploading the file, we can see in AWS S3 objects section as shown below.
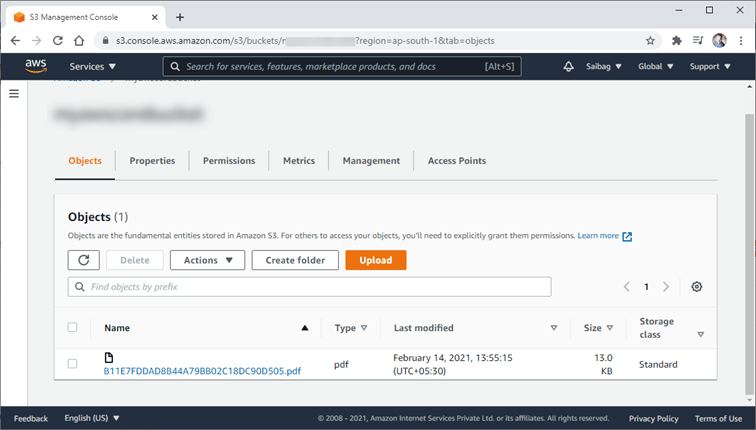
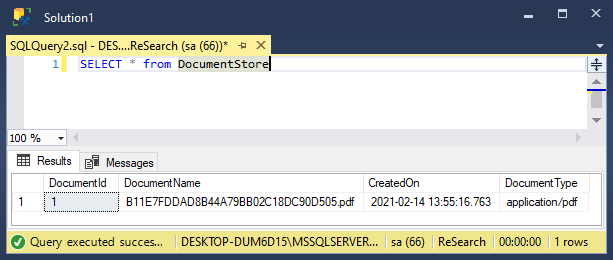
While uploading data, we are storing file details in the database.
All Files
In this part, we are going to show all files which are stored in the database along with download and delete feature.
  public IActionResult AllFiles()
    {
      return View(_documentdata.GetDocumentStoresList());
    }
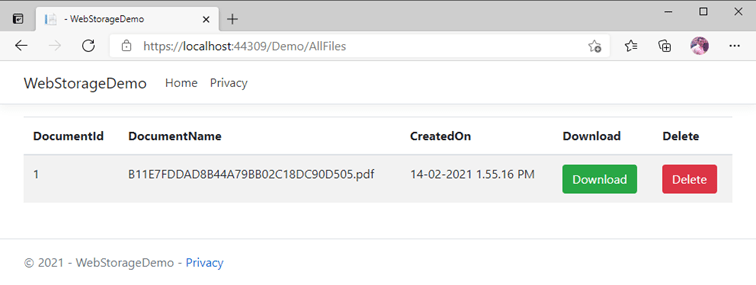
All Files View
@model List<DocumentStore>

<table class="table table-striped">
    <thead>
        <tr>
            <th>DocumentId</th>
            <th>DocumentName</th>
            <th>CreatedOn</th>
            <th>Download</th>
            <th>Delete</th>
        </tr>
    </thead>
    <tbody>

        @foreach (var data in Model)
        {
        <tr>
            <td>@data.DocumentId</td>
            <td>@data.DocumentName</td>
            <td>@data.CreatedOn</td>
            <td>
                <a class="btn btn-success" href="/Demo/DownloadFile/@data.DocumentId">Download</a>
            </td>
            <td>
                <a class="btn btn-danger" href="/Demo/DeleteFile/@data.DocumentId">Delete</a>
            </td>

        </tr>
        }
    </tbody>
</table>
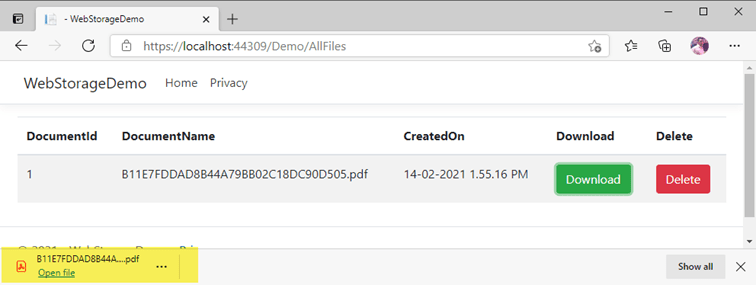
Download file
We have created the DownloadFile action method for downloading, which takes document id as an input parameter and then gets document details. From this document details, we will take document name and pass it to GetObjectAsync method, which will get an object from S3 Bucket which contains ResponseStream and objectResponse.Headers.ContentType.
public async Task<IActionResult> DownloadFile(int id)
        {
            try
            {
                var getdocument = _documentdata.GetDocumentbyDocumentId(id);
                var credentials = new BasicAWSCredentials(_appSettings.AccessKey, _appSettings.SecretKey);
                var config = new AmazonS3Config
                {
                    RegionEndpoint = Amazon.RegionEndpoint.APSouth1
                };
                using var client = new AmazonS3Client(credentials, config);
                var fileTransferUtility = new TransferUtility(client);

                var objectResponse = await fileTransferUtility.S3Client.GetObjectAsync(new GetObjectRequest()
                {
                    BucketName = _appSettings.BucketName,
                    Key = getdocument.DocumentName
                });

                if (objectResponse.ResponseStream == null)
                {
                    return NotFound();
                }
                return File(objectResponse.ResponseStream, objectResponse.Headers.ContentType, getdocument.DocumentName);
            }
            catch (AmazonS3Exception amazonS3Exception)
            {
                if (amazonS3Exception.ErrorCode != null
                    && (amazonS3Exception.ErrorCode.Equals("InvalidAccessKeyId") || amazonS3Exception.ErrorCode.Equals("InvalidSecurity")))
                {
                    throw new Exception("Check the provided AWS Credentials.");
                }
                else
                {
                    throw new Exception("Error occurred: " + amazonS3Exception.Message);
                }
            }

        }
Output
Delete file
For Deleting file, we have created a DeleteFile action method that takes document id as an input parameter and then documents details. From this document details, we will take document name and pass it to DeleteObjectAsync method which will delete an object from S3 Bucket while we are going call delete method from DocumentData class delete the file from the database.
public async Task<IActionResult> DeleteFile(int id)
        {
            try
            {
                var getdocument = _documentdata.GetDocumentbyDocumentId(id);
                _documentdata.Delete(getdocument);

                var credentials = new BasicAWSCredentials(_appSettings.AccessKey, _appSettings.SecretKey);
                var config = new AmazonS3Config
                {
                    RegionEndpoint = Amazon.RegionEndpoint.APSouth1
                };
                using var client = new AmazonS3Client(credentials, config);
                var fileTransferUtility = new TransferUtility(client);
                await fileTransferUtility.S3Client.DeleteObjectAsync(new DeleteObjectRequest()
                {
                    BucketName = _appSettings.BucketName,
                    Key = getdocument.DocumentName
                });

            }
            catch (AmazonS3Exception amazonS3Exception)
            {
                if (amazonS3Exception.ErrorCode != null
                    && (amazonS3Exception.ErrorCode.Equals("InvalidAccessKeyId") || amazonS3Exception.ErrorCode.Equals("InvalidSecurity")))
                {
                    throw new Exception("Check the provided AWS Credentials.");
                }
                else
                {
                    throw new Exception("Error occurred: " + amazonS3Exception.Message);
                }
            }
            return RedirectToAction("AllFiles");
        }
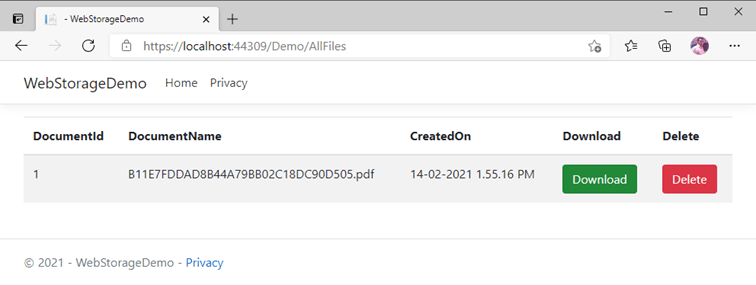
Before delete

After delete

Output
Summary
In this article, we have learned how to upload , download and delete files from amazon AWS S3 Cloud Storage using ASP.NET CORE in simple steps hope you have like it please share it let others learn from it.