
Client Side Blazor Authentication Using Azure AD and a Custom AuthenticationStateProvider
In this article, using client (WebAssembly) Blazor, we will demonstrate how to use Authentication Using Azure AD and a Custom AuthenticationStateProvider
You can easily implement authentication for your Client Side Blazor applications using Azure Active Directory.
We do this by Implementing a custom AuthenticationStateProvider.
Walk-Thru
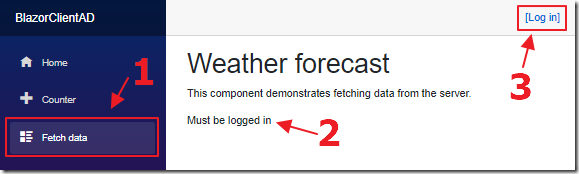
When we navigate to the Fetch data page, without being logged in, it will indicate that you Must be logged in.
To log in, click the Log In link.
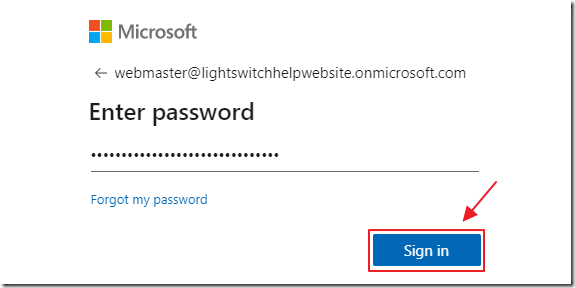
You can log in with an Azure Active Directory account that has authorization to log into the Azure registered application.
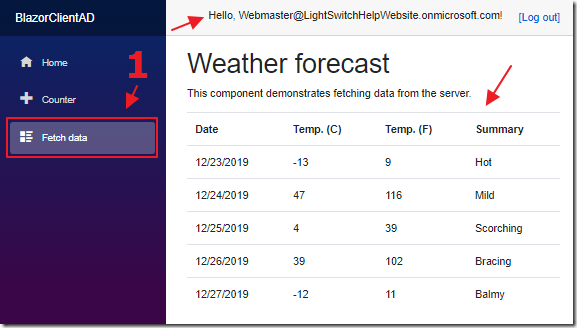
Once the user is logged in, navigating to the Fetch data page displays the data.
The logged in user’s name is also displayed at the top of the application.
Step 1 : Install Blazor Client Side (Blazor WebAssembly)
See the following directions to install Blazor WebAssembly (Client Side Blazor):
https://docs.microsoft.com/en-us/aspnet/core/blazor/get-started?view=aspnetcore-3.1&tabs=visual-studio
Create The Project
Open Visual Studio 2019 (or higher).
Create a new project.
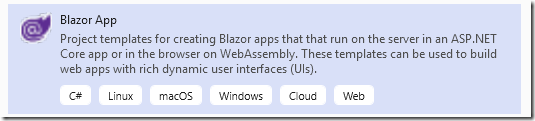
Select Blazor App.
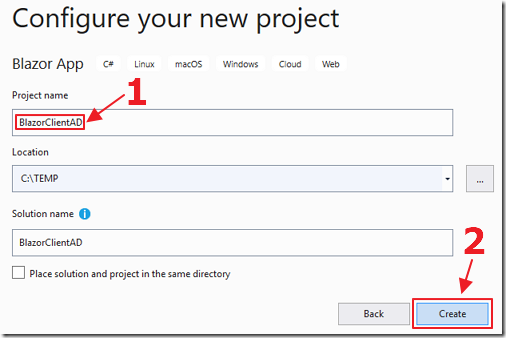
Name the project BlazorClientAD
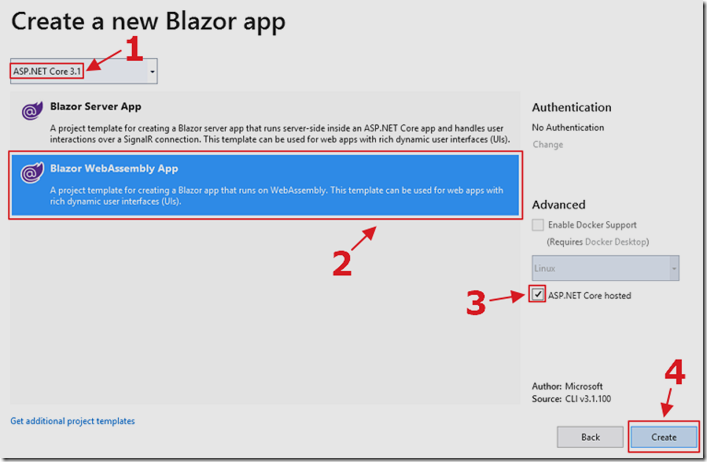
Select the ASP.NET 3.1 (or higher) Blazor WebAssembly template and select ASP.NET Core hosted.
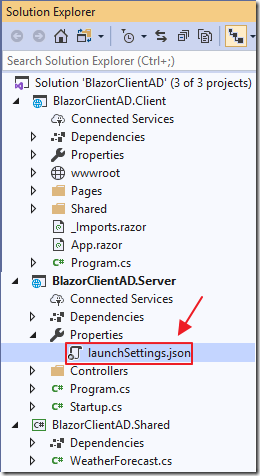
The Solution will be created.
Open the launchSettings.json file.
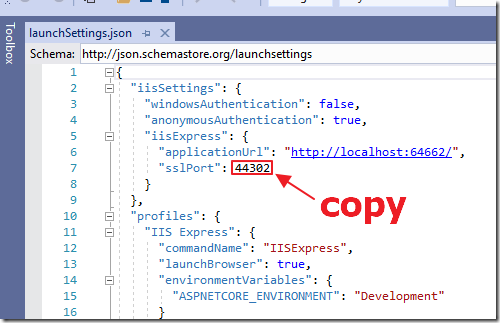
Note the sslPort.
You will need it in the next section.
Set-Up The Application In Azure

You will need a free Azure Account for the following steps.
Log into https://portal.azure.com/ and select the Azure Active Directory node.
Next, select App registrations.
Select New registration.
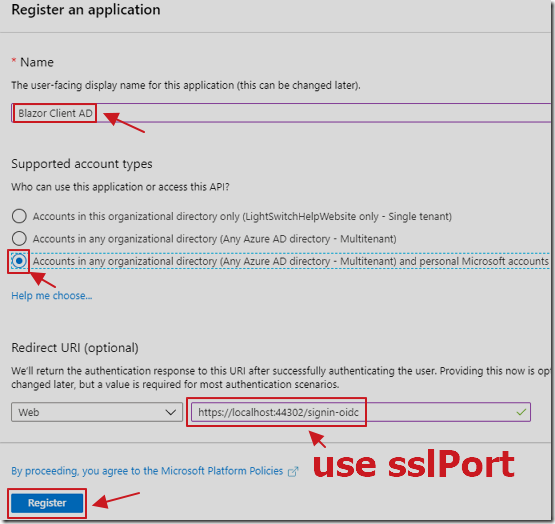
Create a Registration.
For Redirect URI, select Web, and use the following url (replacing {your sslPort} with the number you copied earlier):
https://localhost:{your sslPort}/signin-oidc
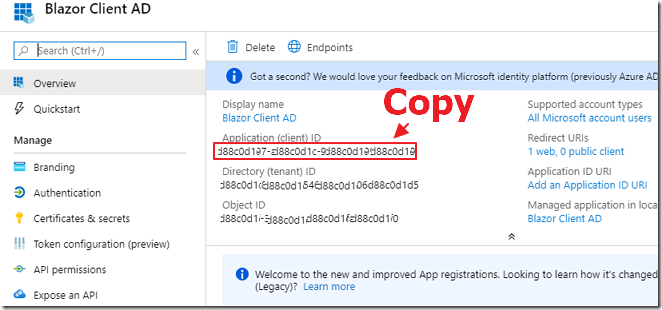
On the Overview node for the application, copy the Application (client) ID.
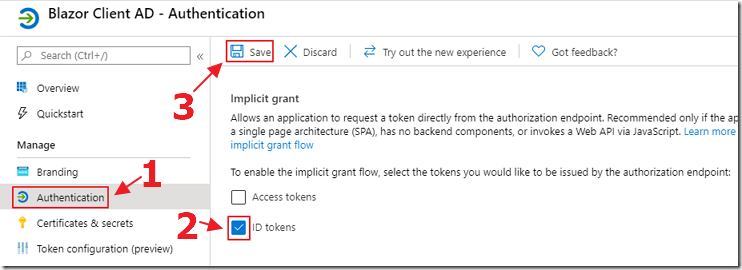
Click on the Authentication node and enable ID Tokens.
Configure The Application
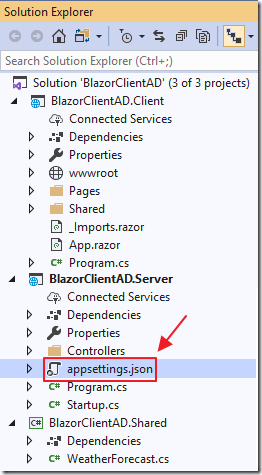
Return to Visual Studio, and add a appsettings.json file to the Server project using the following code (replacing {Your Application (client ID)} with the ID you copied in the previous step):
{
  "AzureAd": {
    "Instance": "https://login.microsoftonline.com/common",
    "ClientId": "{Your Application (client) ID}",
    "CallbackPath": "/signin-oidc"
  },
  "Logging": {
    "LogLevel": {
      "Default": "Information",
      "Microsoft": "Warning",
      "Microsoft.Hosting.Lifetime": "Information"
    }
  },
  "AllowedHosts": "*"
}
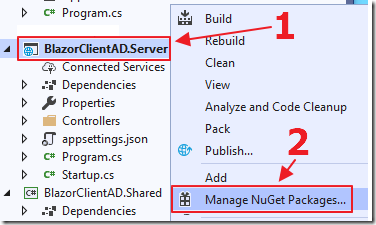
Right-click on the Server project and select Manage NuGet Packages…
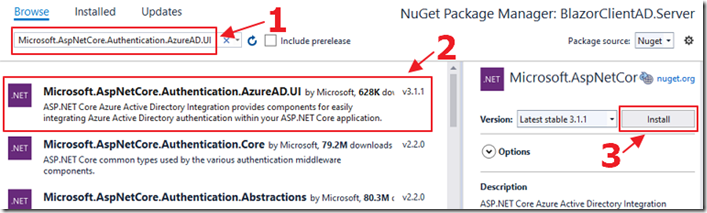
Install:
Microsoft.AspNetCore.Authentication.AzureAD.UI
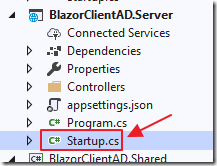
Open the Startup.cs file in the Server project.
Add the following using statements:
using Microsoft.IdentityModel.Tokens;
using Microsoft.Extensions.Configuration;
using Microsoft.AspNetCore.Authentication.AzureAD.UI;
using Microsoft.AspNetCore.Authentication;
using Microsoft.AspNetCore.Authentication.OpenIdConnect;
using System.Threading.Tasks;
Add the following to the top of the class:
        public IConfiguration Configuration { get; }
        public Startup(IConfiguration configuration)
        {
            Configuration = configuration;
        }
Add the following to the end of the ConfigureServices section:
services.AddAuthentication(AzureADDefaults.AuthenticationScheme)
    .AddAzureAD(options => Configuration.Bind("AzureAd", options));
services.Configure<OpenIdConnectOptions>(AzureADDefaults.OpenIdScheme,
options =>
{
    options.TokenValidationParameters = new TokenValidationParameters
    {
        // Instead of using the default validation (validating against a
        // single issuer value, as we do in
        // line of business apps), we inject our own multitenant
        // validation logic
        ValidateIssuer = false,
        // If the app is meant to be accessed by entire organizations,
        // add your issuer validation logic here.
        // IssuerValidator =
        // (issuer, securityToken, validationParameters) => {
        //    if (myIssuerValidationLogic(issuer)) return issuer;
        //}
    };
    options.Events = new OpenIdConnectEvents
    {
        OnTicketReceived = context =>
        {
            // This is called on successful authentication
            // This is an opportunity to write to the database
            // or alter internal roles ect.
            return Task.CompletedTask;
        },
        OnAuthenticationFailed = context =>
        {
            context.Response.Redirect("/Error");
            context.HandleResponse(); // Suppress the exception
            return Task.CompletedTask;
        }
    };
});
Add the following to the Configure section (under the UseRouting() line):
        app.UseAuthentication();
        app.UseAuthorization();
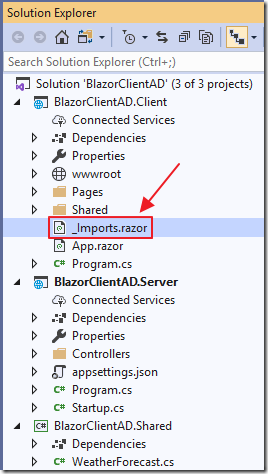
In the Client project, open the _Imports.razor file and add the following lines:
@using Microsoft.AspNetCore.Authorization
@using Microsoft.AspNetCore.Components.Authorization
Server Side User Security
All security must be enforced in the Server project.
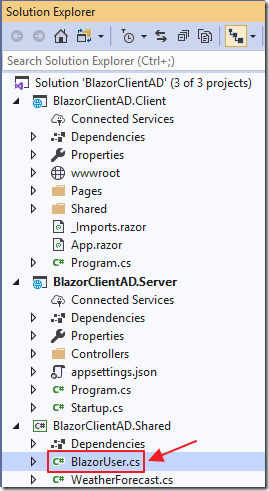
Add a file called BlazorUser.cs using the following code:
using System;
using System.Collections.Generic;
using System.Text;
namespace BlazorClientAD.Shared
{
    public class BlazorUser
    {
        public string UserName { get; set; }
    }
}
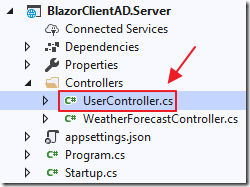
Add a file to the Controllers folder in the Server project called UserController.cs using the following code:
using BlazorClientAD.Shared;
using Microsoft.AspNetCore.Mvc;
namespace BlazorClientAD.Server.Controllers
{
    [ApiController]
    public class UserController : Controller
    {
        [HttpGet("api/user/GetUser")]
        public BlazorUser GetUser()
        {
            BlazorUser objBlazorUser = new BlazorUser();
            if (this.User.Identity.IsAuthenticated)
            {
                objBlazorUser.UserName = this.User.Identity.Name;
            }
            else
            {
                objBlazorUser.UserName = ""; // Not logged in
            }
            return objBlazorUser;
        }
    }
}
This code provides a method for the Blazor client side custom authentication provider (that we will create later), to determine if the user is logged in.
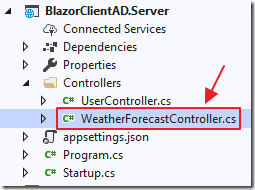
In the Controllers folder in the Server project, open the WeatherForecastController.cs file and add the following using statement:
using Microsoft.AspNetCore.Authorization;
Add the following above the public IEnumerable
[Authorize]
This will prevent non-authenticated users from calling this method.
This is where we are implementing the required server side security that cannot be bypassed by a user manipulating client side code in the Blazor WebAssembly project.
Implement A Custom AuthenticationStateProvider
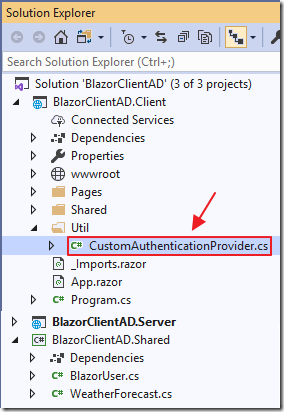
In the Client project, create a Util folder and a file called CustomAuthenticationProvider.cs with the following code:
using BlazorClientAD.Shared;
using Microsoft.AspNetCore.Components;
using Microsoft.AspNetCore.Components.Authorization;
using System.Net.Http;
using System.Security.Claims;
using System.Threading.Tasks;
namespace BlazorClientAD
{
    public class CustomAuthenticationProvider : AuthenticationStateProvider
    {
        private readonly HttpClient _httpClient;
        public CustomAuthenticationProvider(HttpClient httpClient)
        {
            _httpClient = httpClient;
        }
        public override async Task<AuthenticationState>
            GetAuthenticationStateAsync()
        {
            ClaimsPrincipal user;
            // Call the GetUser method to get the status
            // This only sets things like the AuthorizeView
            // and the AuthenticationState CascadingParameter
            var result =
                await _httpClient.GetJsonAsync<BlazorUser>("api/user/GetUser");
            // Was a UserName returned?
            if (result.UserName != "")
            {
                // Create a ClaimsPrincipal for the user
                var identity = new ClaimsIdentity(new[]
                {
                   new Claim(ClaimTypes.Name, result.UserName),
                }, "AzureAdAuth");
                user = new ClaimsPrincipal(identity);
            }
            else
            {
                user = new ClaimsPrincipal(); // Not logged in
            }
            return await Task.FromResult(new AuthenticationState(user));
        }
    }
}
The purpose of this code is to call the GetUser method, created earlier, to determine if the user is logged in.
If the user is logged in, it creates a ClaimsPrincipal with a user, otherwise it creates a ClaimsPrincipal without a user. The Blazor security knows that a ClaimsPrincipal with a user indicates that a user is logged in.
In the next step, this class will be registered as the AuthenticationStateProvider, and the Blazor security will allow us to show and hide elements using the built-in authentication tags and interfaces.
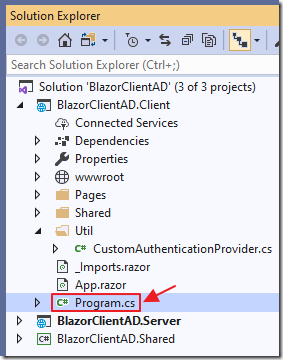
In the Client project, open the Program.cs file, and replace all the code with the following:
using System.Threading.Tasks;
using Microsoft.AspNetCore.Blazor.Hosting;
using Microsoft.Extensions.DependencyInjection;
using Microsoft.AspNetCore.Components.Authorization;
namespace BlazorClientAD.Client
{
    public class Program
    {
        public static async Task Main(string[] args)
        {
            var builder = WebAssemblyHostBuilder.CreateDefault(args);
            // Use our CustomAuthenticationProvider as the
            // AuthenticationStateProvider
            builder.Services.AddScoped<AuthenticationStateProvider,
                CustomAuthenticationProvider>();
            // Add Authentication support
            builder.Services.AddOptions();
            builder.Services.AddAuthorizationCore();
            builder.RootComponents.Add<App>("app");
            await builder.Build().RunAsync();
        }
    }
}
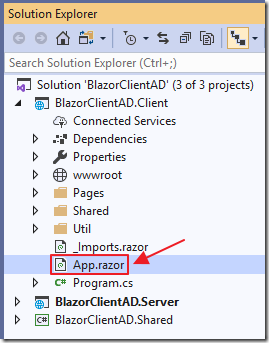
In the Client project, open the App.razor file and add replace all the code with the following:
<Router AppAssembly="@typeof(Program).Assembly">
    <Found Context="routeData">
        <AuthorizeRouteView RouteData="@routeData" DefaultLayout="@typeof(MainLayout)" />
    </Found>
    <NotFound>
        <CascadingAuthenticationState>
            <LayoutView Layout="@typeof(MainLayout)">
                <p>Sorry, there's nothing at this address.</p>
            </LayoutView>
        </CascadingAuthenticationState>
    </NotFound>
</Router>
This will implement authentication in the routing.
Create the Login / Logout Buttons
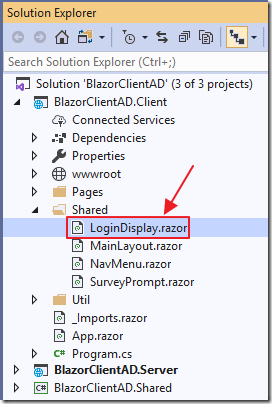
In the Client project, add a LoginDisplay.razor file to the Shared directory using the following code:
<AuthorizeView>
    <Authorized>
        <h6>Hello, @context.User.Identity.Name! </h6>
        <a href="AzureAD/Account/SignOut">[Log out]</a>
    </Authorized>
    <NotAuthorized>
        <a href="AzureAD/Account/SignIn">[Log in]</a>
    </NotAuthorized>
</AuthorizeView>
Notice this directs the user to endpoints that begin with AzureAD/Account.
These endpoints will be serviced by code from the Microsoft.AspNetCore.Authentication.AzureAD.UI NuGet package that was installed earlier.
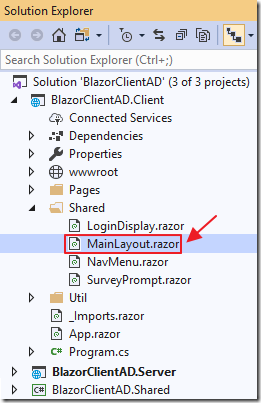
In the Client project, open the MainLayout.razor file and add replace all the code with the following:
@inherits LayoutComponentBase
<div class="sidebar">
    <NavMenu />
</div>
<div class="main">
    <div class="top-row px-4">
        <LoginDisplay />
    </div>
    <div class="content px-4">
        @Body
    </div>
</div>
This adds the LoginDisplay control to the top of the page in the application.
In the Client project, open the Index.razor file in the Pages directory, and add the following to the top of the file:
@page "/Account/SignOut"
When the user logs out of the application, the user will be sent to the Account/SignOut url. This code allows the Index.razor page to also service that destination.
Consume The Blazor Client Side Security
Finally, in the Client project, open the FetchData.razor file, in the Pages directory, and add replace all the code with the following:
@page "/fetchdata"
@using BlazorClientAD.Shared
@inject HttpClient Http
<h1>Weather forecast</h1>
<p>This component demonstrates fetching data from the server.</p>
<AuthorizeView>
    <Authorized>
        @if (forecasts == null)
        {
            <p><em>Loading...</em></p>
        }
        else
        {
            <table class="table">
                <thead>
                    <tr>
                        <th>Date</th>
                        <th>Temp. (C)</th>
                        <th>Temp. (F)</th>
                        <th>Summary</th>
                    </tr>
                </thead>
                <tbody>
                    @foreach (var forecast in forecasts)
                    {
                        <tr>
                            <td>@forecast.Date.ToShortDateString()</td>
                            <td>@forecast.TemperatureC</td>
                            <td>@forecast.TemperatureF</td>
                            <td>@forecast.Summary</td>
                        </tr>
                    }
                </tbody>
            </table>
        }
    </Authorized>
    <NotAuthorized>
        <p>Must be logged in</p>
    </NotAuthorized>
</AuthorizeView>
@code {
    [CascadingParameter]
    private Task<AuthenticationState>
        authenticationStateTask
    { get; set; }
    private WeatherForecast[] forecasts;
    protected override async Task OnInitializedAsync()
    {
        var authState = await authenticationStateTask;
        var user = authState.User;
        if (user.Identity != null)
        {
            if (user.Identity.IsAuthenticated)
            {
                forecasts =
                    await Http
                    .GetJsonAsync<WeatherForecast[]>("WeatherForecast");
            }
        }
    }
}
The AuthorizeView tag and AuthenticationState Cascading Parameter will be triggered by the custom authentication provider created earlier.
Note: This is helpful for the application to determine what should be shown, but, because Blazor Client Side security can be bypassed, security must always be enforced in the server side code.